Twitter's Moments feature stitches together multiple tweets into a slideshow-esque story. This is particularly cool for you to keep up with major things that are happening in the world without having to follow and search for a ton of people to figure out the scoop.
There are many uses for Moments, ranging from businesses using it to promote a project and collect audience engagement to people documenting a Twitter friendship.
If you don't know how to make your own Twitter Moment, don't worry, many users aren't even aware that they can access this feature. It's really not that hard — once you have an idea of what Moment you'd like to create, you just need to follow a few simple steps. Even better, the steps are the same for Android and iPhone users!
Step 1: Find Your 'Moments' Tab
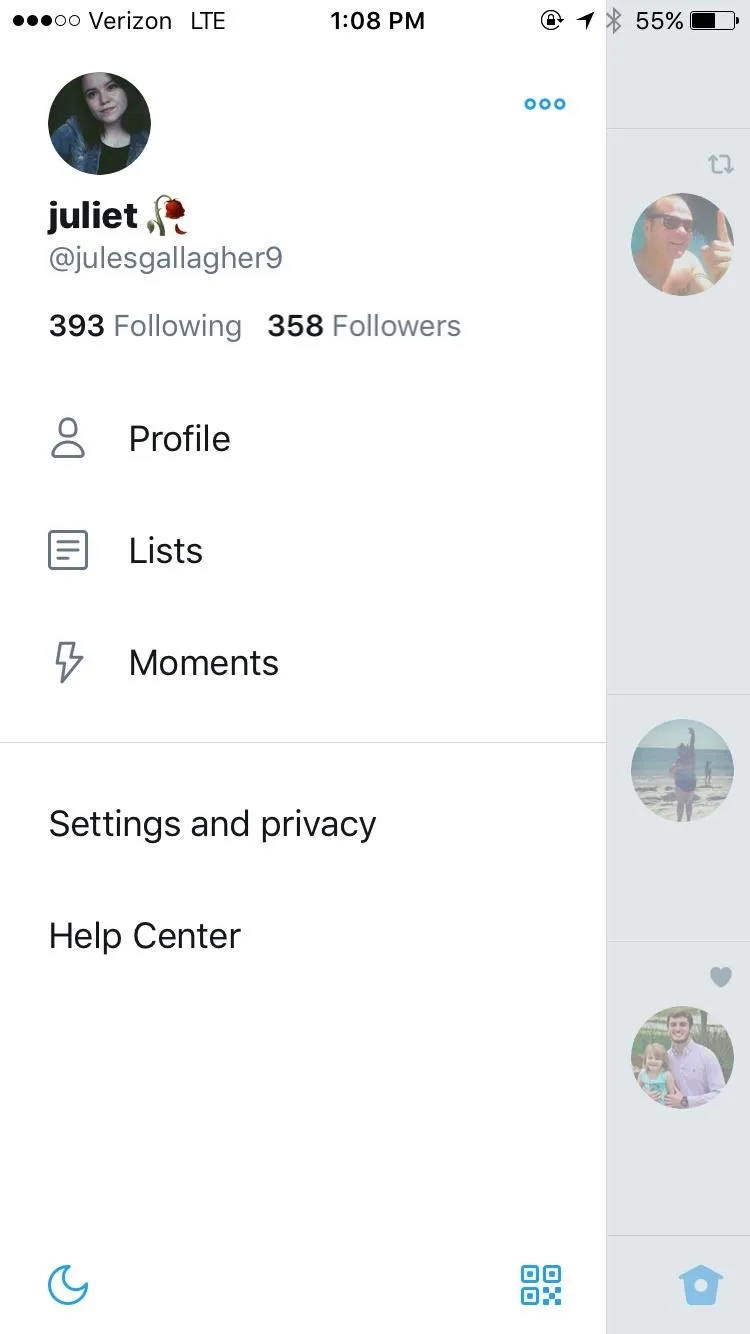
To start, head to your profile sidebar by tapping the bubble with your icon at the top-left corner of your screen. Some Android users may not see a profile icon — if so, just tap the hamburger menu icon in the top left instead.
With the profile sidebar now open, find and tap the "Moments" button, which appears next to the lightning icon. This will take you to your own Moments screen which is where you will begin to create.


Step 2: Create & Name Your Moment
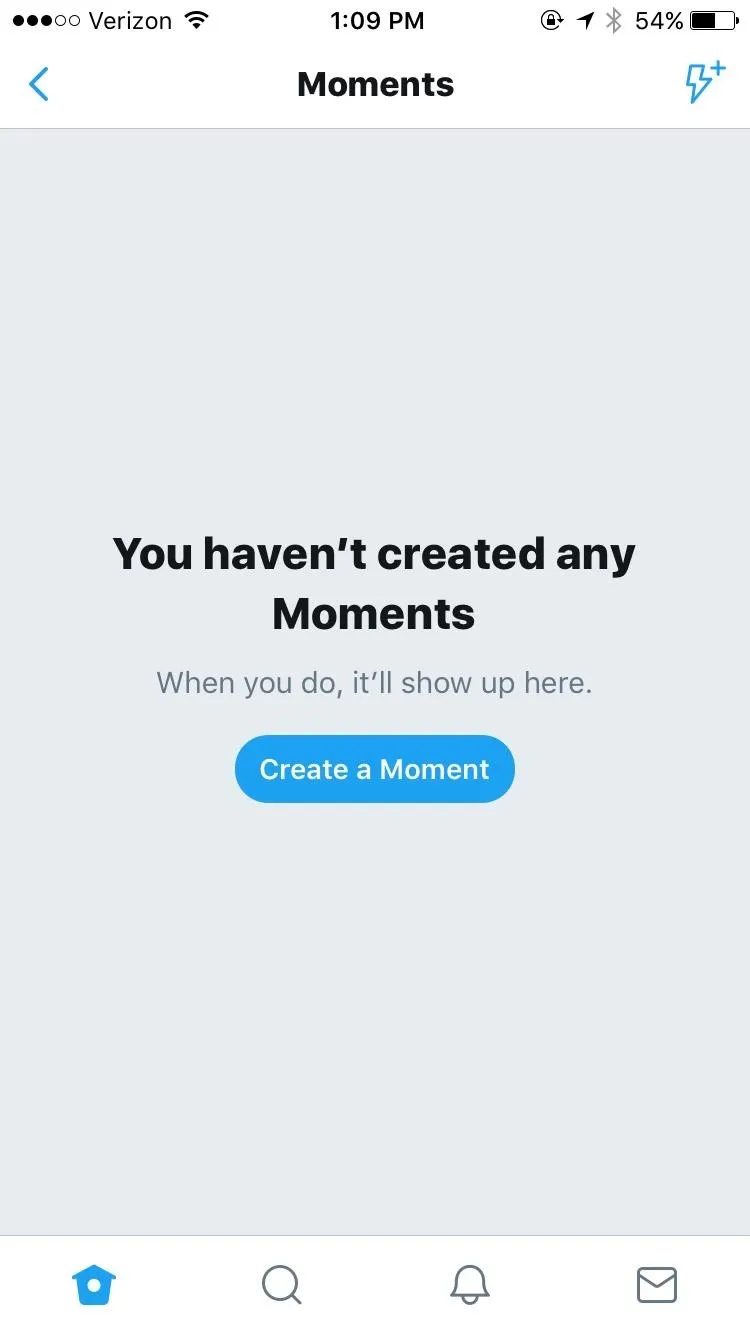
Here's where it gets fun. Once you're in the Moments screen, you'll be able to start creating by either hitting the lightning icon with a "+" in the top-right corner of the screen or by simply tapping "Create a Moment."
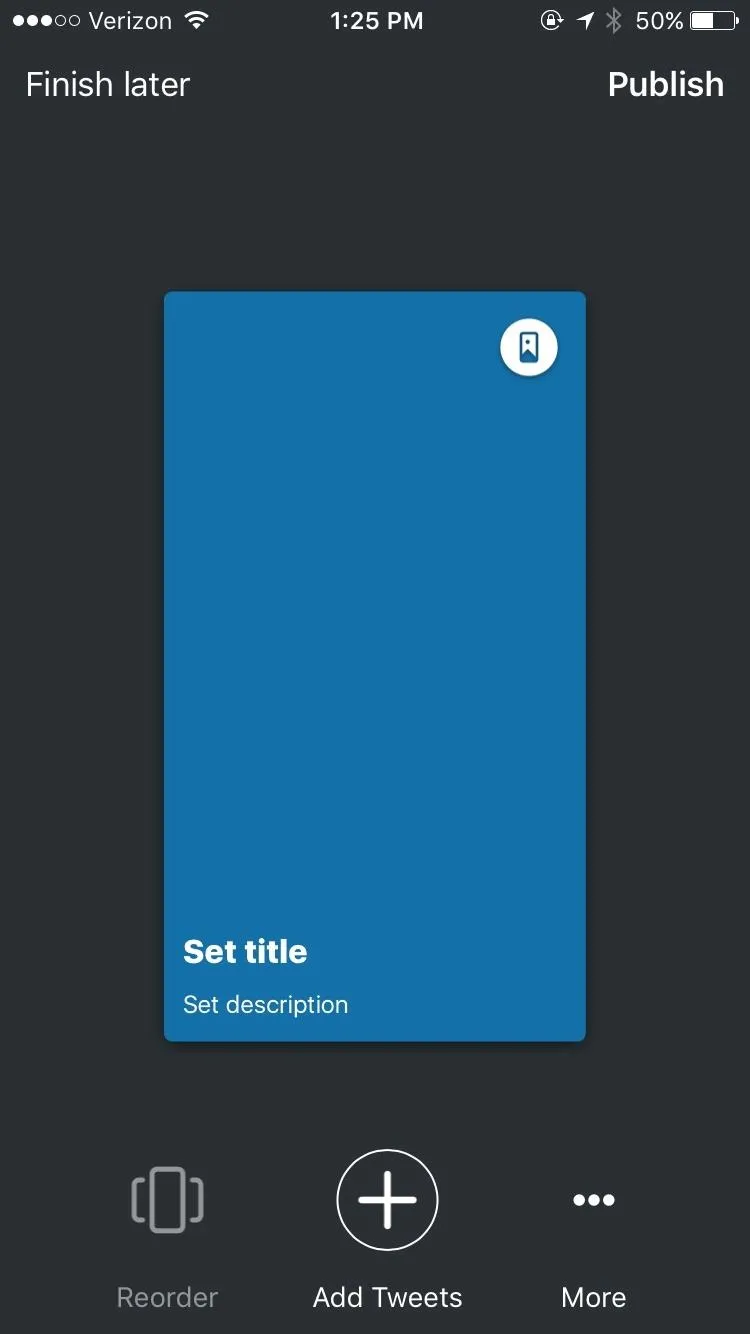
You'll then be taken to a specific screen for creating. First, you can decide on a title, description, and cover photo to begin your Moment. Be creative with these elements, it's how you'll be able to get people to engage with your Moment.



Step 3: Choose Your Tweets
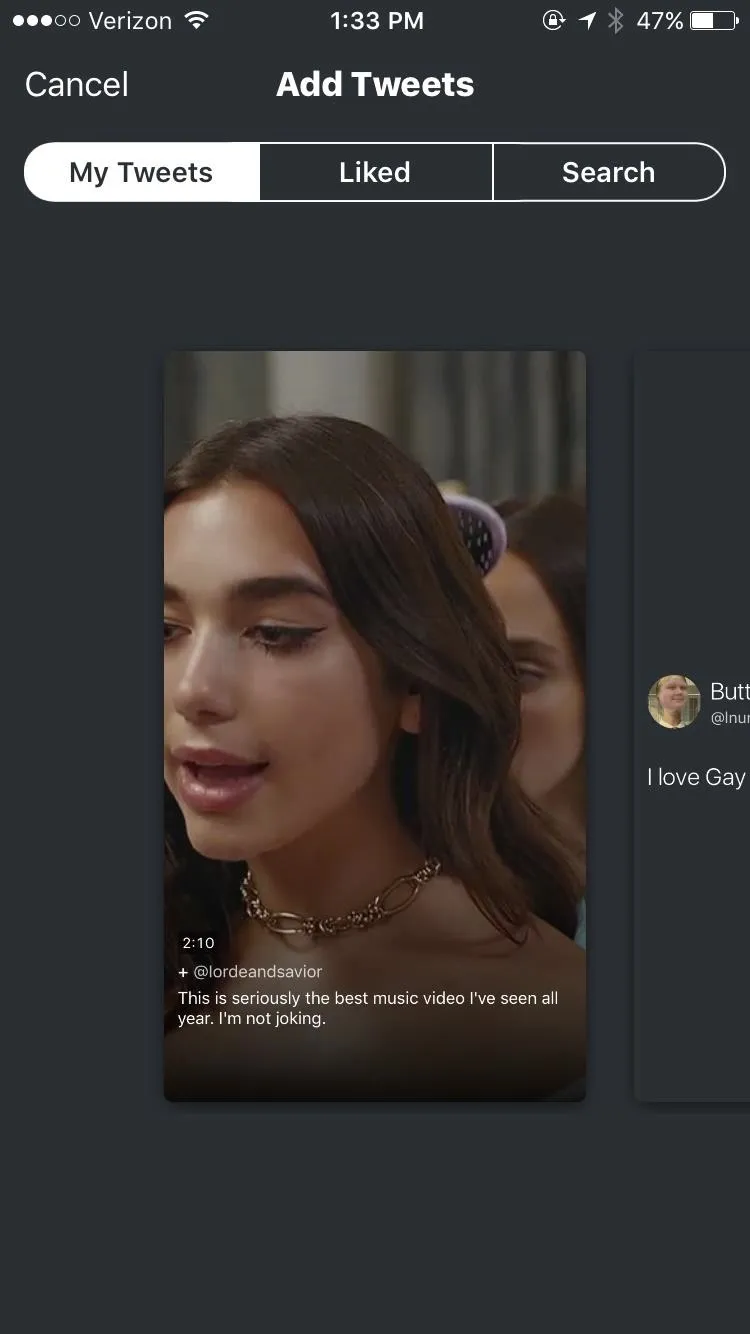
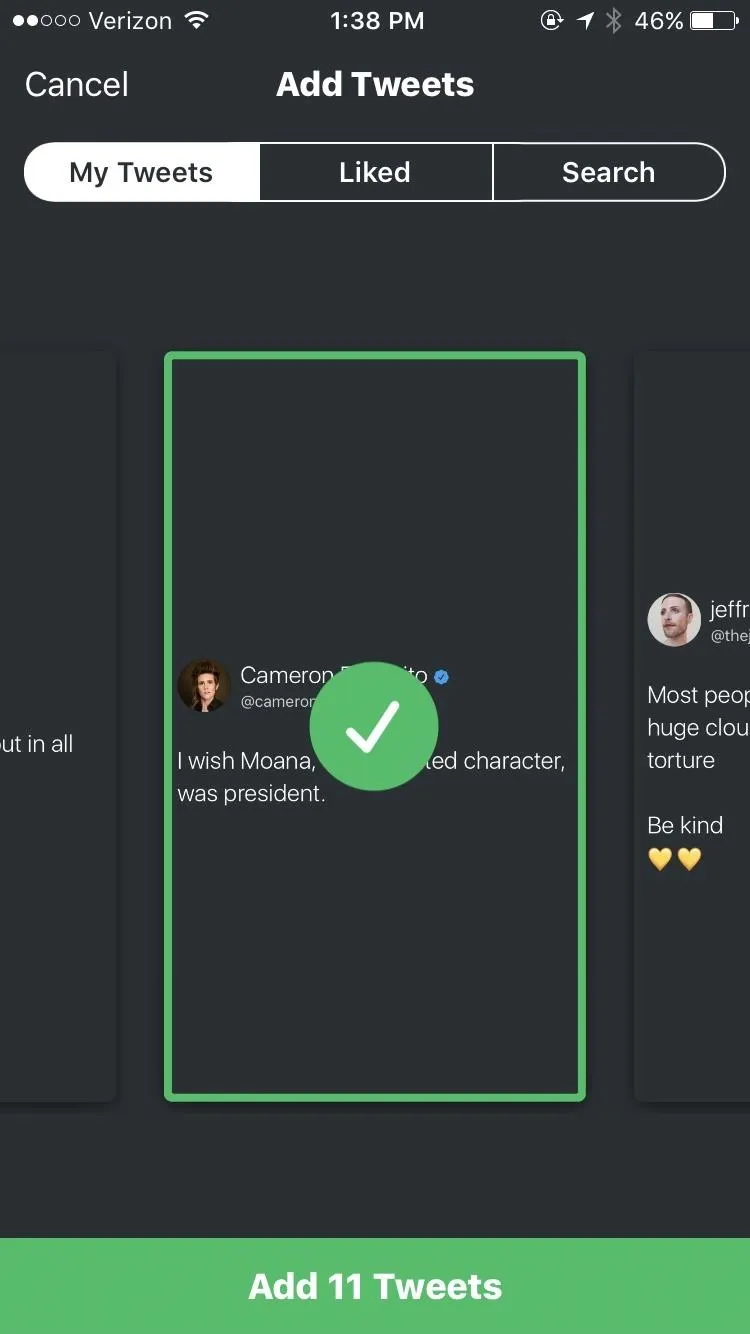
Now you've got to add some content. After choosing the title and cover for your Moment, add relevant tweets by hitting the "Add Tweets" button right under your first slide. This will take you to a screen where you will be able to choose tweets to include in the Moment.
You can add tweets by searching through your own tweets, your liked tweets, or just doing a general Twitter search for keywords and usernames. Once you've found a tweet you'd like to include, simply tap it and you will be given the option to add it.
You can add multiple tweets at a time as well. While there isn't a limit to the number of tweets you can add to the Moment, Twitter advises not to exceed ten in order to keep your audience's attention.


Step 4: Arrange Tweets to Your Liking
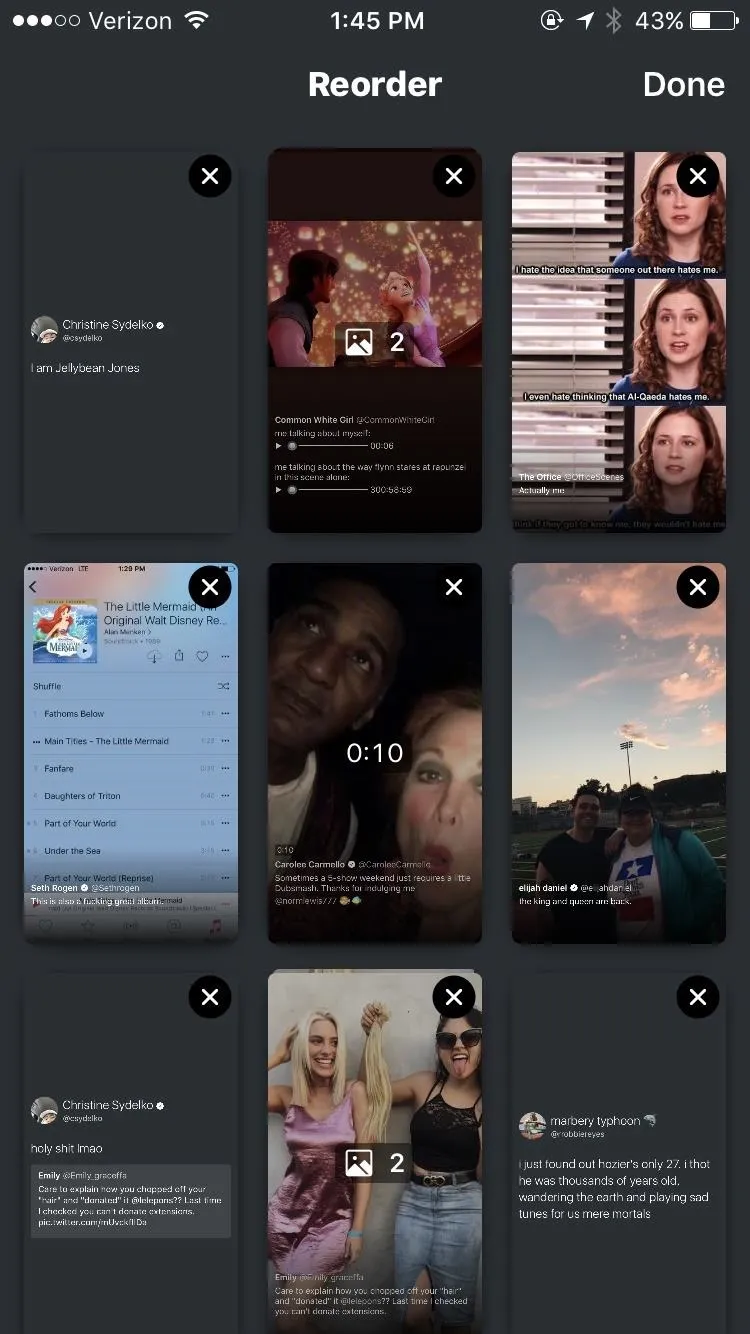
Realize that you want one tweet to come before the other after adding them? No sweat. All you have to do is hit the "Reorder" button next to the "Add Tweets" button in the toolbar, and it will pull up a screen for rearranging.
From here, just press the tweet you'd like to move and drag it around the screen until it's where you want it to be.
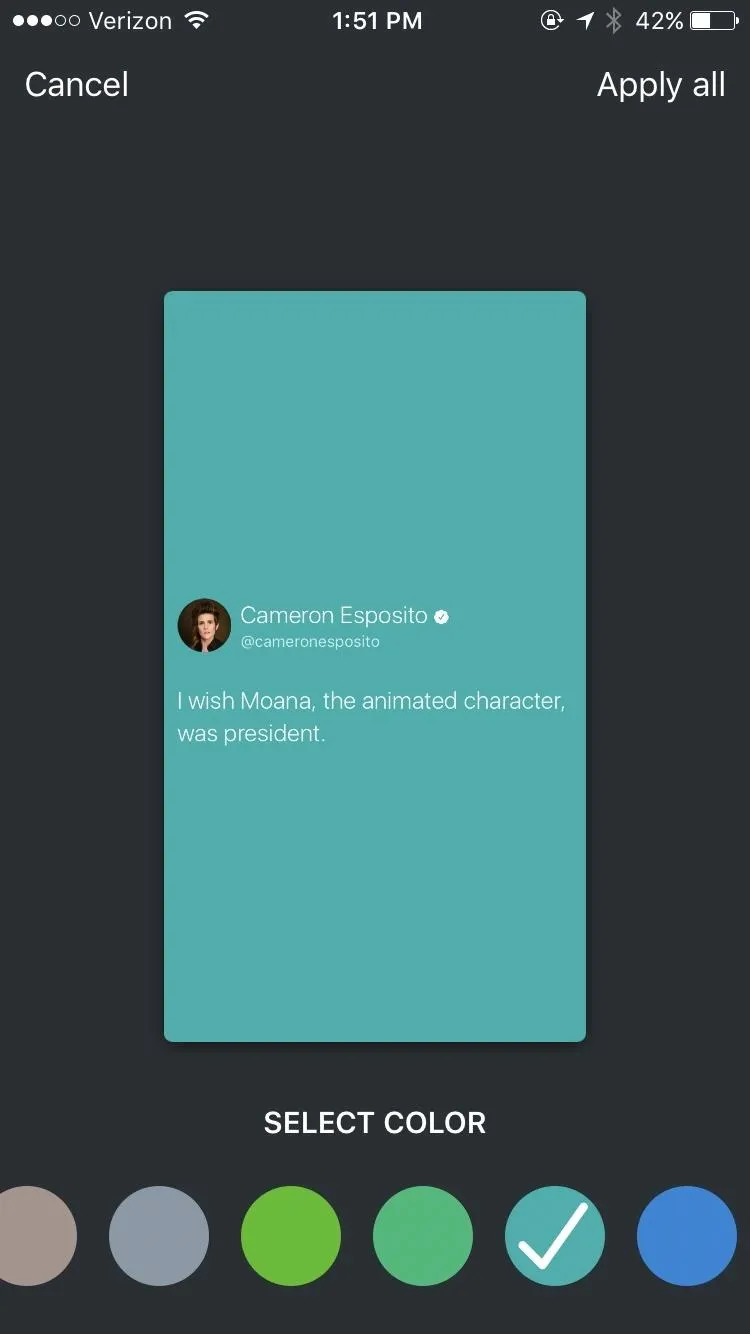
You can also change the color of the background that your tweets appear on by tapping the white drop icon at the top right of each tweet. This will let you choose from an array of colors to make your tweet more visually appealing. Be warned, though: You can't change the color of individual tweets, it's all or nothing. Once you've picked the color you want, hit "Apply all."


Step 5: Get Ready to Publish
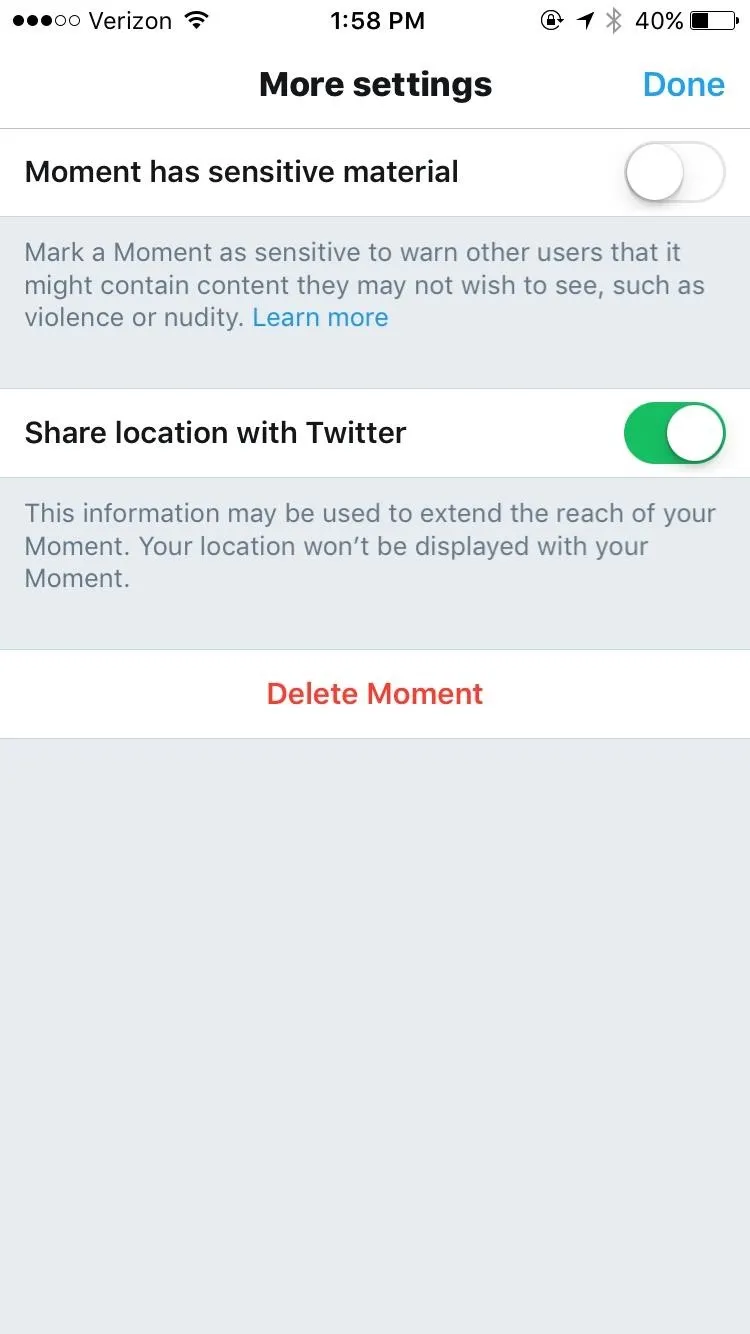
When you're satisfied with the look and layout of your tweets, it's time to publish. Before you do, check out the "More" tab at the bottom of the screen. If you think your Moment has sensitive material that warrants a warning before it starts, you can turn the "Moment has sensitive material" option on here. You can also choose to use your location to extend the reach of your Moment.
When you're sure that your Moment is ready to go, return to the editing screen and hit "Publish."
A tweet with the link to your Moment will automatically appear. You can choose to send out a message to your followers to encourage them to watch your latest story.



Now your Moment is out there for the world to see! You can continue to tweet out your Moment or you can send it directly to someone through a Direct Message. Either way, make sure to promote your Moment as best you can if you want audience engagement. The more people view your story, the more likely it is to get on Twitter's primary trending page.
- Follow Gadget Hacks on Facebook, Twitter, Google+, YouTube, and Instagram
- Follow WonderHowTo on Facebook, Twitter, Pinterest, and Google+
Cover image and screenshots by Juliet Gallagher/Gadget Hacks



Comments
No Comments Exist
Be the first, drop a comment!