They say you're supposed to keep your kids away from screens until they're at least three years old. They say a lot of stuff, but then real life happens and your toddler watches a little TV while you're working from home during a pandemic.
Confession time, that happened to me. So the next step was to hide the remote to make sure the kiddo wasn't watching too much TV. Then he found all the handy hiding spots, so I had to either lock it away somewhere even I couldn't use it ... or come up with a different approach.
Harmony remotes don't have a built-in "Childproof Mode" or anything like that, but because they're such flexible devices, there are ways you can make it work.
Supported Models
This method might be possible with Logitech's touchscreen remotes like the Harmony Pro and Harmony Elite, but you'll likely run into problems trying to hide your regular activities in Step 3.
Step 1: Add a Device That You Don't Have
Open the Harmony app (Android | iOS) and tap the hamburger menu button in the top-left corner. From here, select "Harmony Setup," then "Add/Edit Devices & Activities."
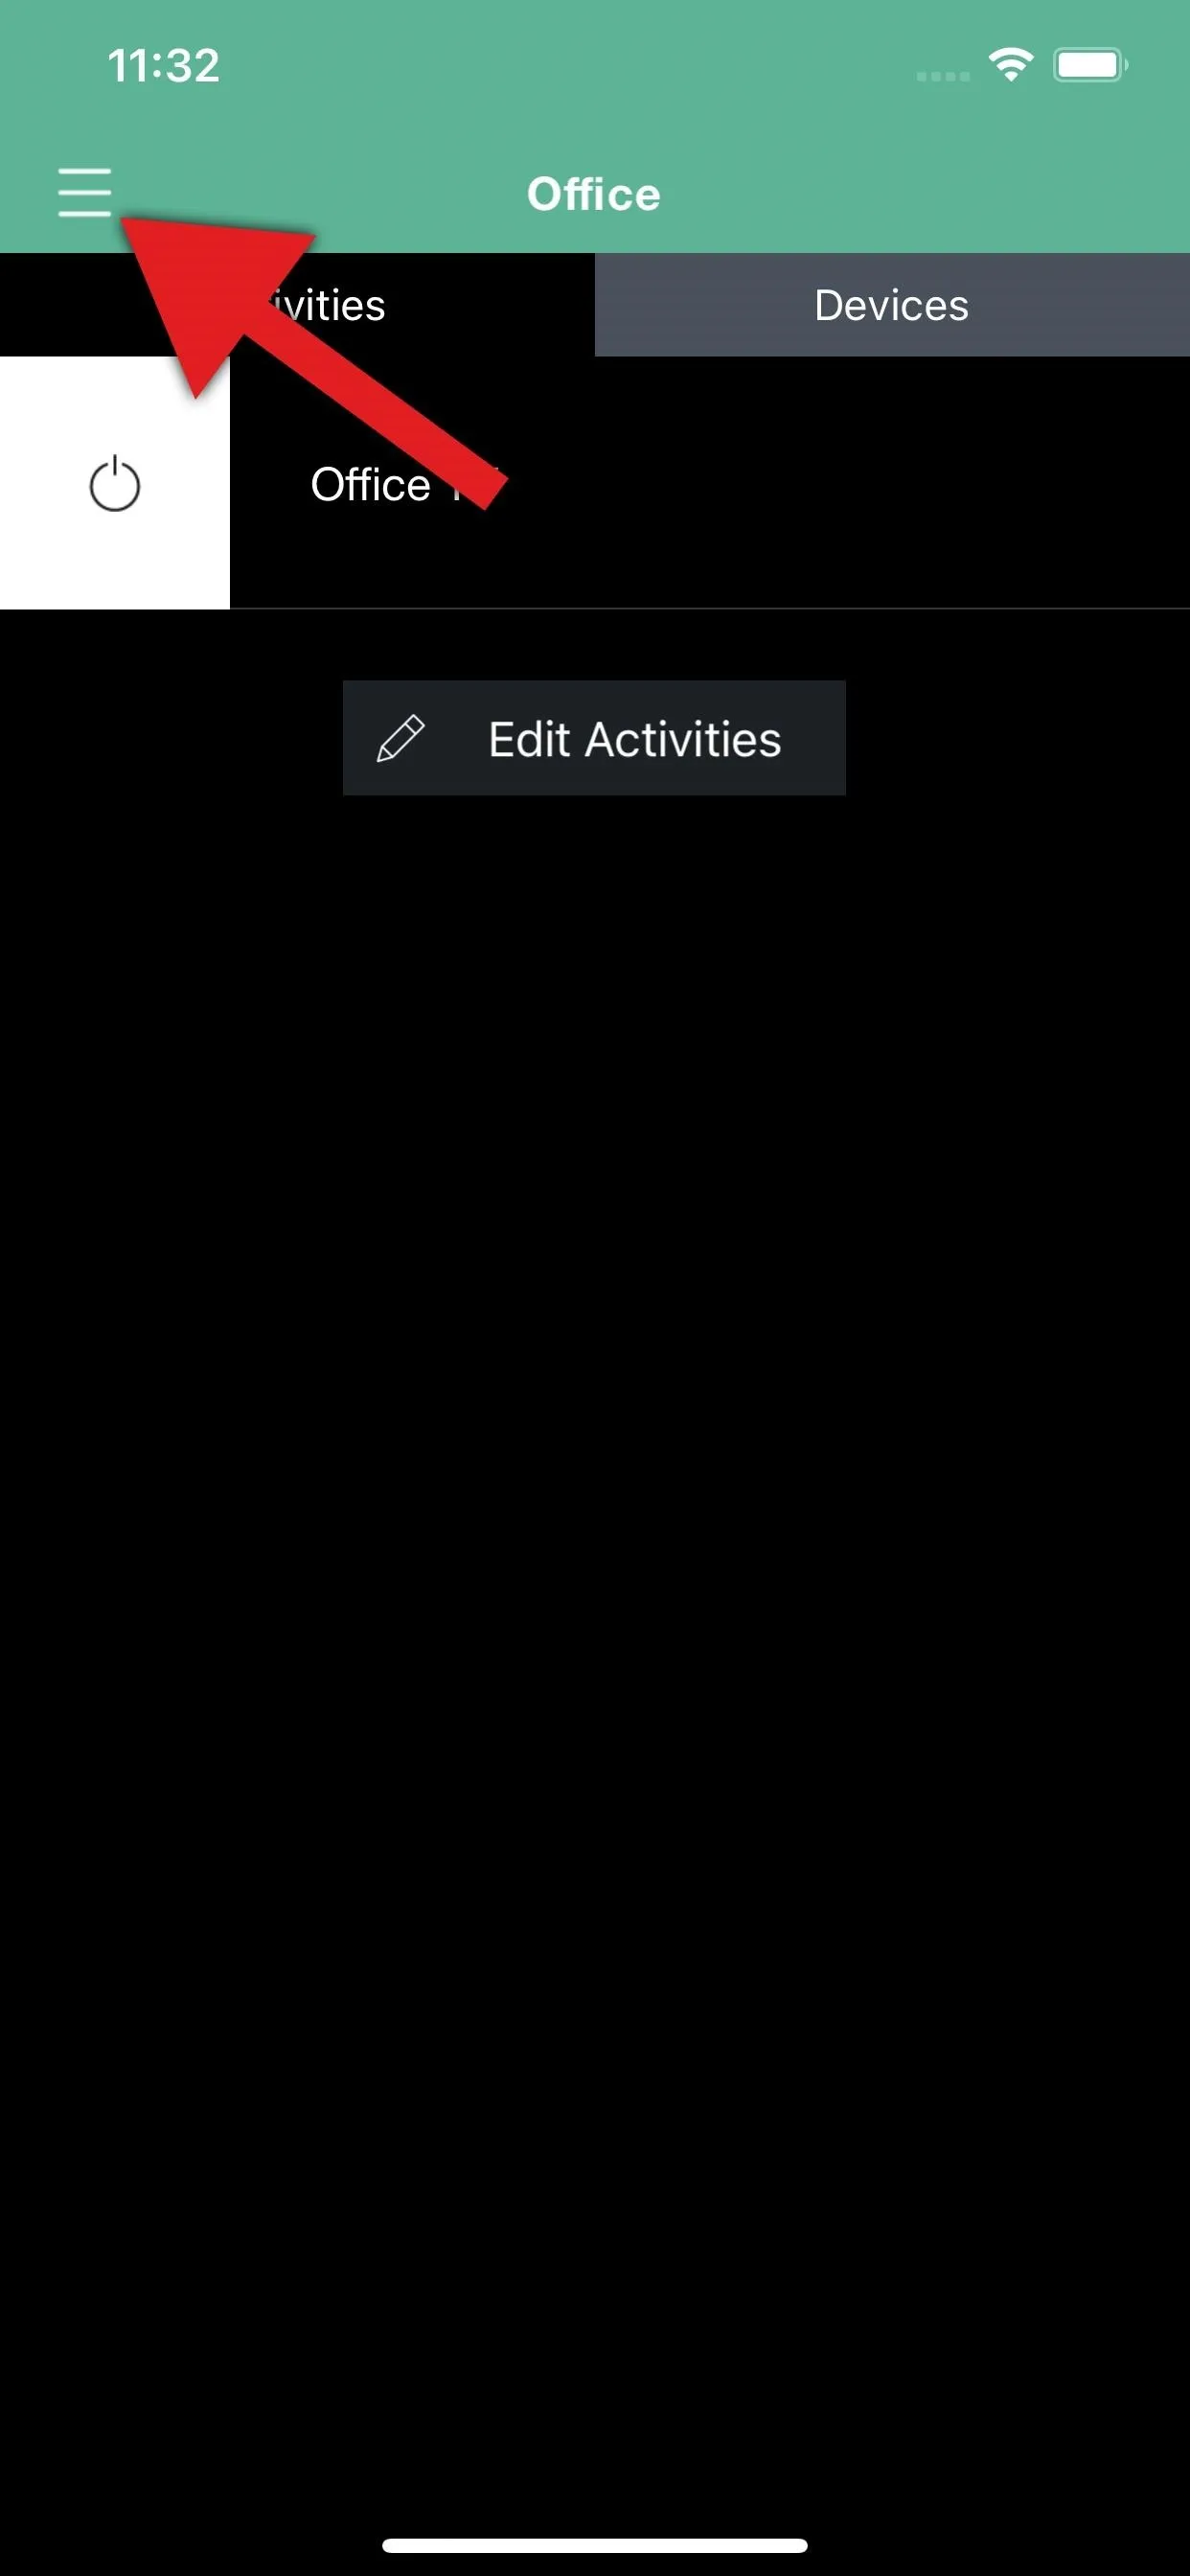
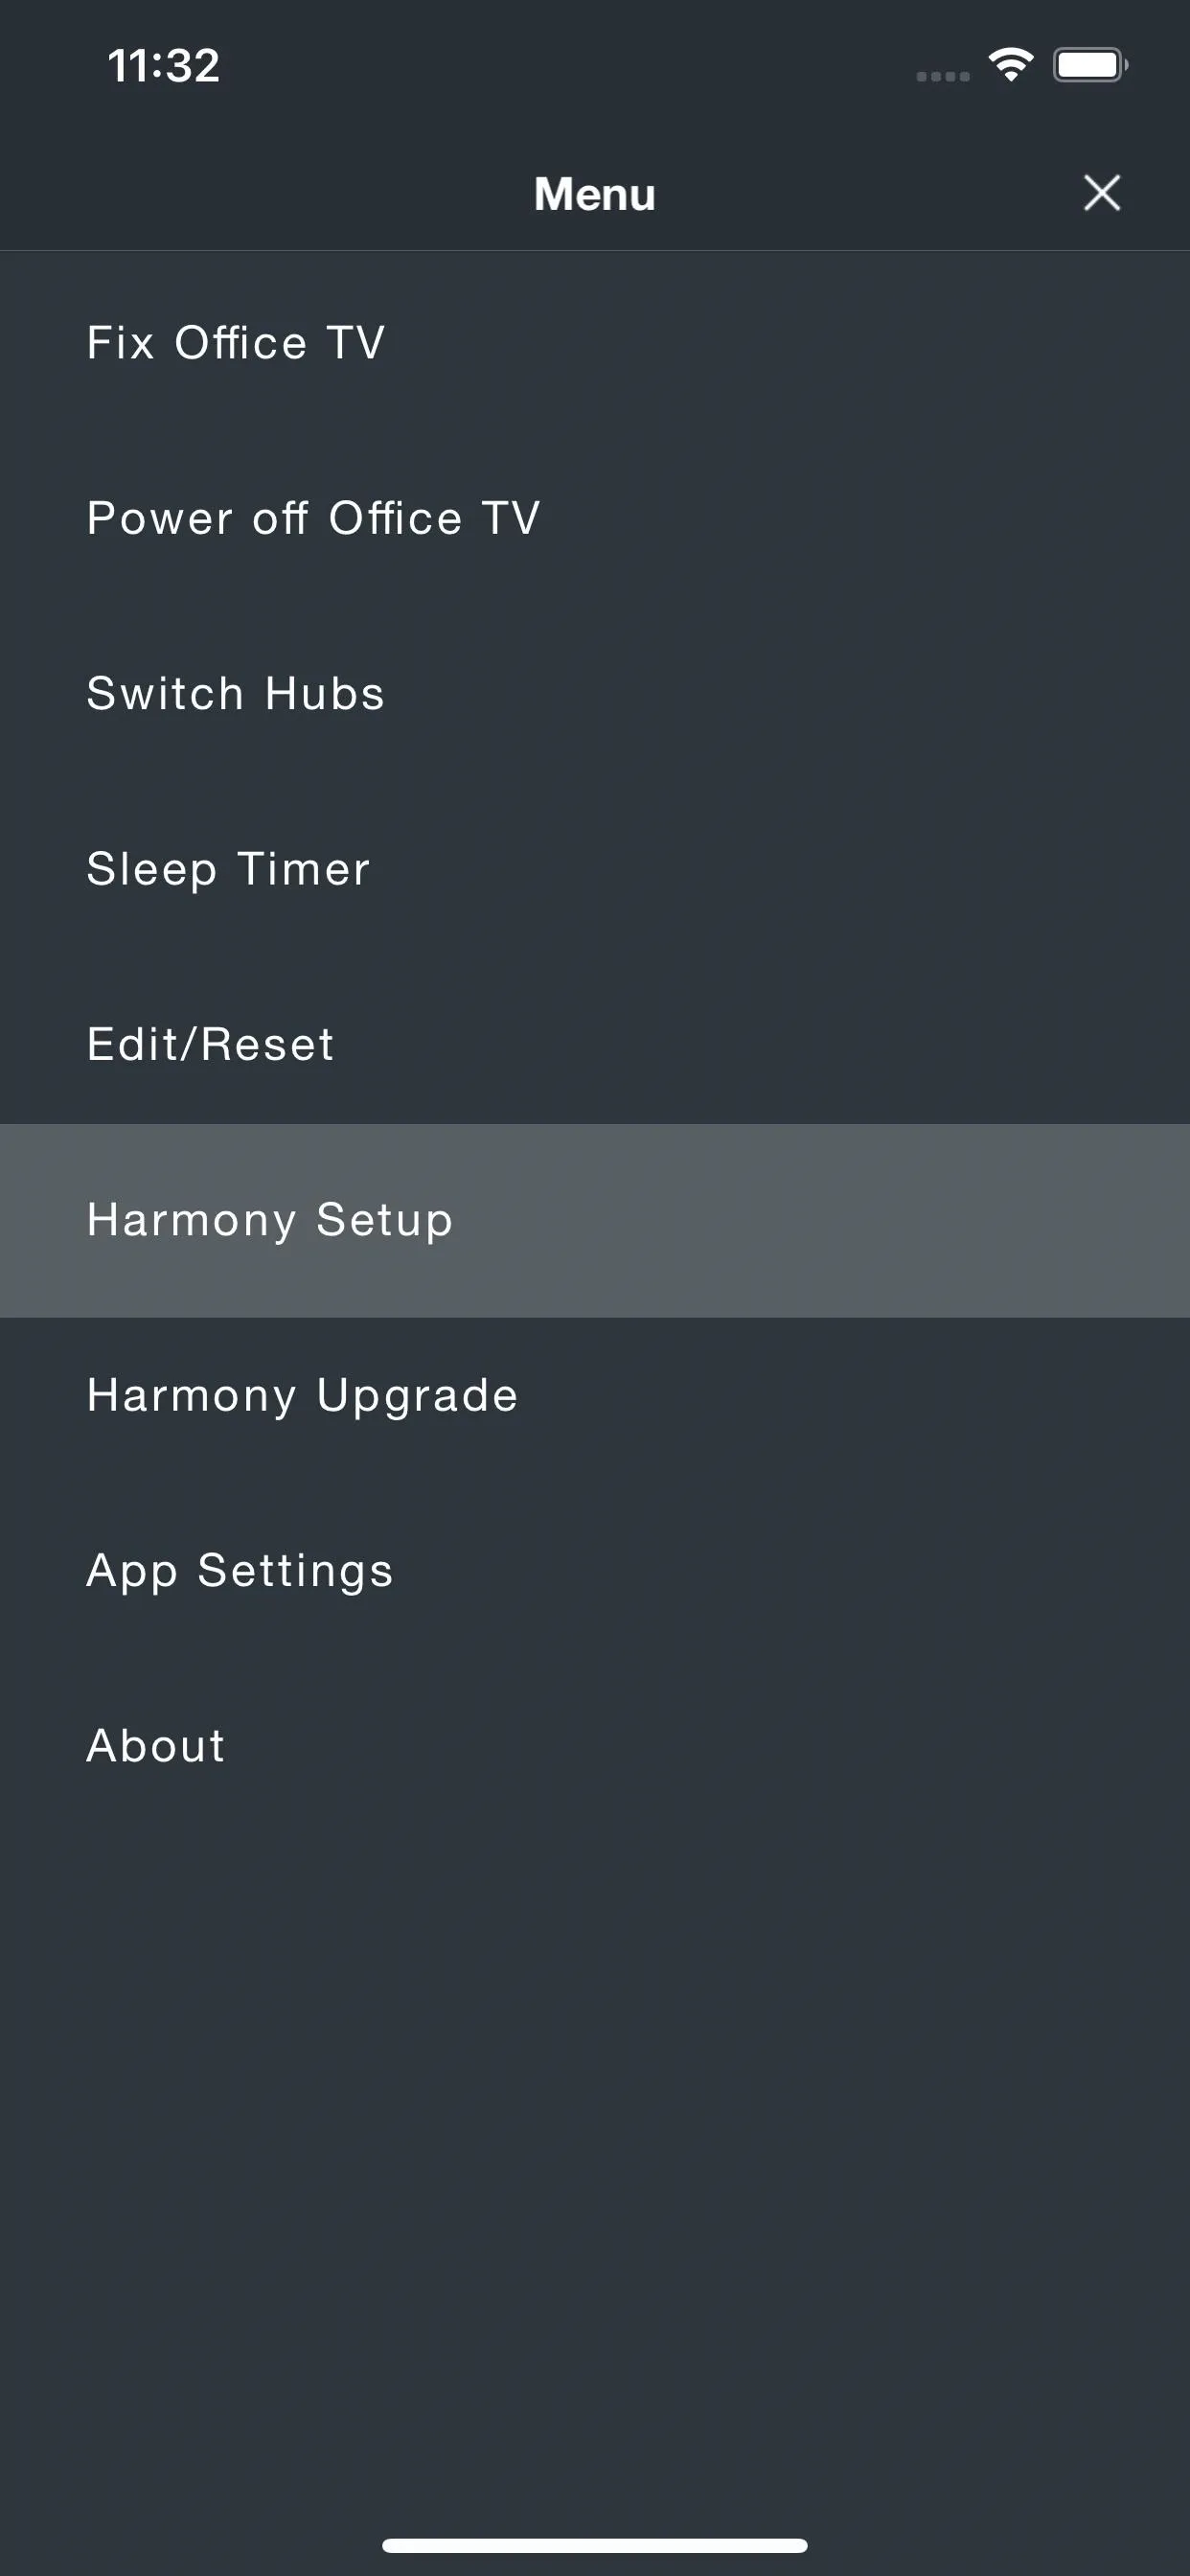
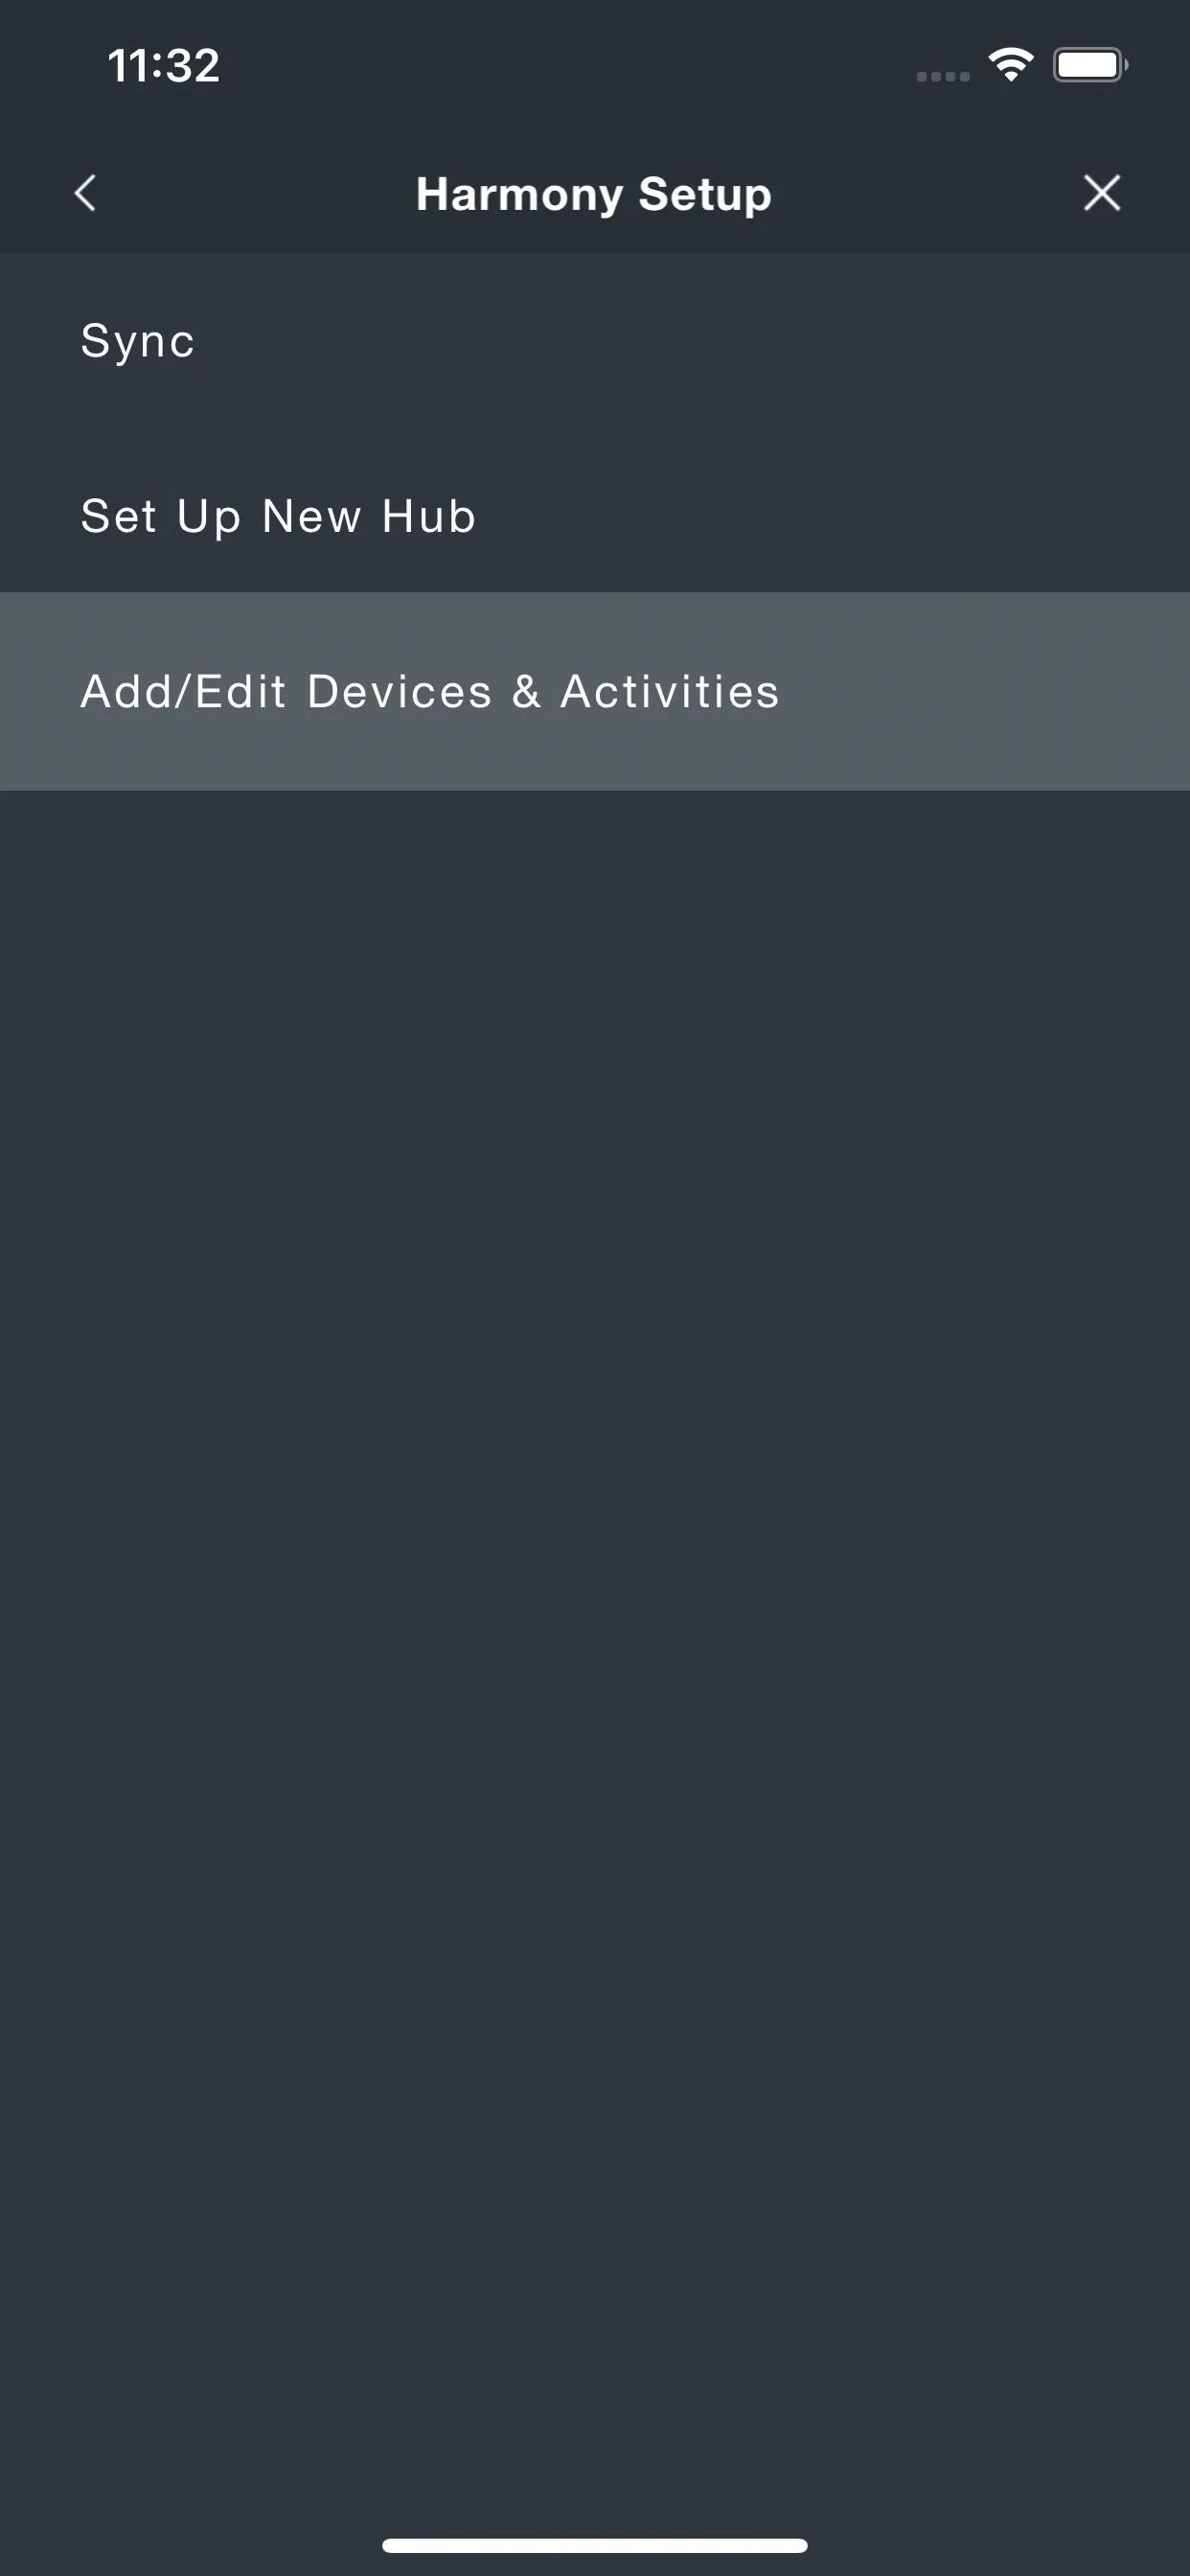


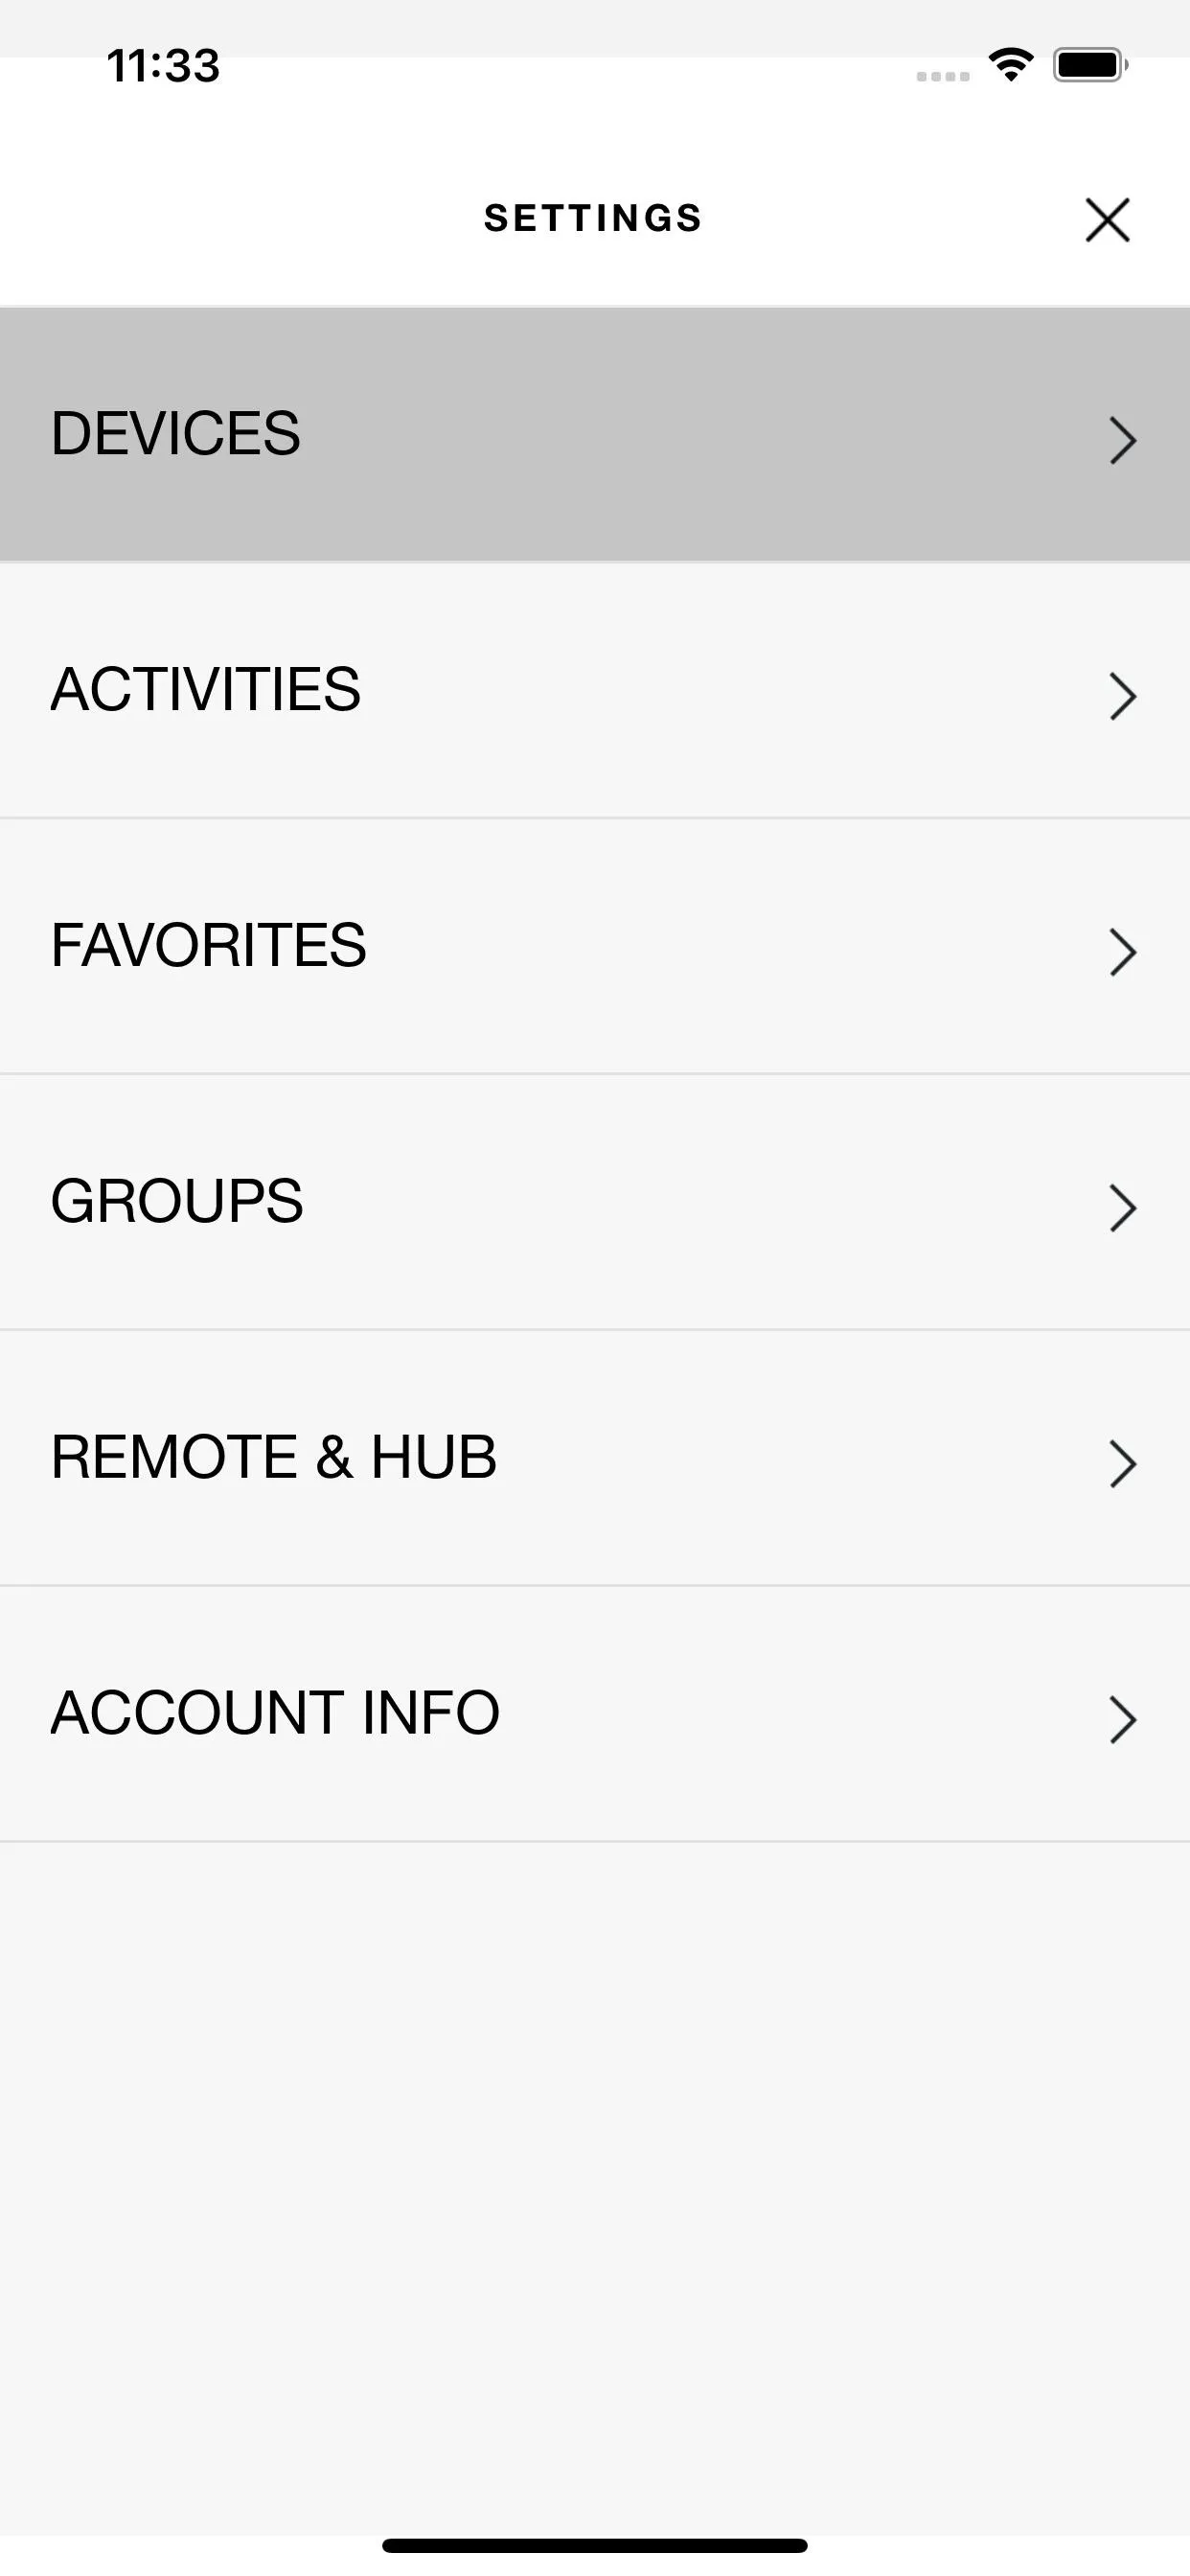
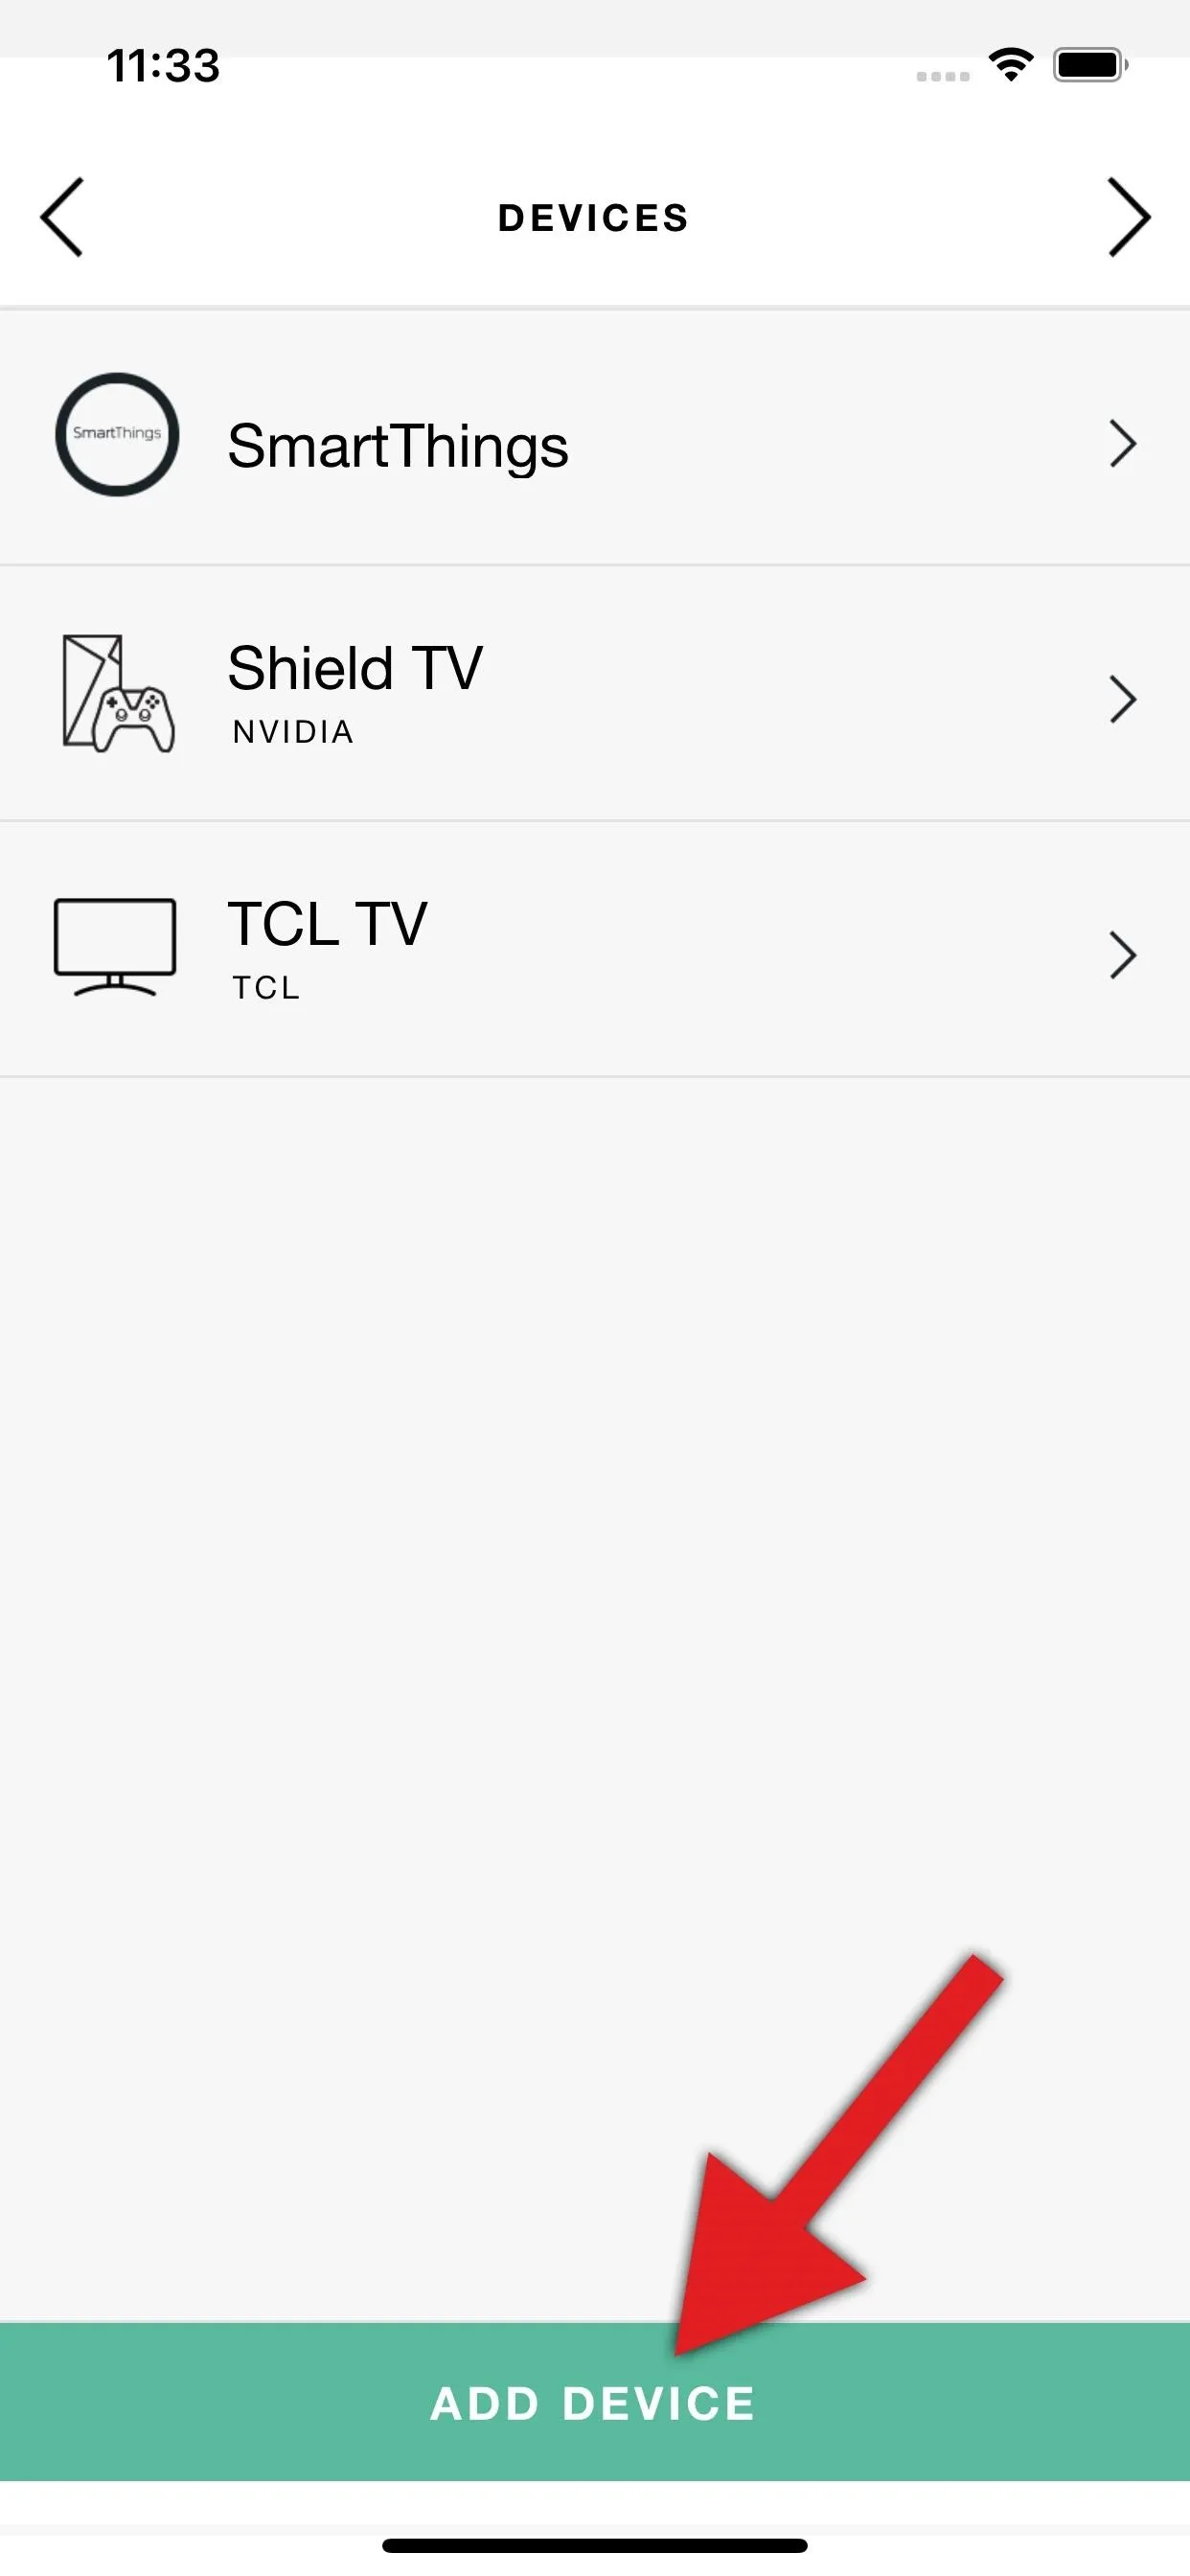
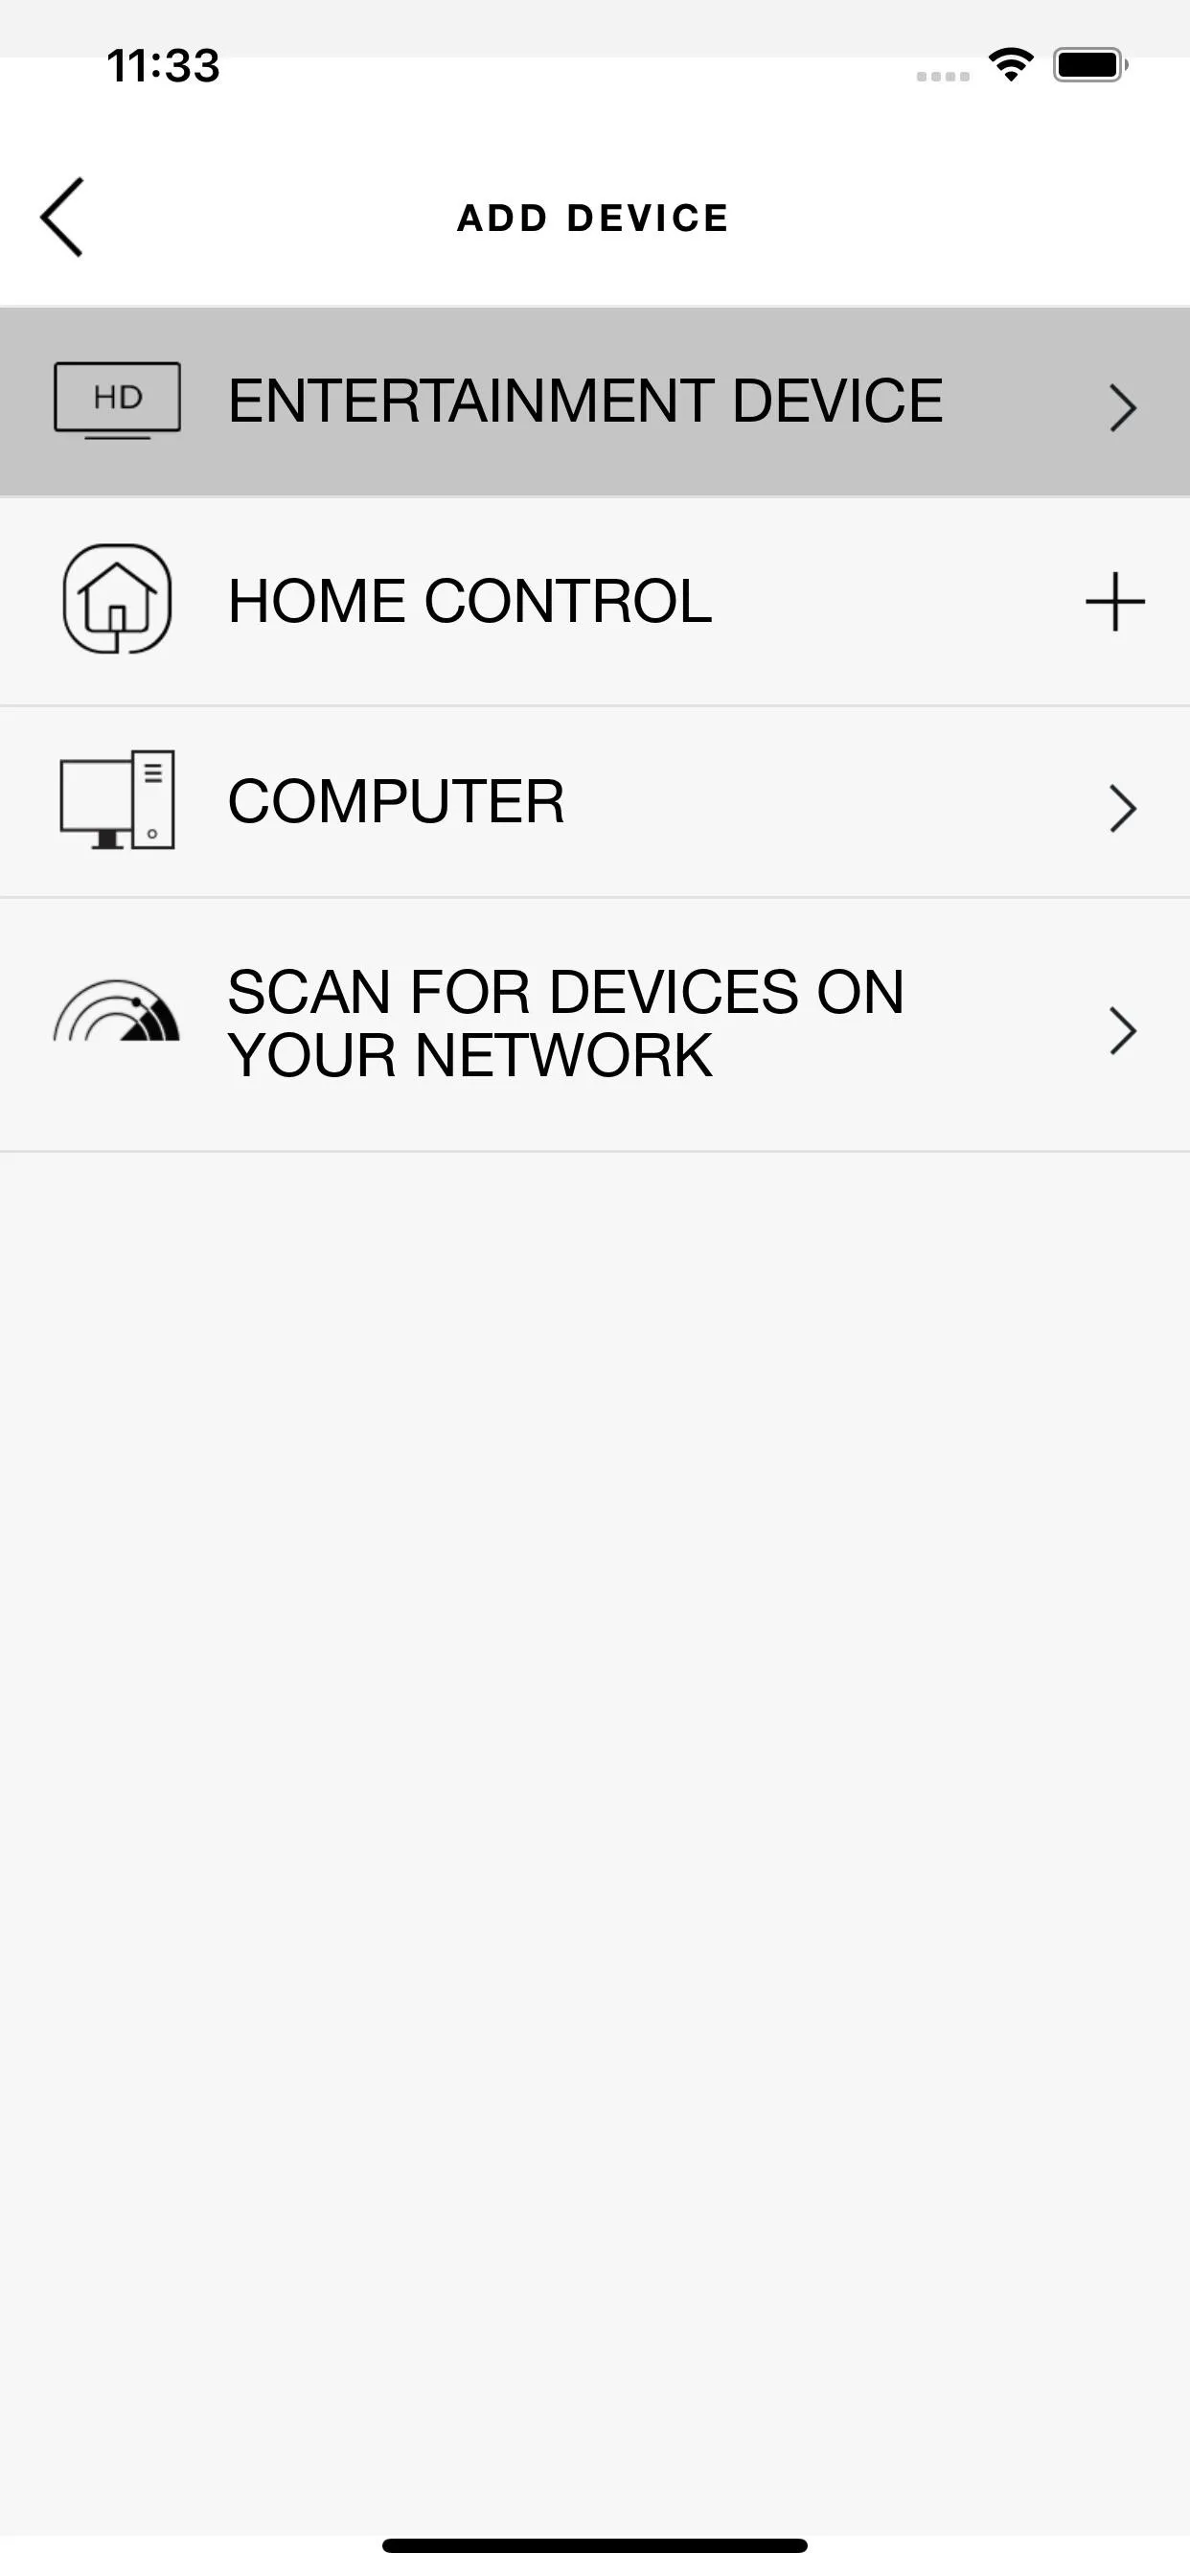
Next, log into your account if prompted, then from the main cloud-based menu (the one with the white background), select "Devices." Next, tap "Add Device," then your best bet is to select "Entertainment Device."


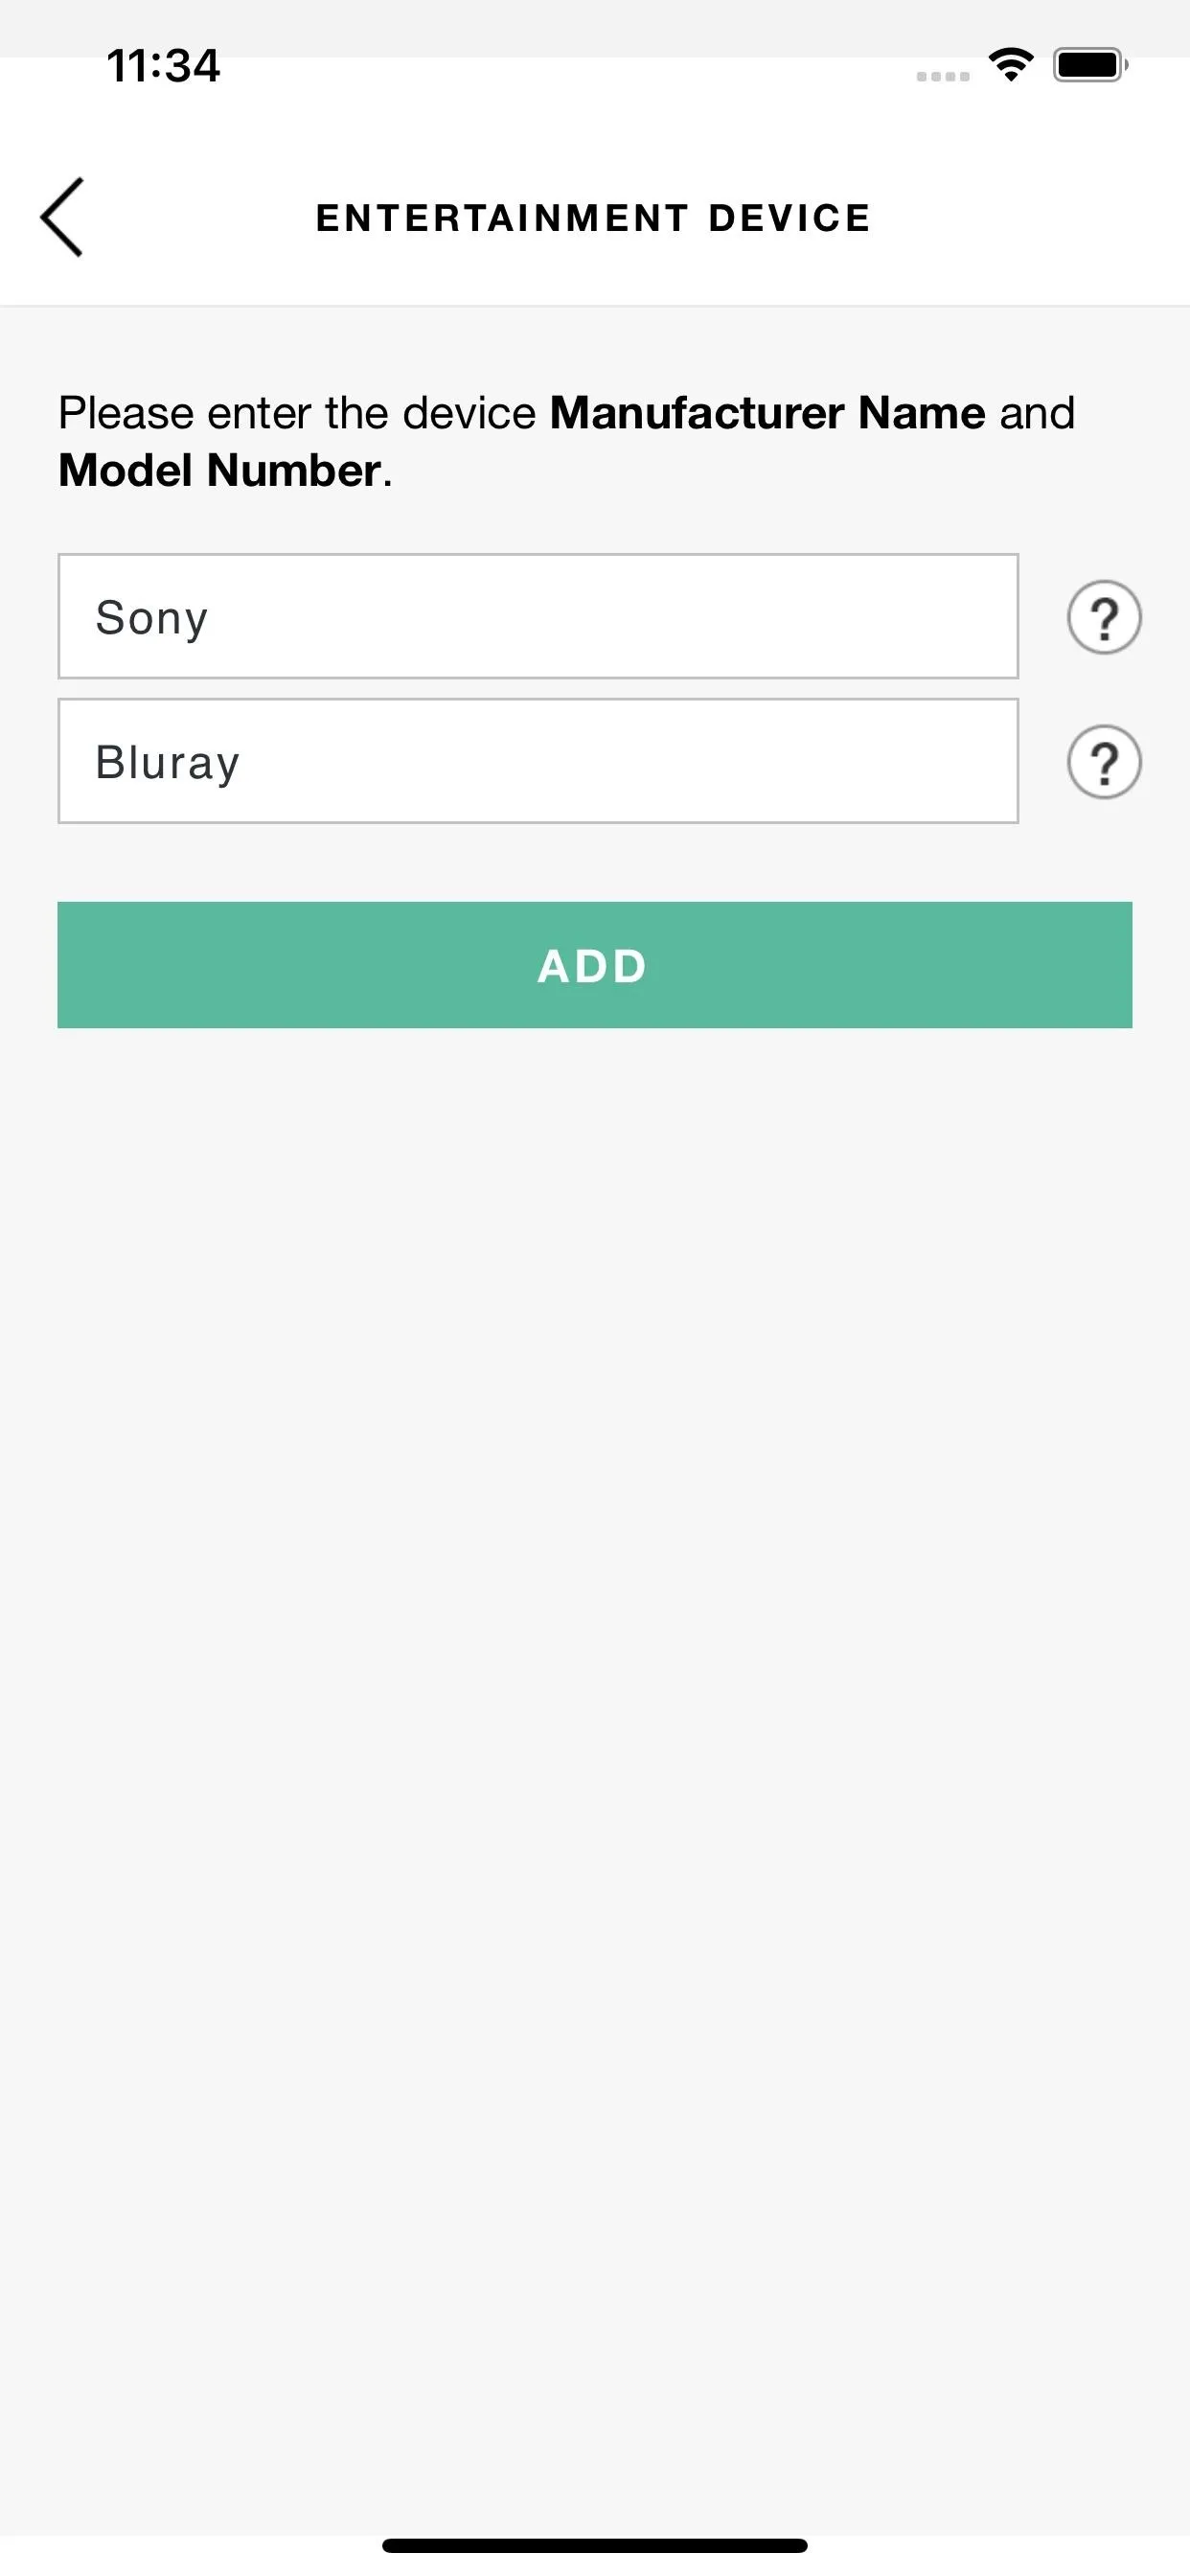
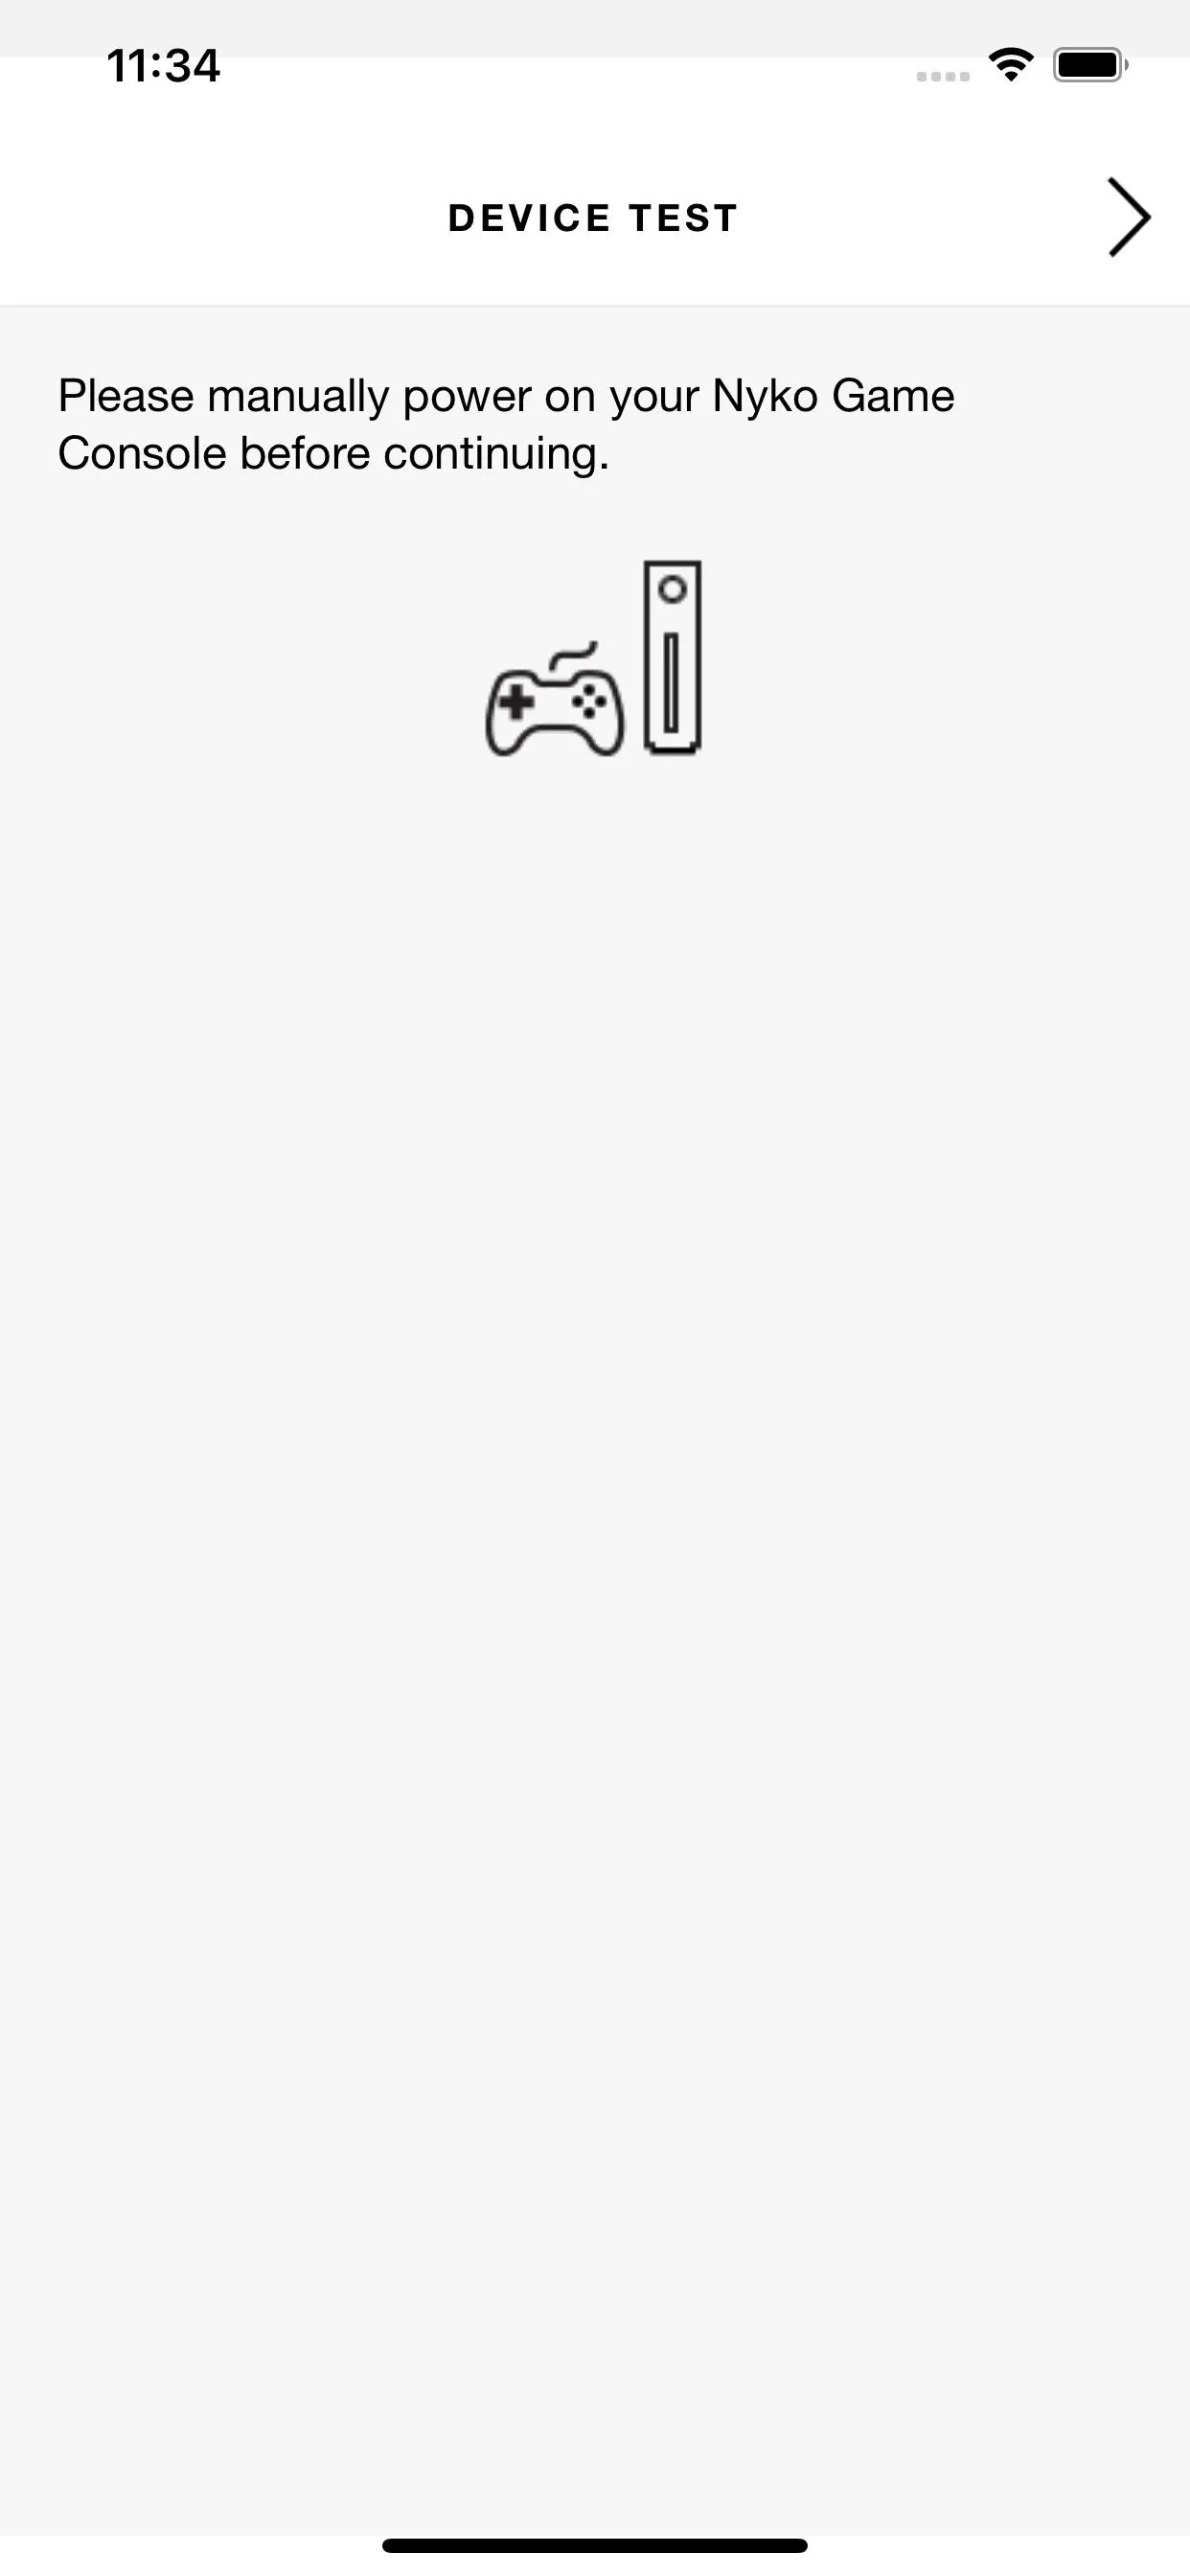
Now, search for a device you don't have. Ideally, one that you don't even have a different brand of, just in case the IR commands are similar. Since I haven't had a Blu-Ray player in over 10 years, I went with "Sony" in the first field, then "Bluray" in the second. This somehow registered as a Nyko Game Console, which I also don't have.
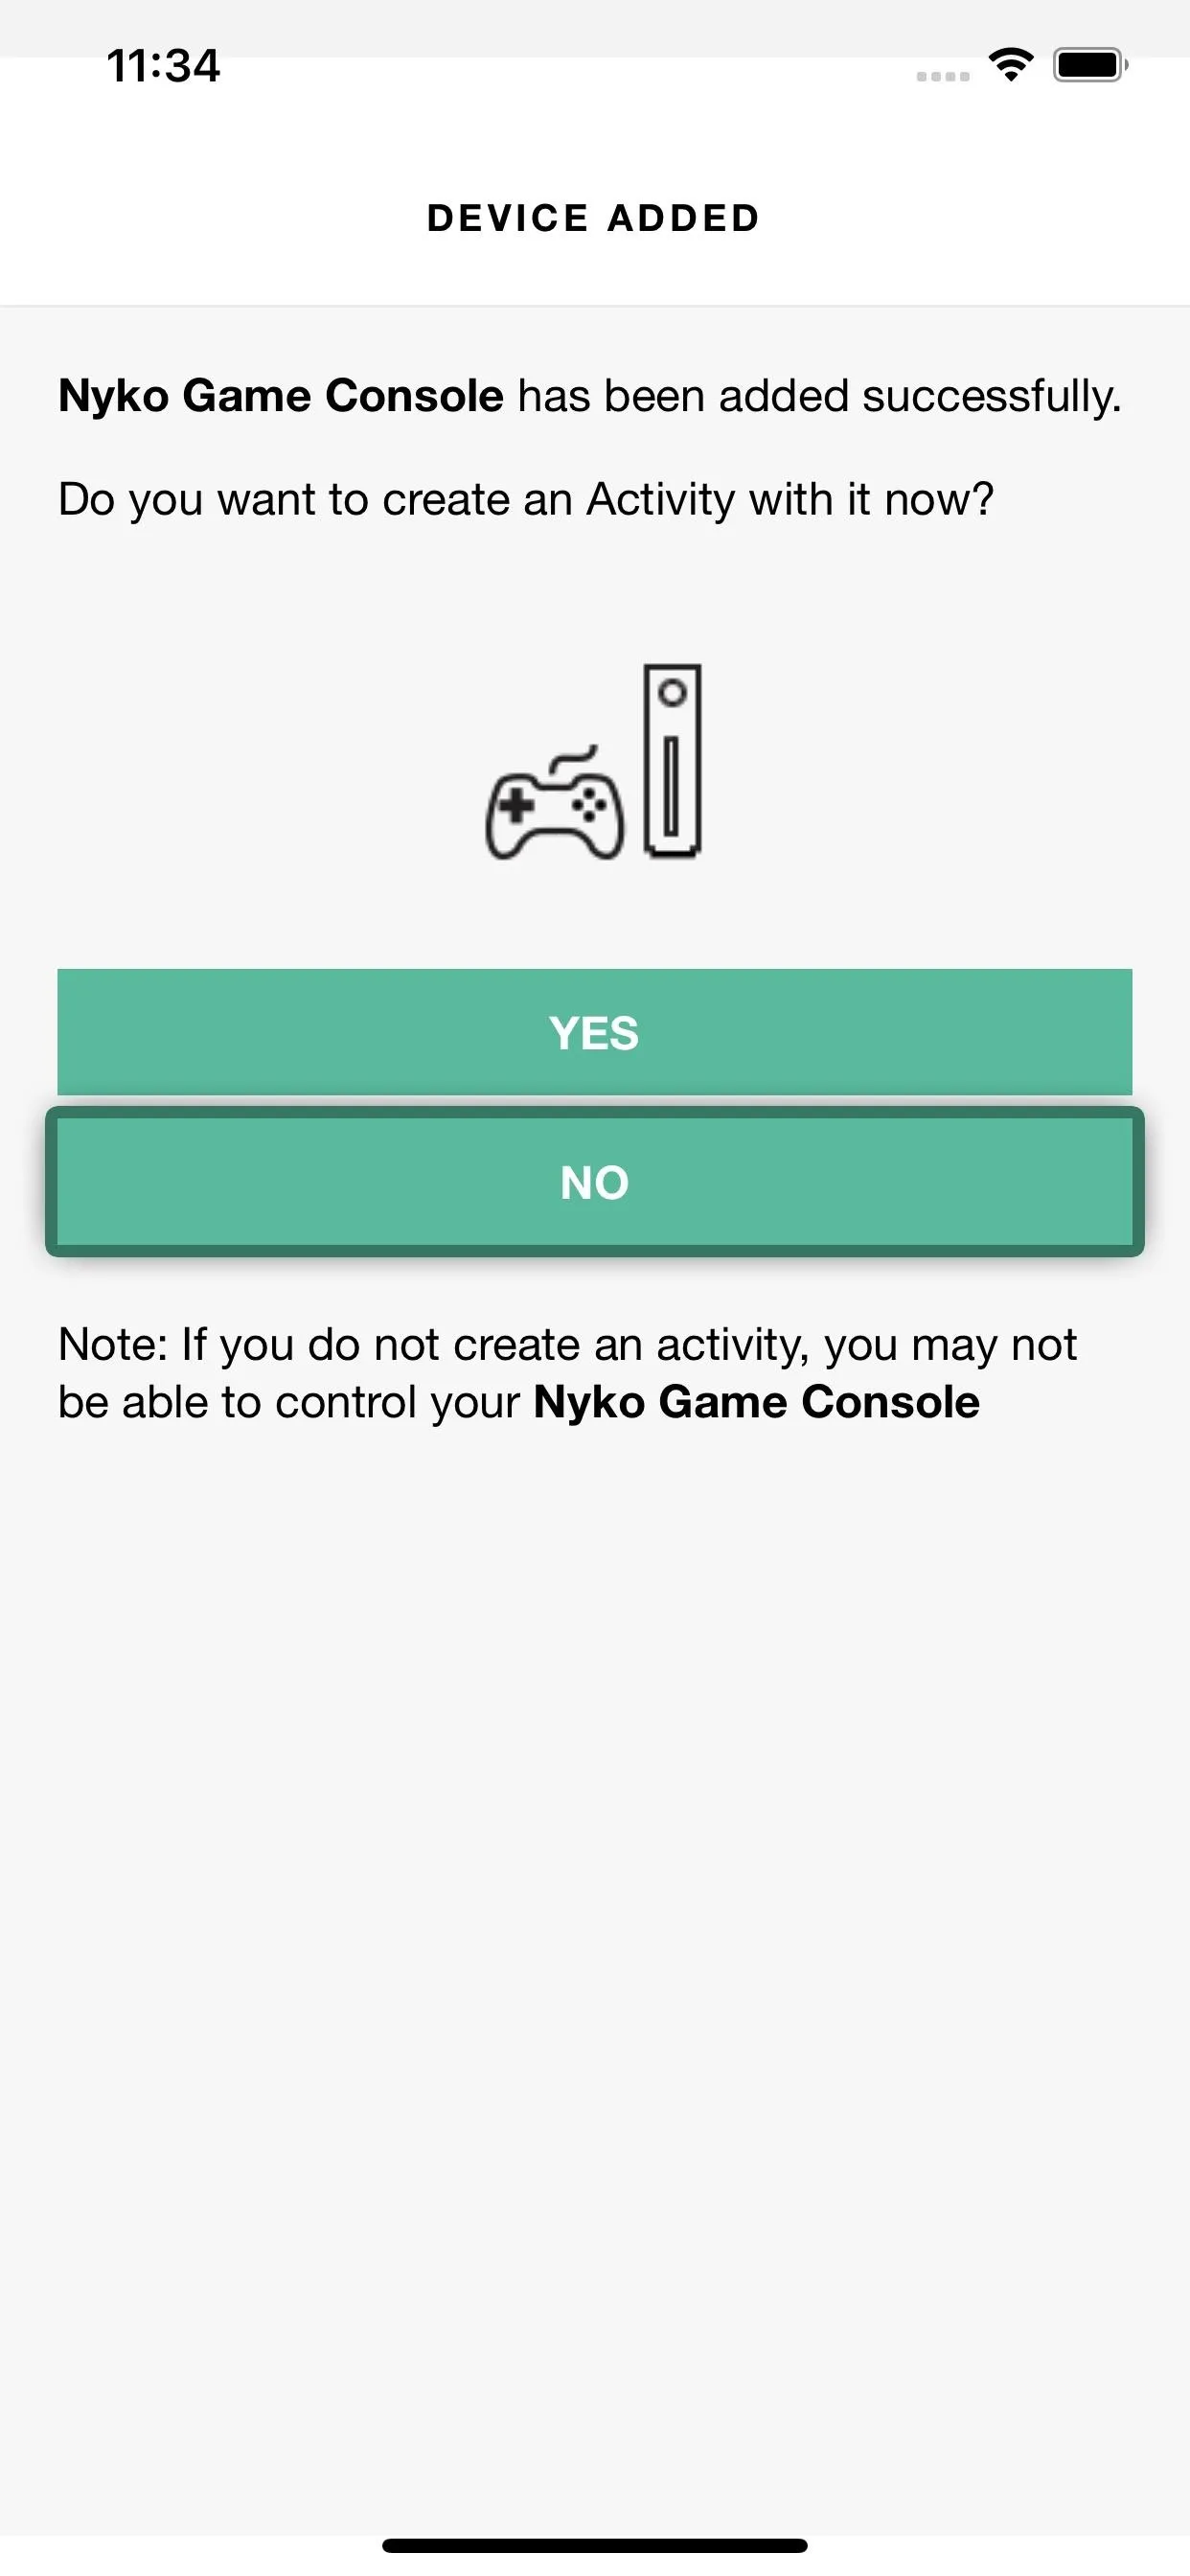
Once you've picked a device, follow the prompts to add it by tapping the forward arrow in the top-right corner. When you get to the end, tap "No" when asked if you'd like to create an activity with that device — you'll get more straightforward options if you do that manually.


Step 2: Create a Blank Activity
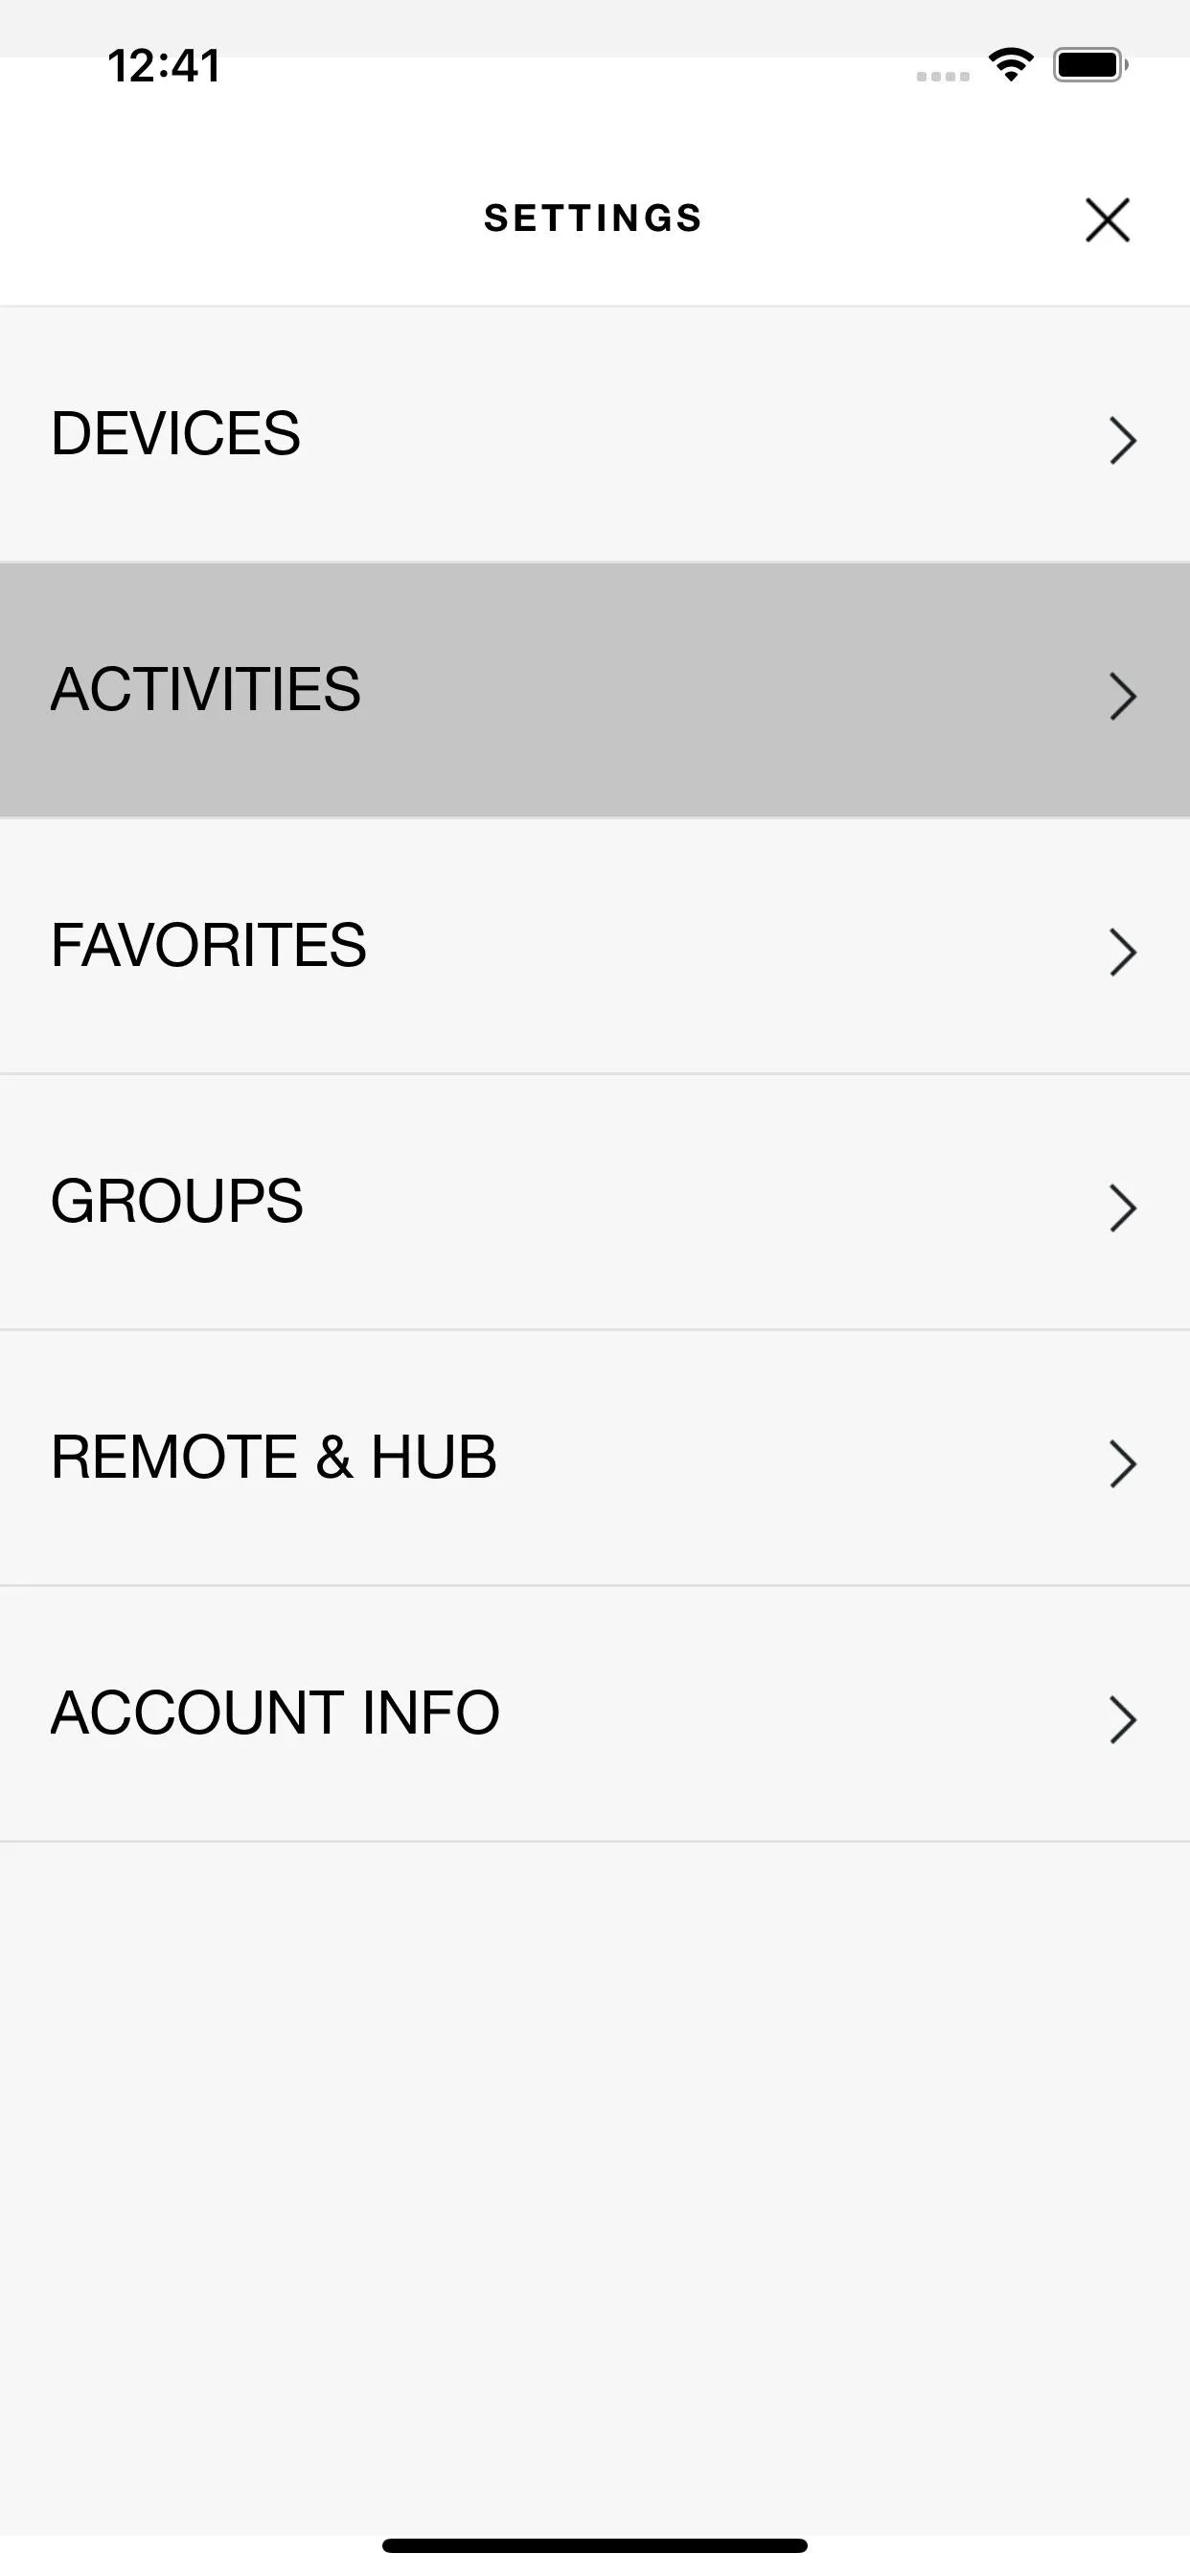
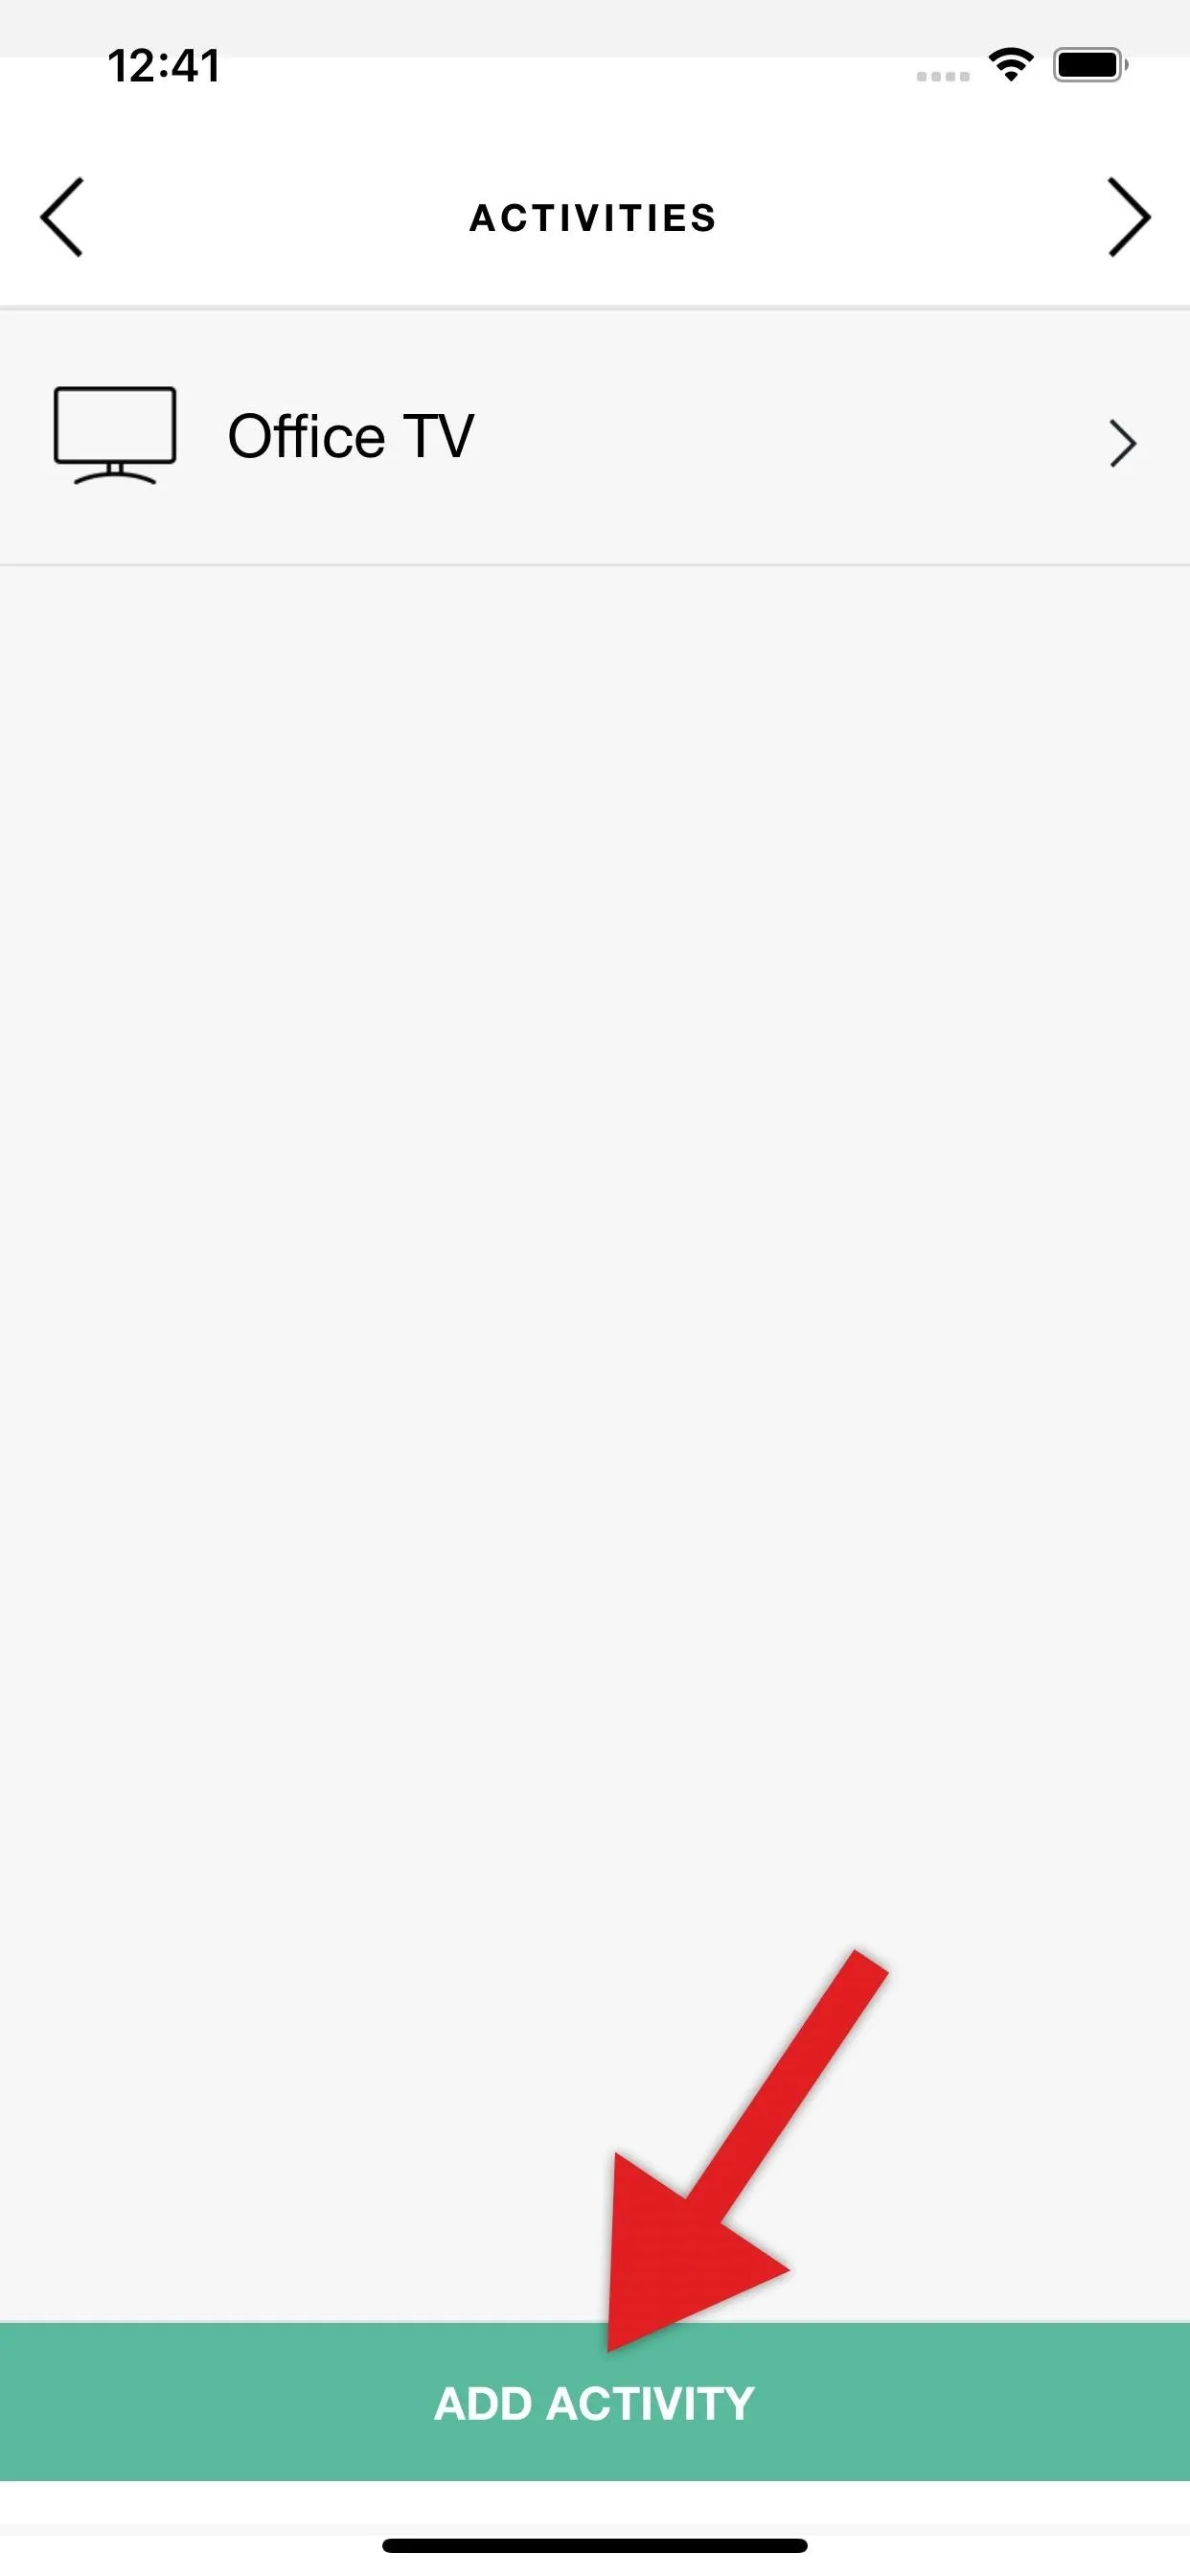
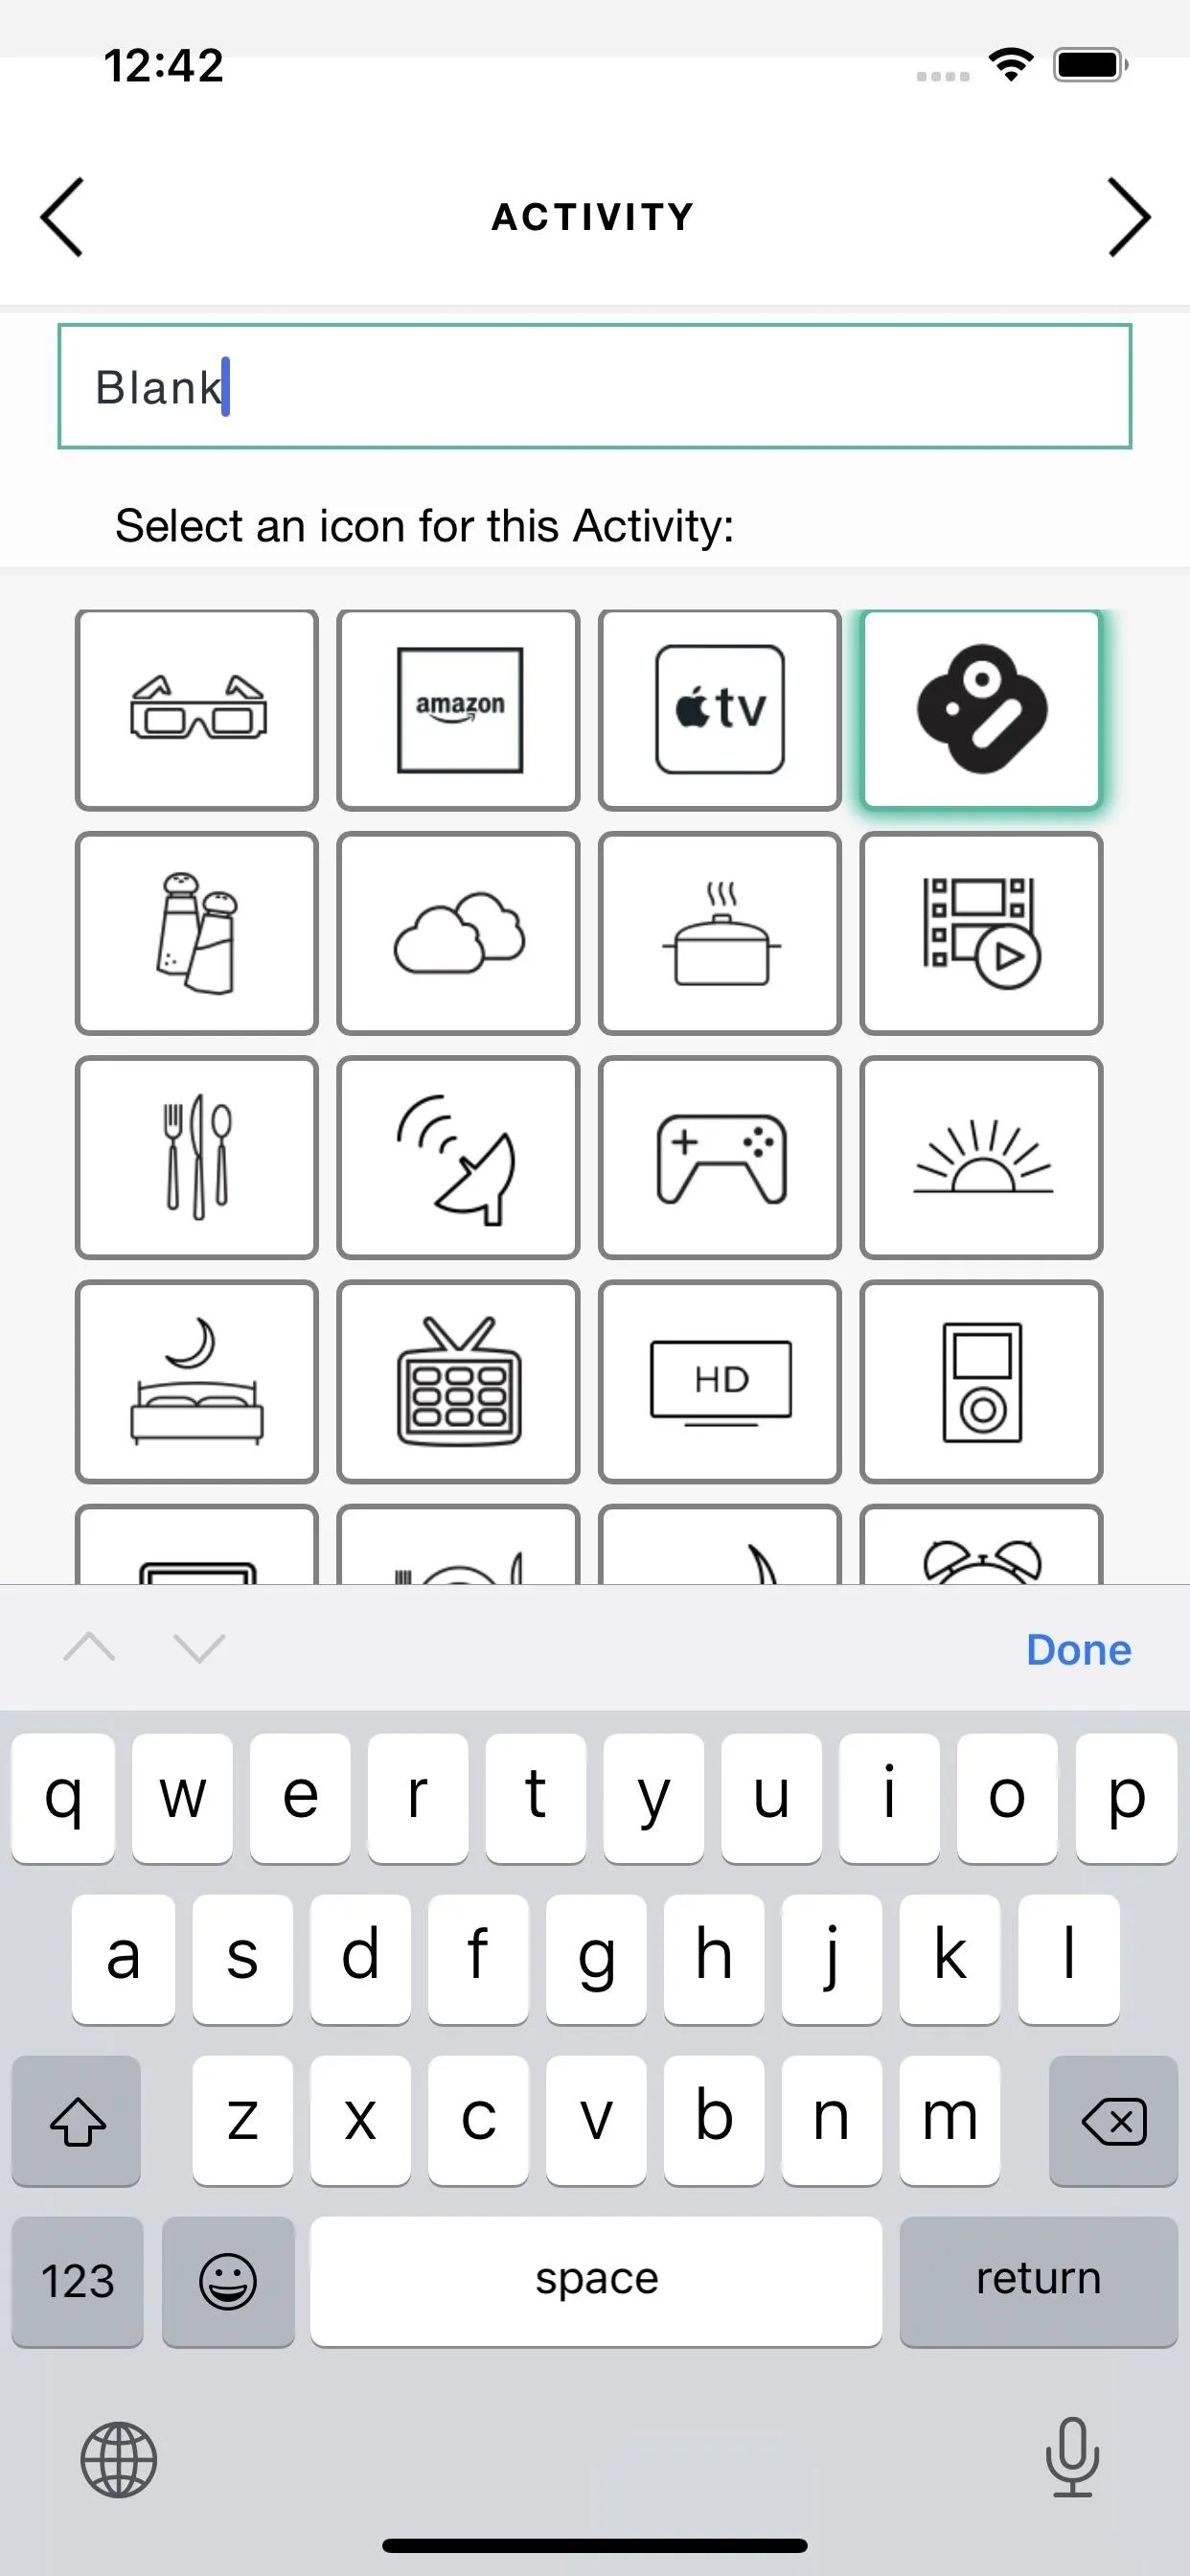
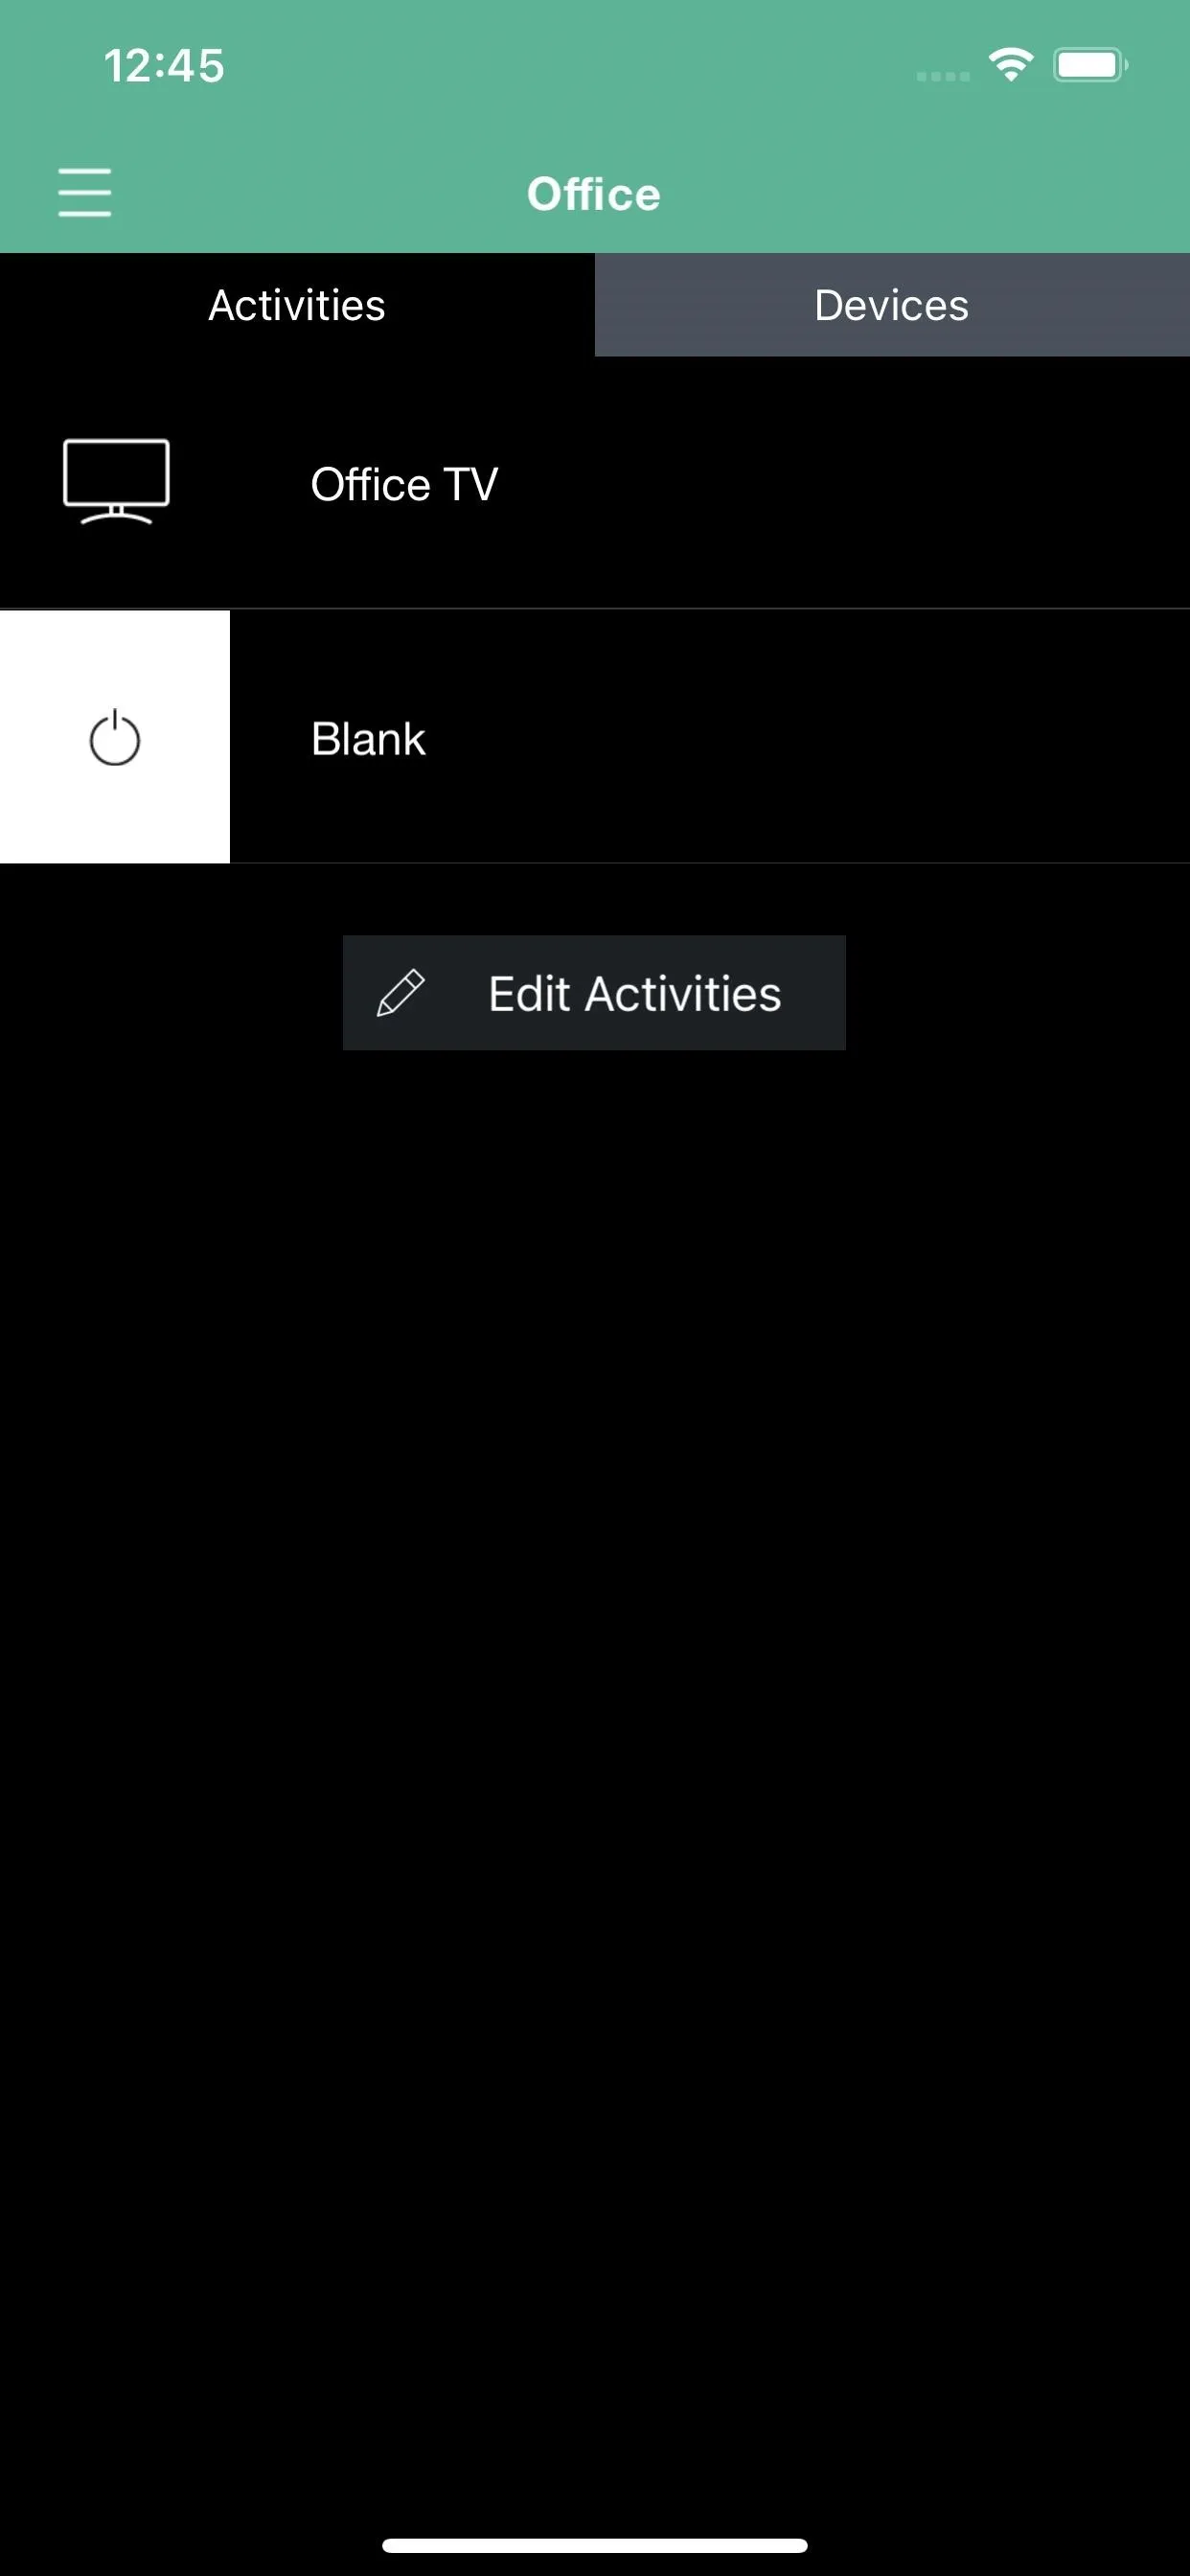
From the main cloud-based menu again, tap "Activities," then choose "Add activity." Name it something like "Blank," select an icon, then tap the forward arrow to skip through the rest of setup.


Step 3: Assign the Blank Activity to Your Main Activity Buttons
Here's the meat of the trick. You're going to assign that activity to the main activity buttons at the top of your remote. This gives you a quick way to put the remote into a mode that does nothing — effectively making it a locked remote.
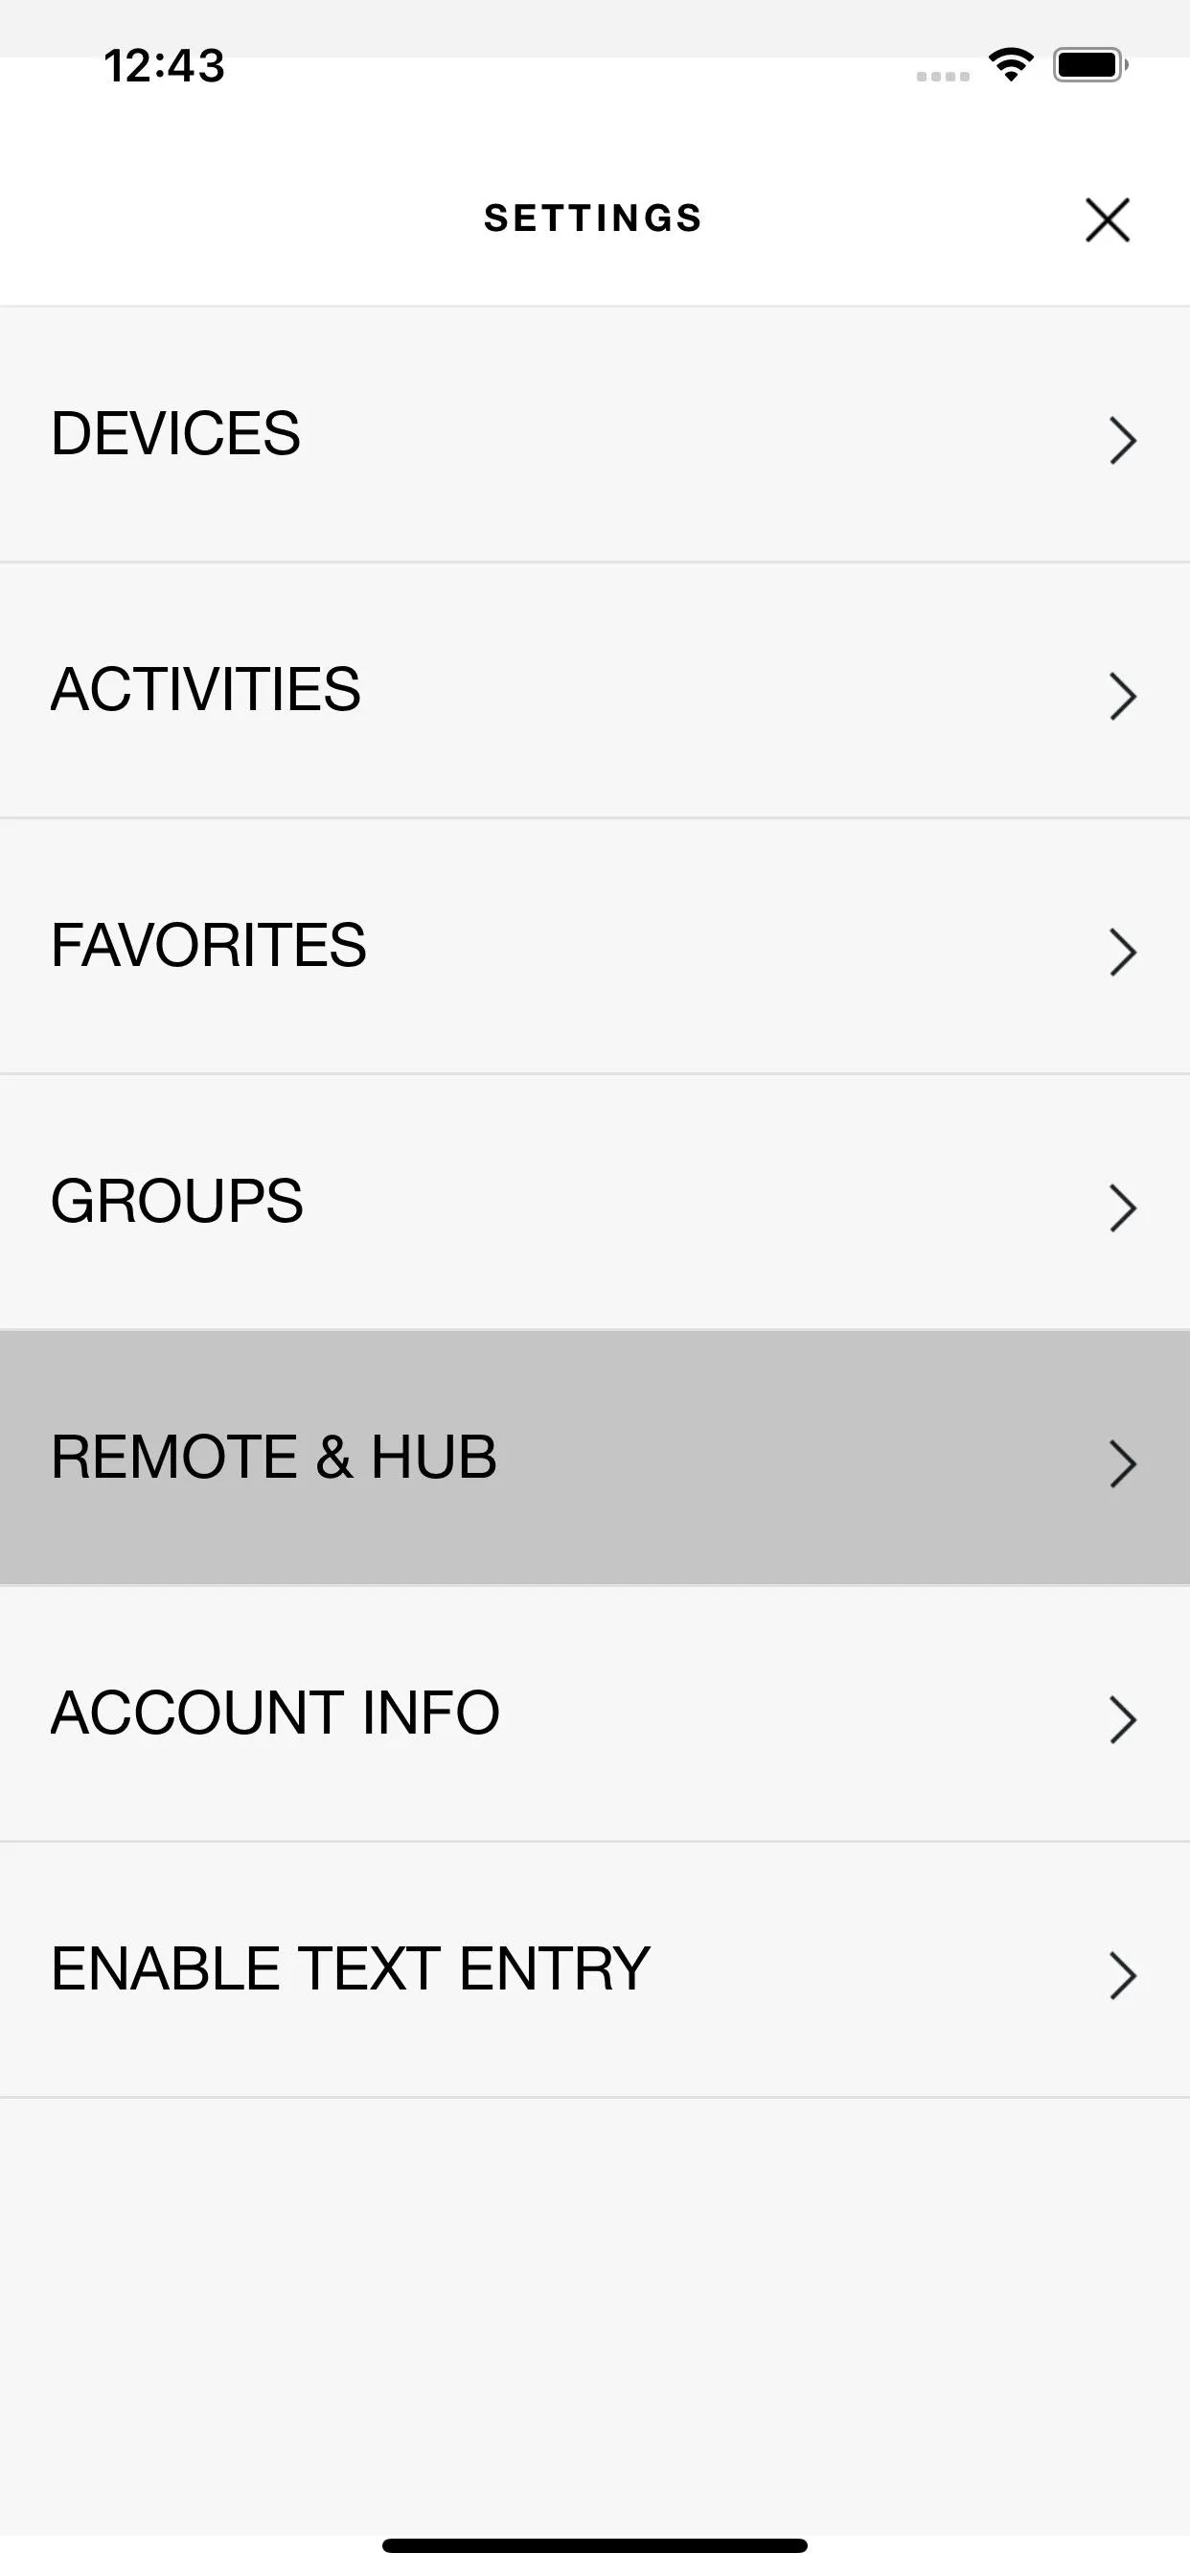
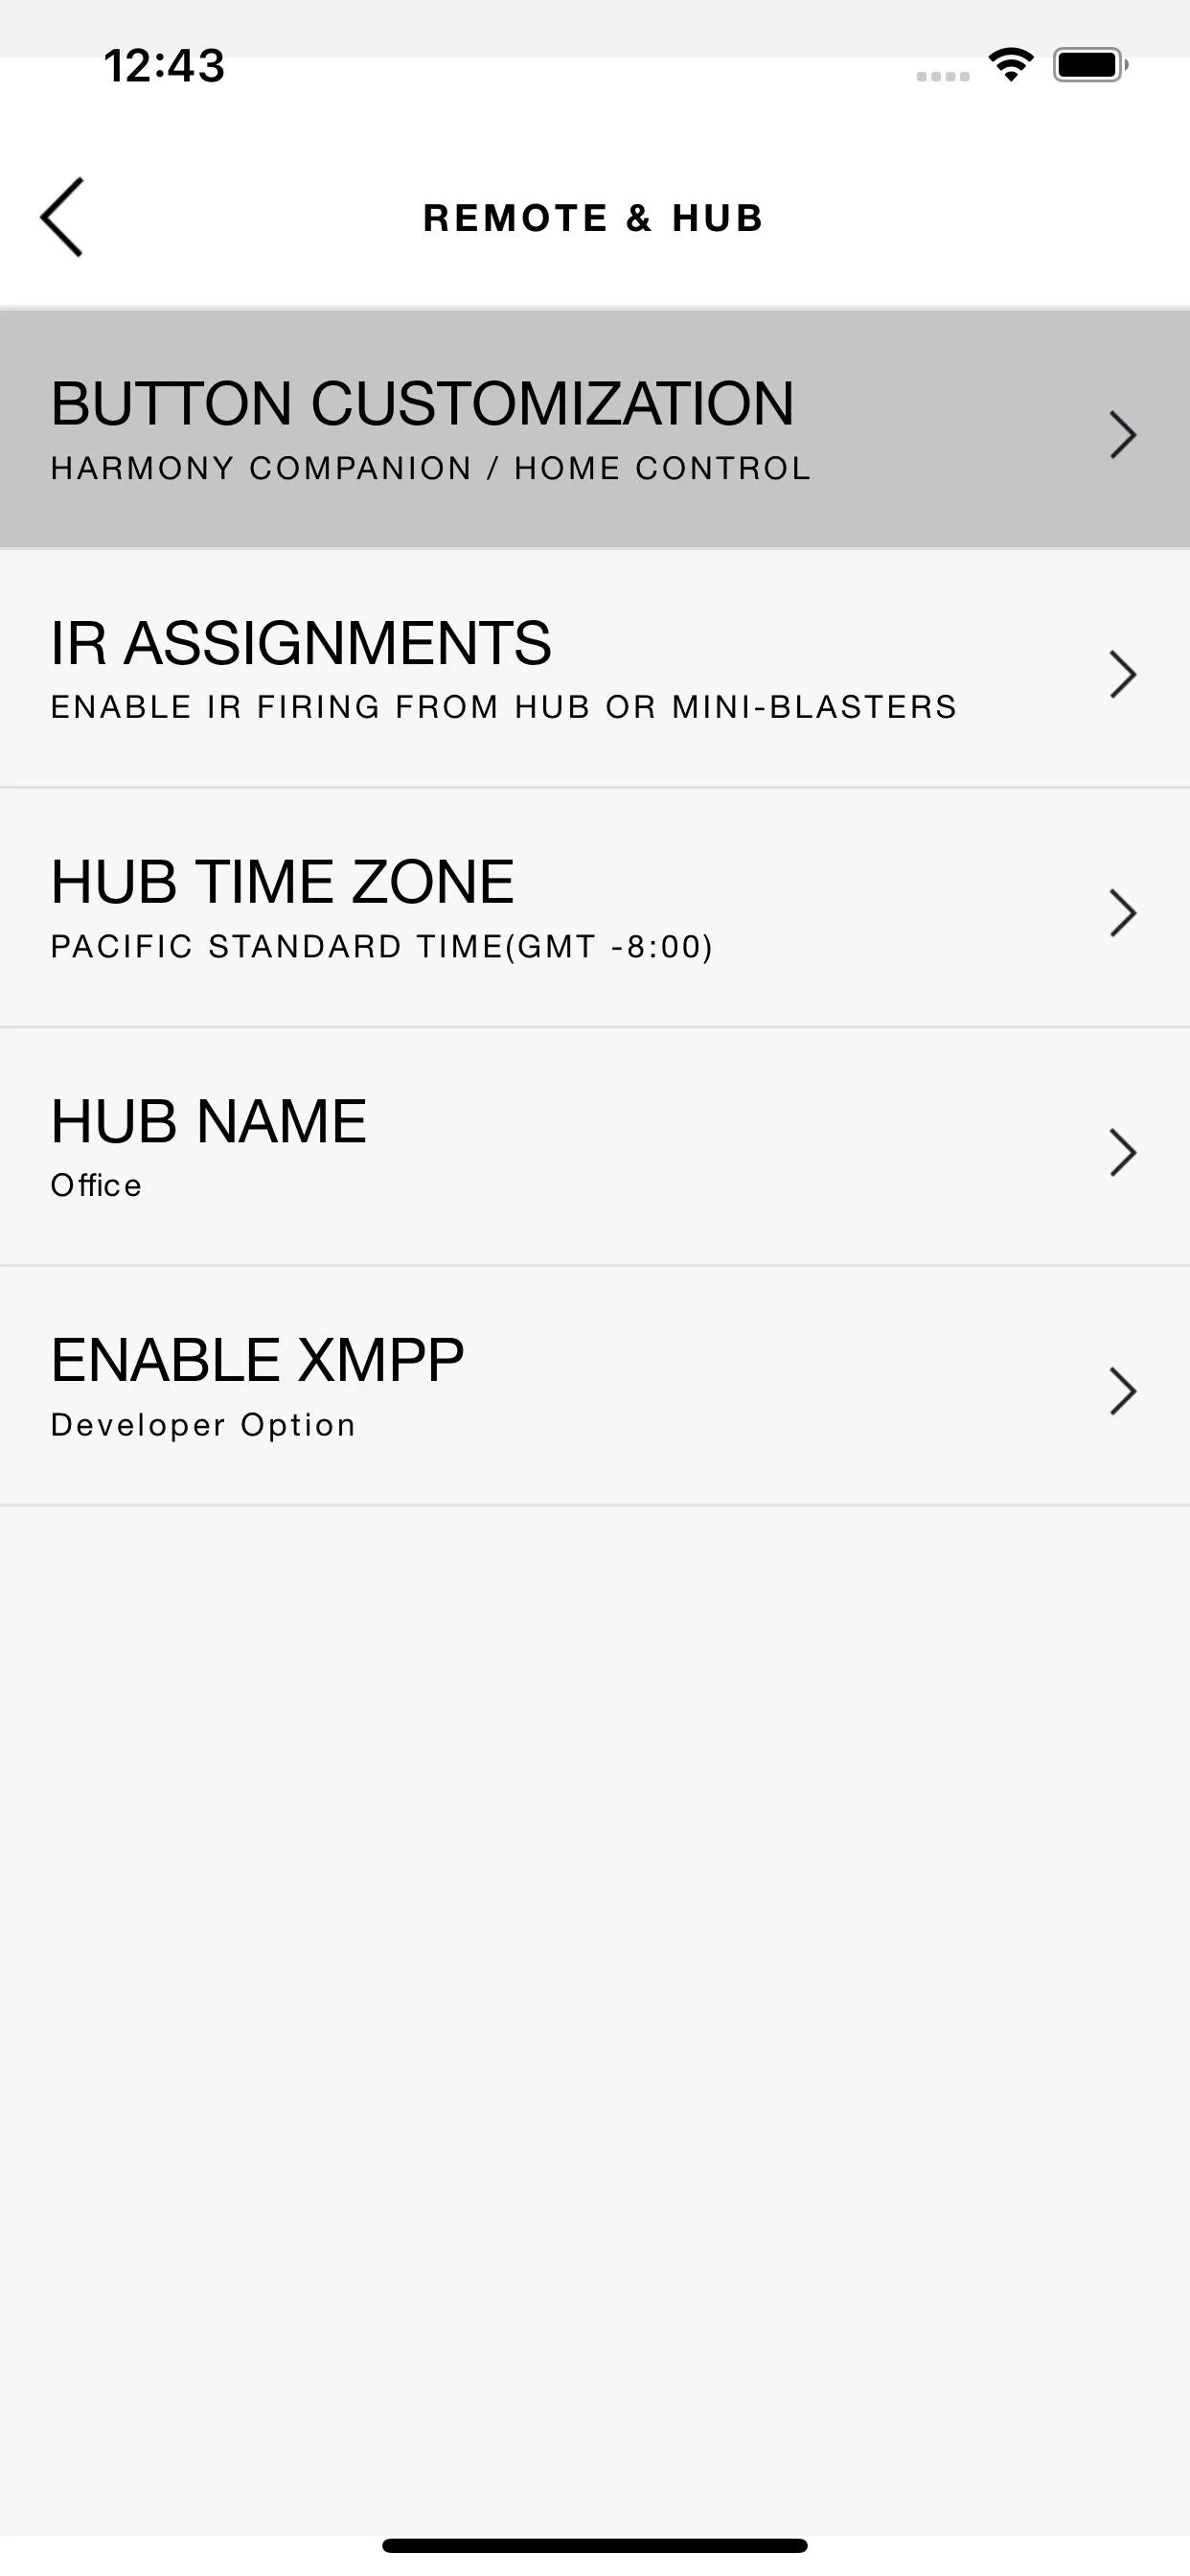
So from the main cloud-based settings menu again, select "Remote & Hub," then choose "Button Customization" on the following screen.


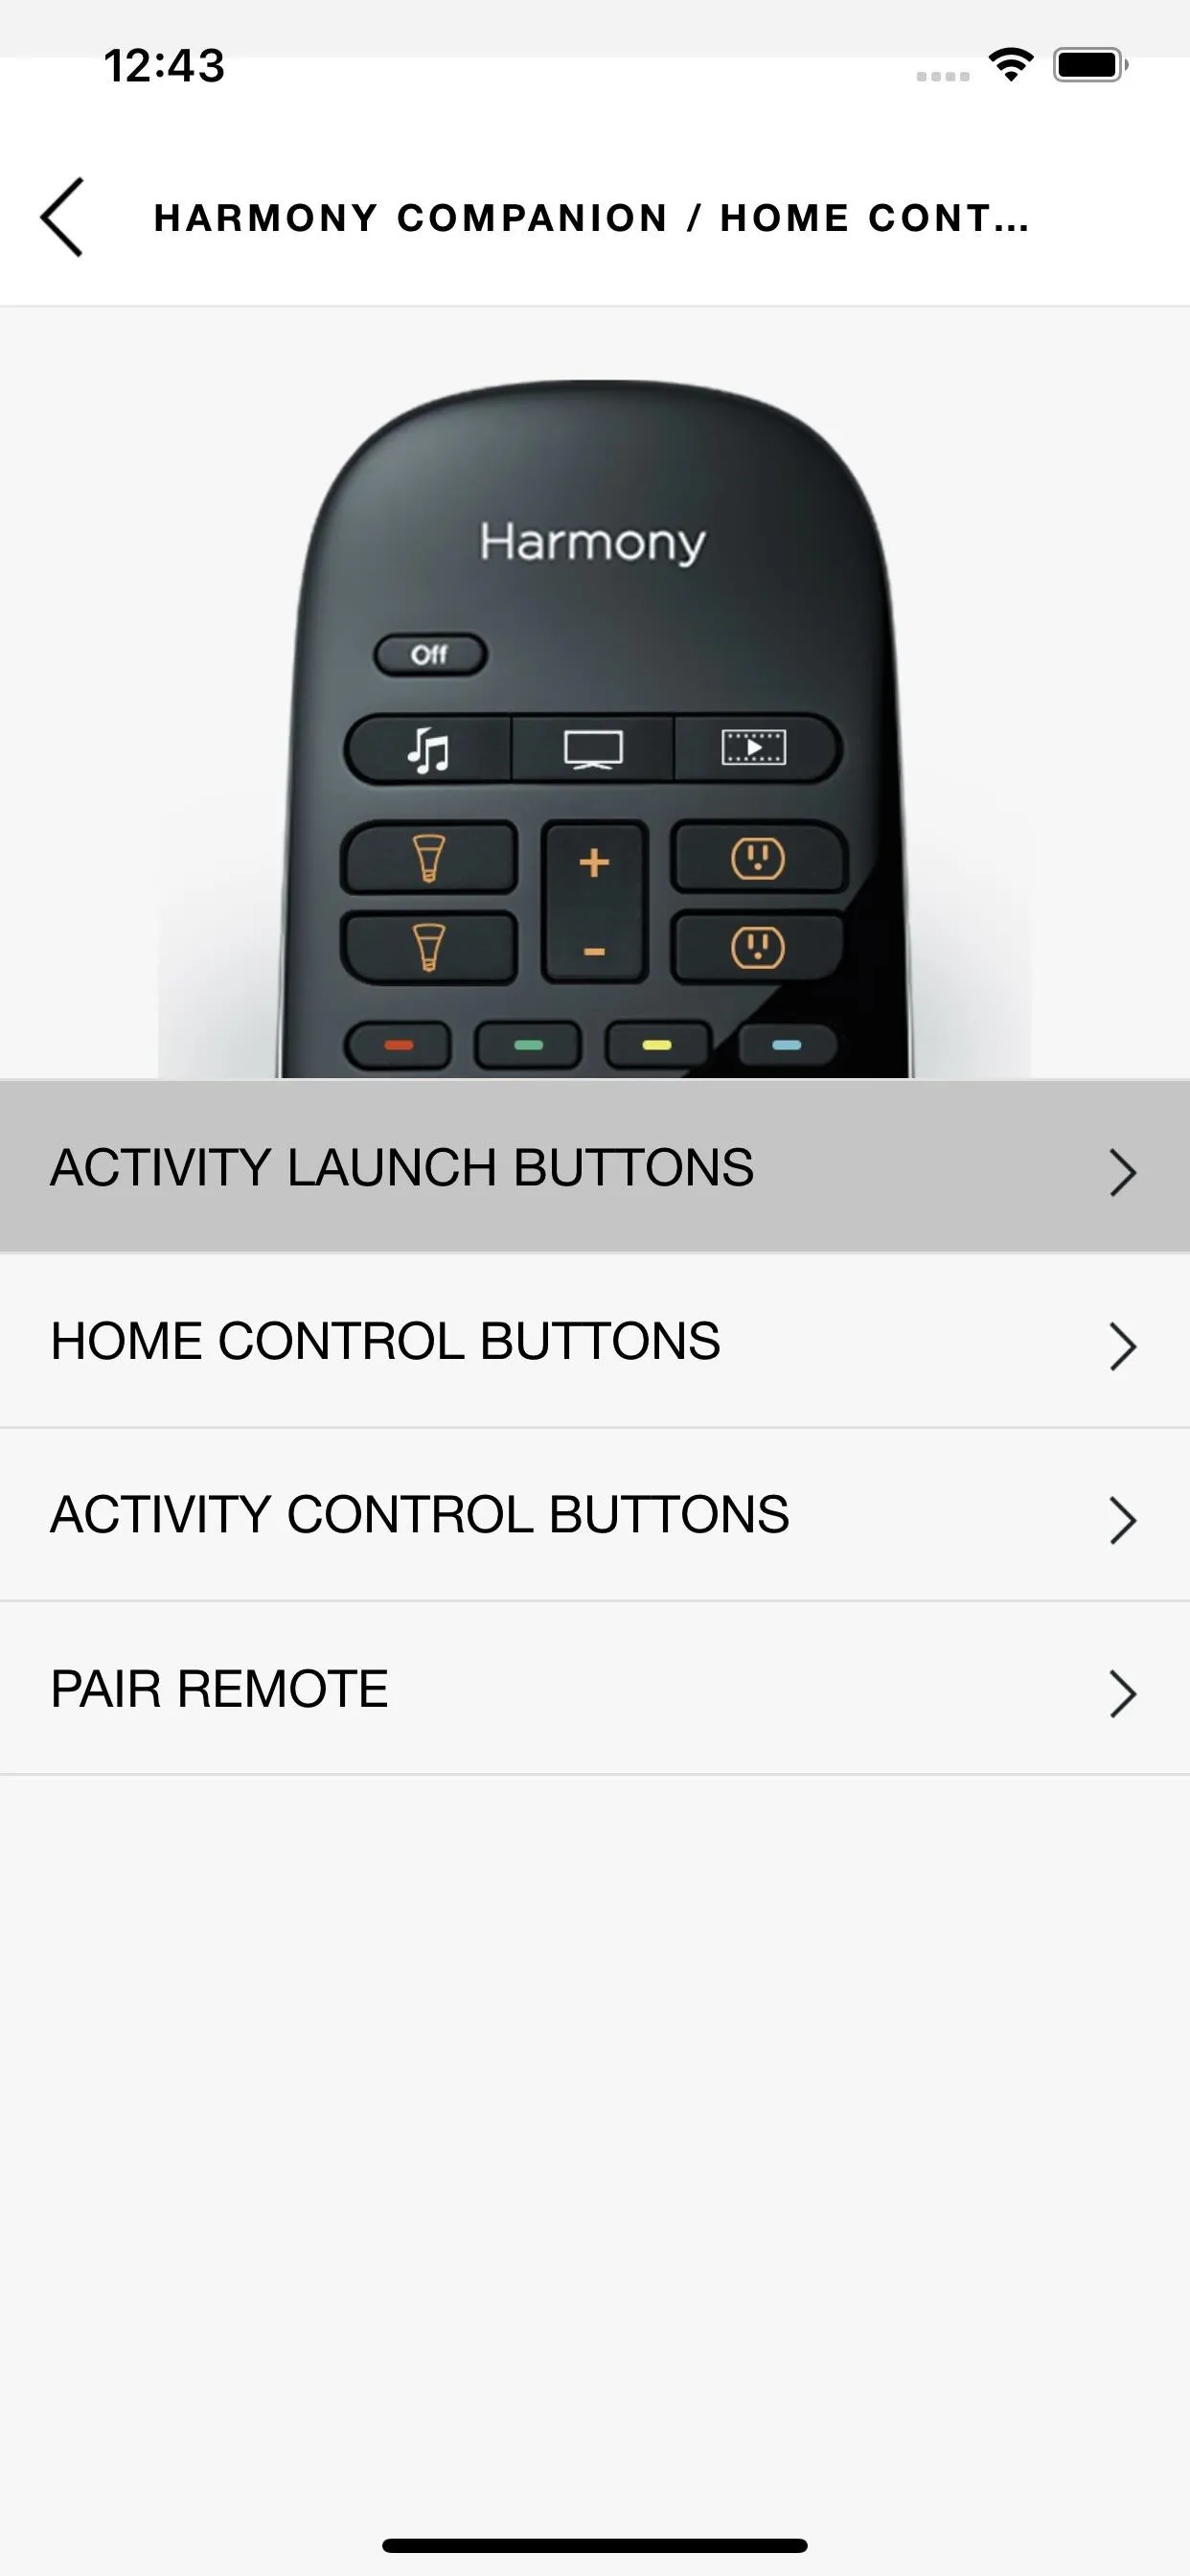
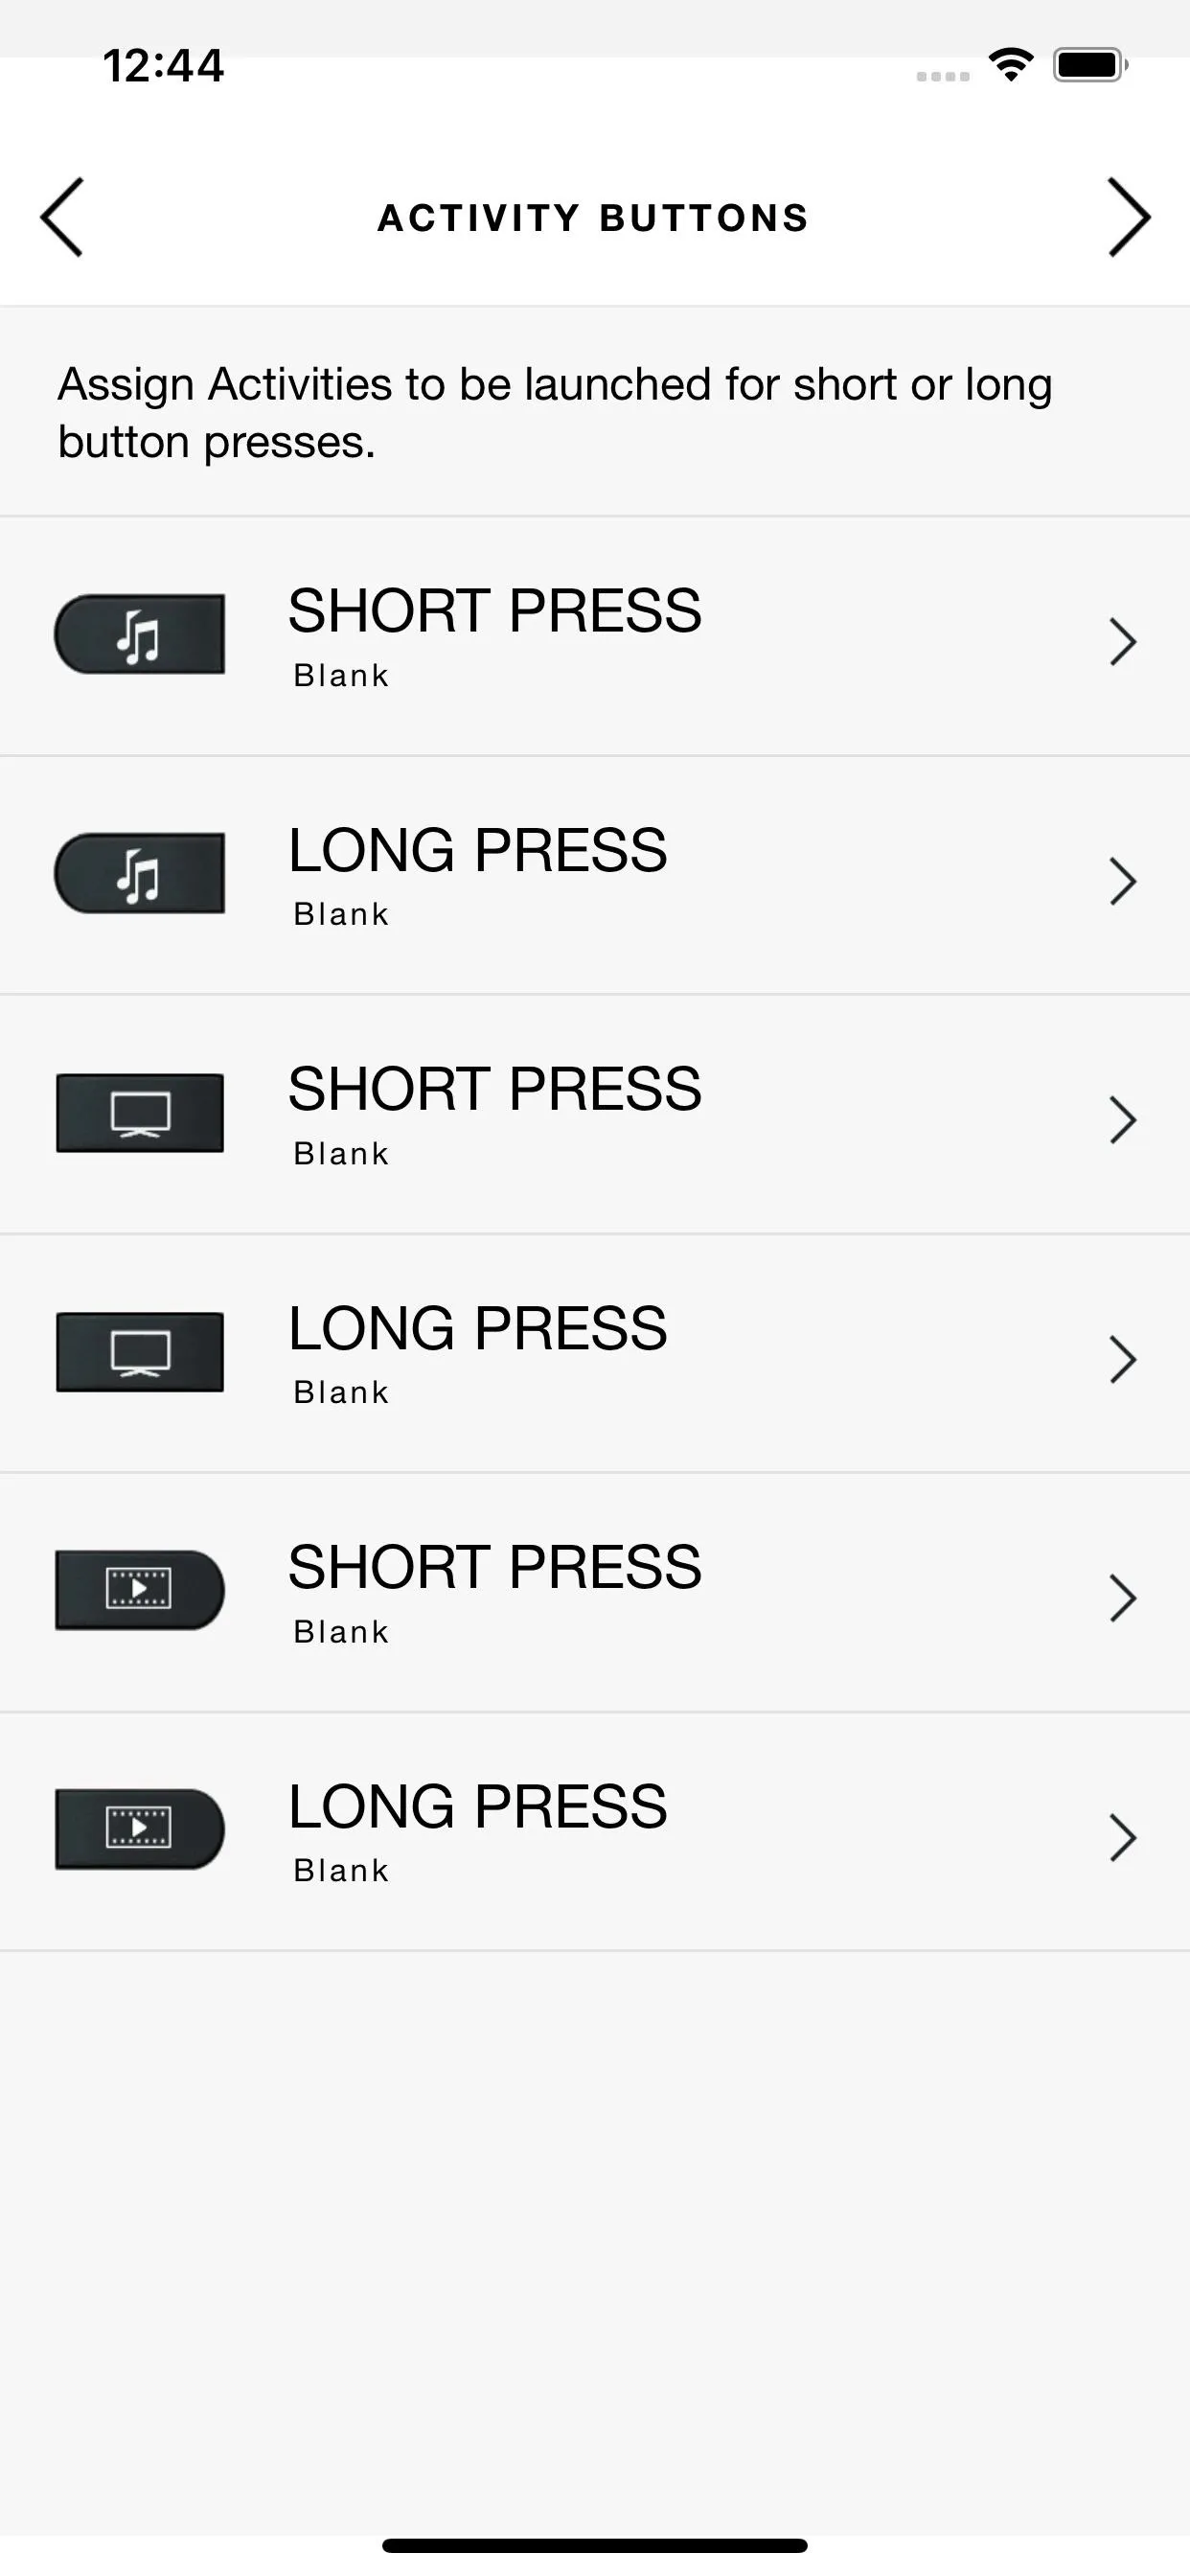
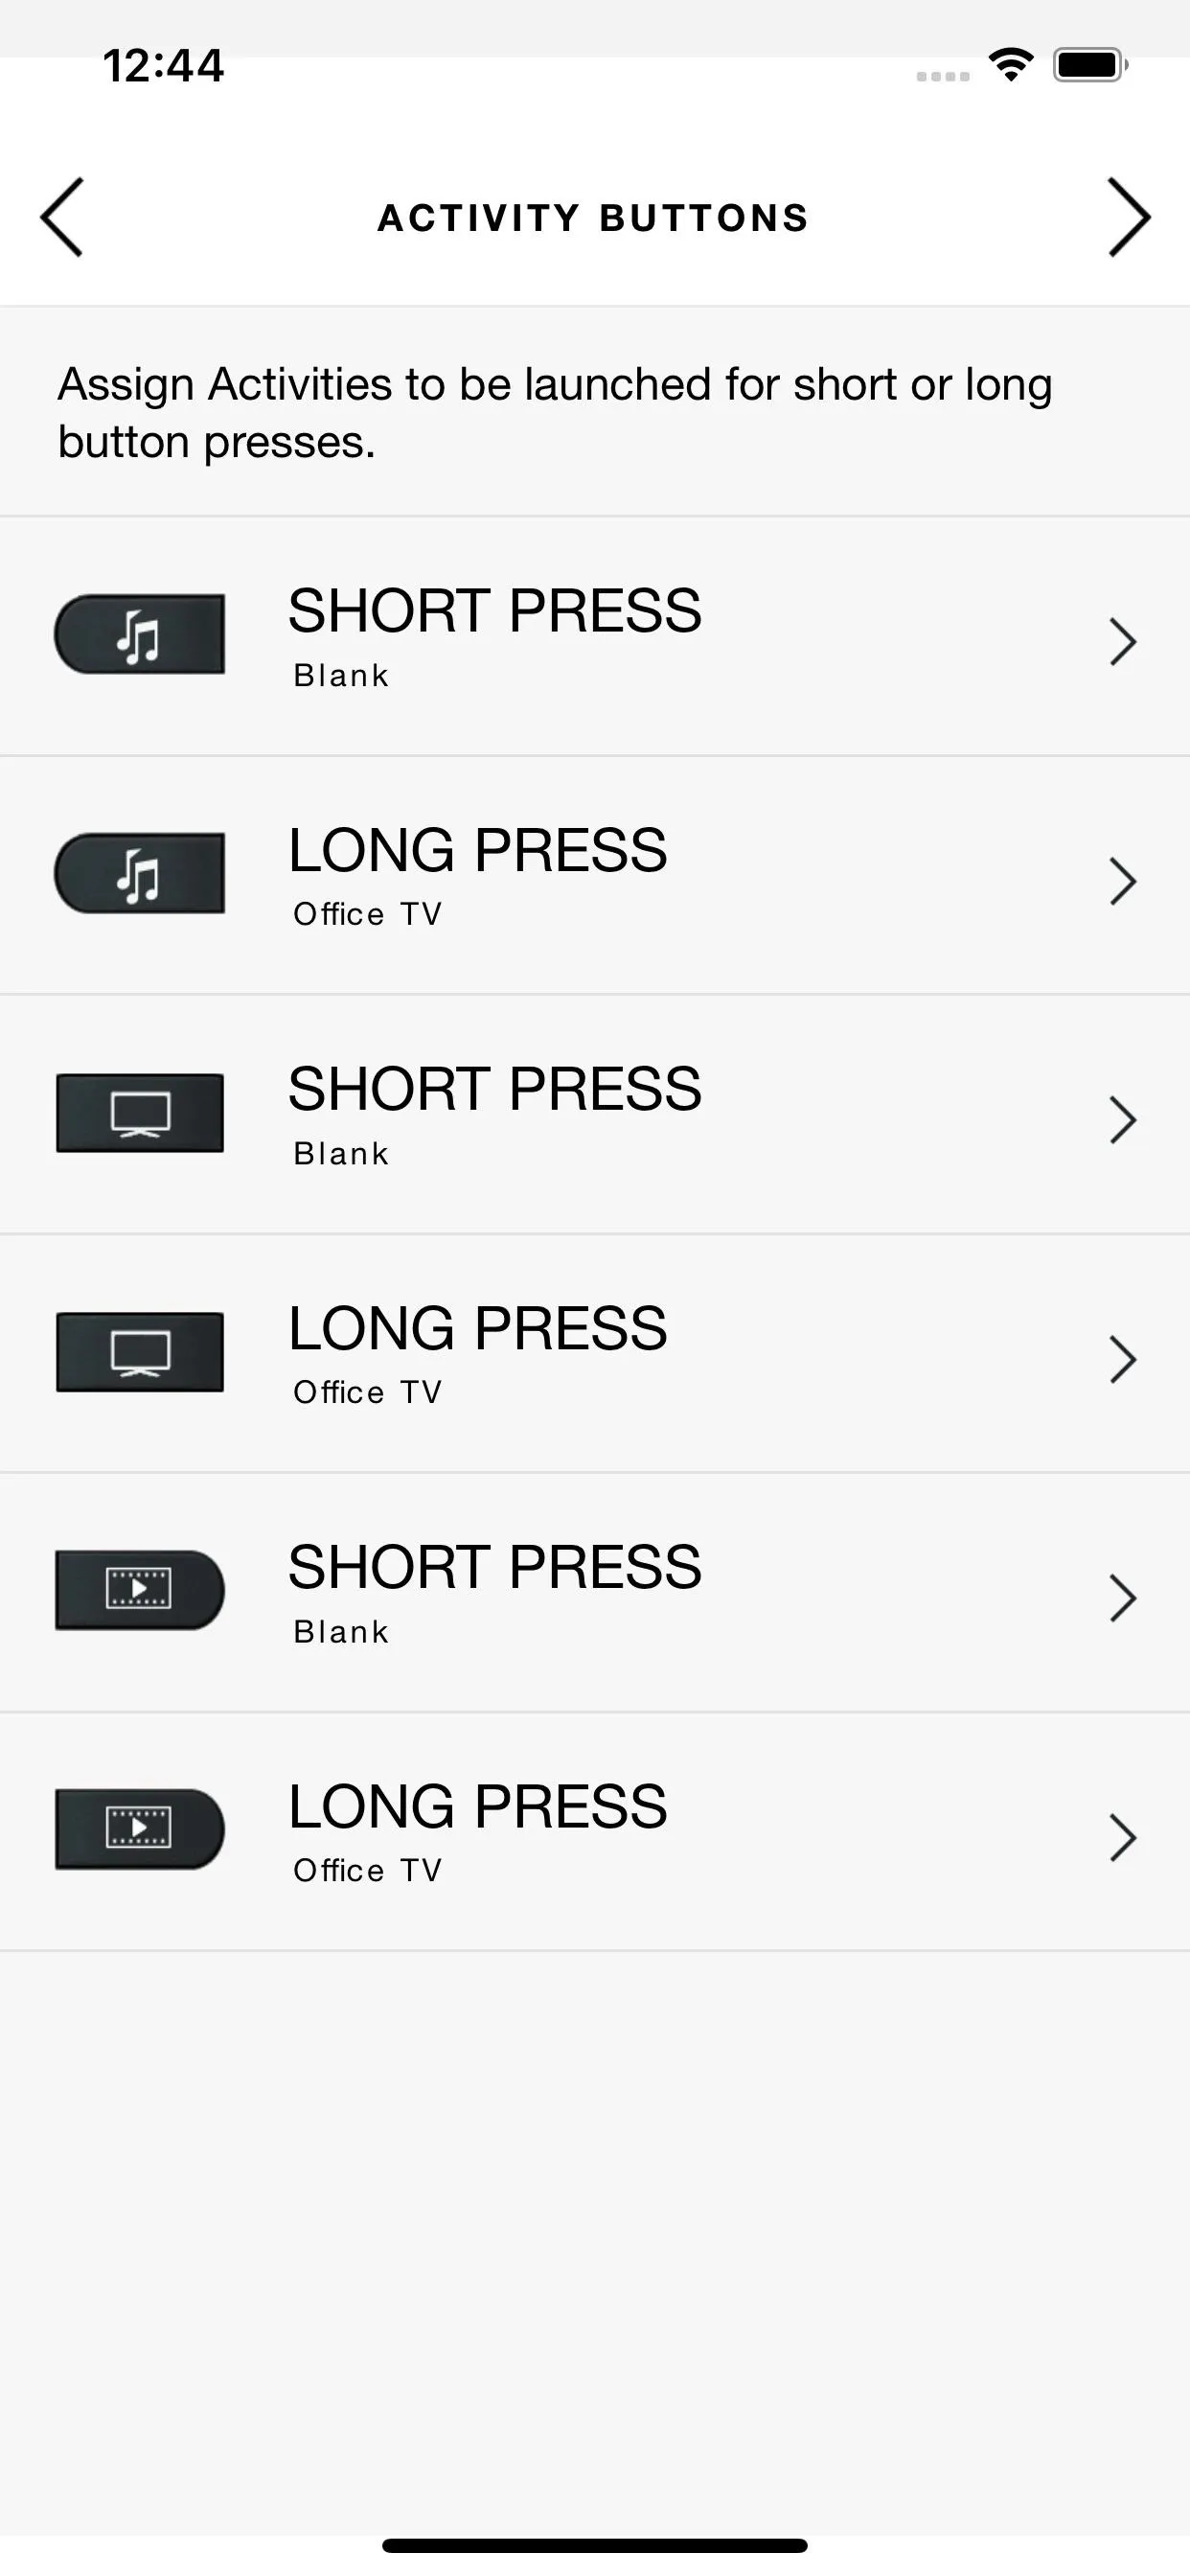
Now, head to "Activity Launch Buttons" and select, at a minimum, all three of the "Short Press" options. If you have an older child, you'll probably want to do the "Long Press" options as well.
But either way, go through each option one by one and set the button to launch your "Blank" activity. Make sure to tap the forward arrow when you're done to save your changes.


Step 4: Make a Way to Access Your Regular Activities
At this point, you can press any of the three Activity Launch buttons at the top of your remote to put it into "Childproof Mode." The next challenge will be creating a way to access your regular activity or activities. Depending on your child's age, there are different solutions for this part.
With my toddler, I've found that setting the "Long Press" actions in the Activity Buttons menu to my normal activity is enough. When I want to lock the remote, I short-press any of the three buttons. When I want to use it, I long-press one of them, making sure the kiddo never sees exactly what I'm doing. He's a smart little dude, but he's still gotten nowhere near figuring this out at 2.5 years old.
If your kid is older and you think they would figure this out, you'd be better off leaving all the short-press and long-press options set to the new "Blank" activity. You could then "unlock" the remote using the Harmony app on your phone when you need to access it. Alternatively, you could ask your Google Home or Amazon Alexa to turn on the activity, provided you've set that up.


Cover image and screenshots by Dallas Thomas/Gadget Hacks



Comments
No Comments Exist
Be the first, drop a comment!