If you work with multiple email addresses, you need an app that can organize and declutter your day-to-day messages. Outlook is a great choice, but if you only have one account attached, it somewhat defeats the purpose. Lucky for you, adding additional email accounts is both quick and simple.
When you first set up Outlook, you actually have the opportunity to add a second email address after completing the first. If you're like me, you might have tapped "Skip" to get back to your inbox full of mail. That's fine! You can add additional accounts just as easily within the app. No need to reset your app and start over. We have a faster way.
Adding More Email Accounts to Outlook
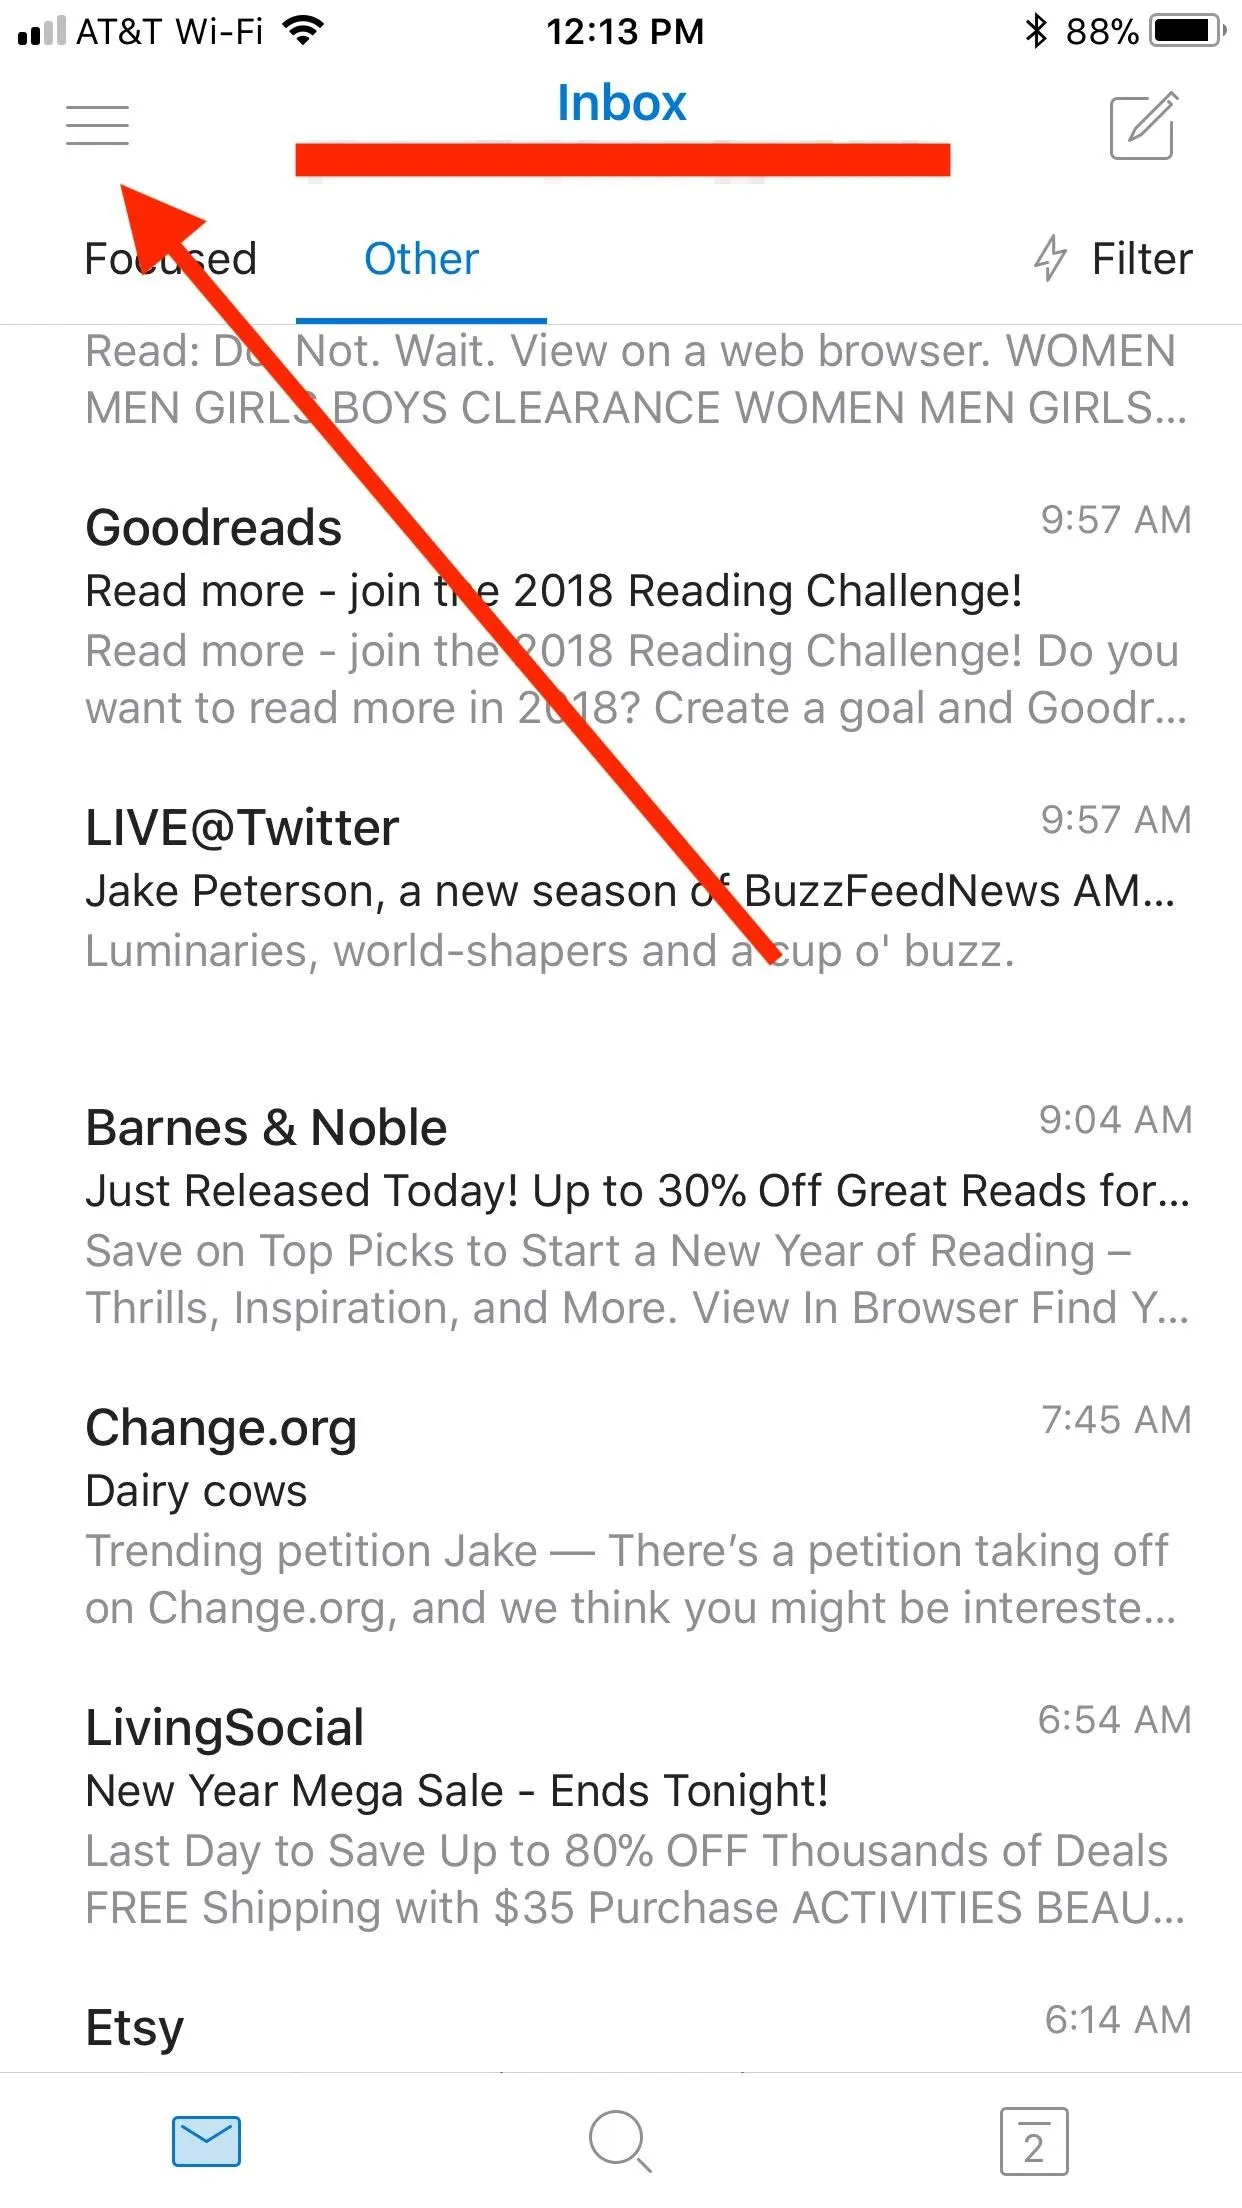
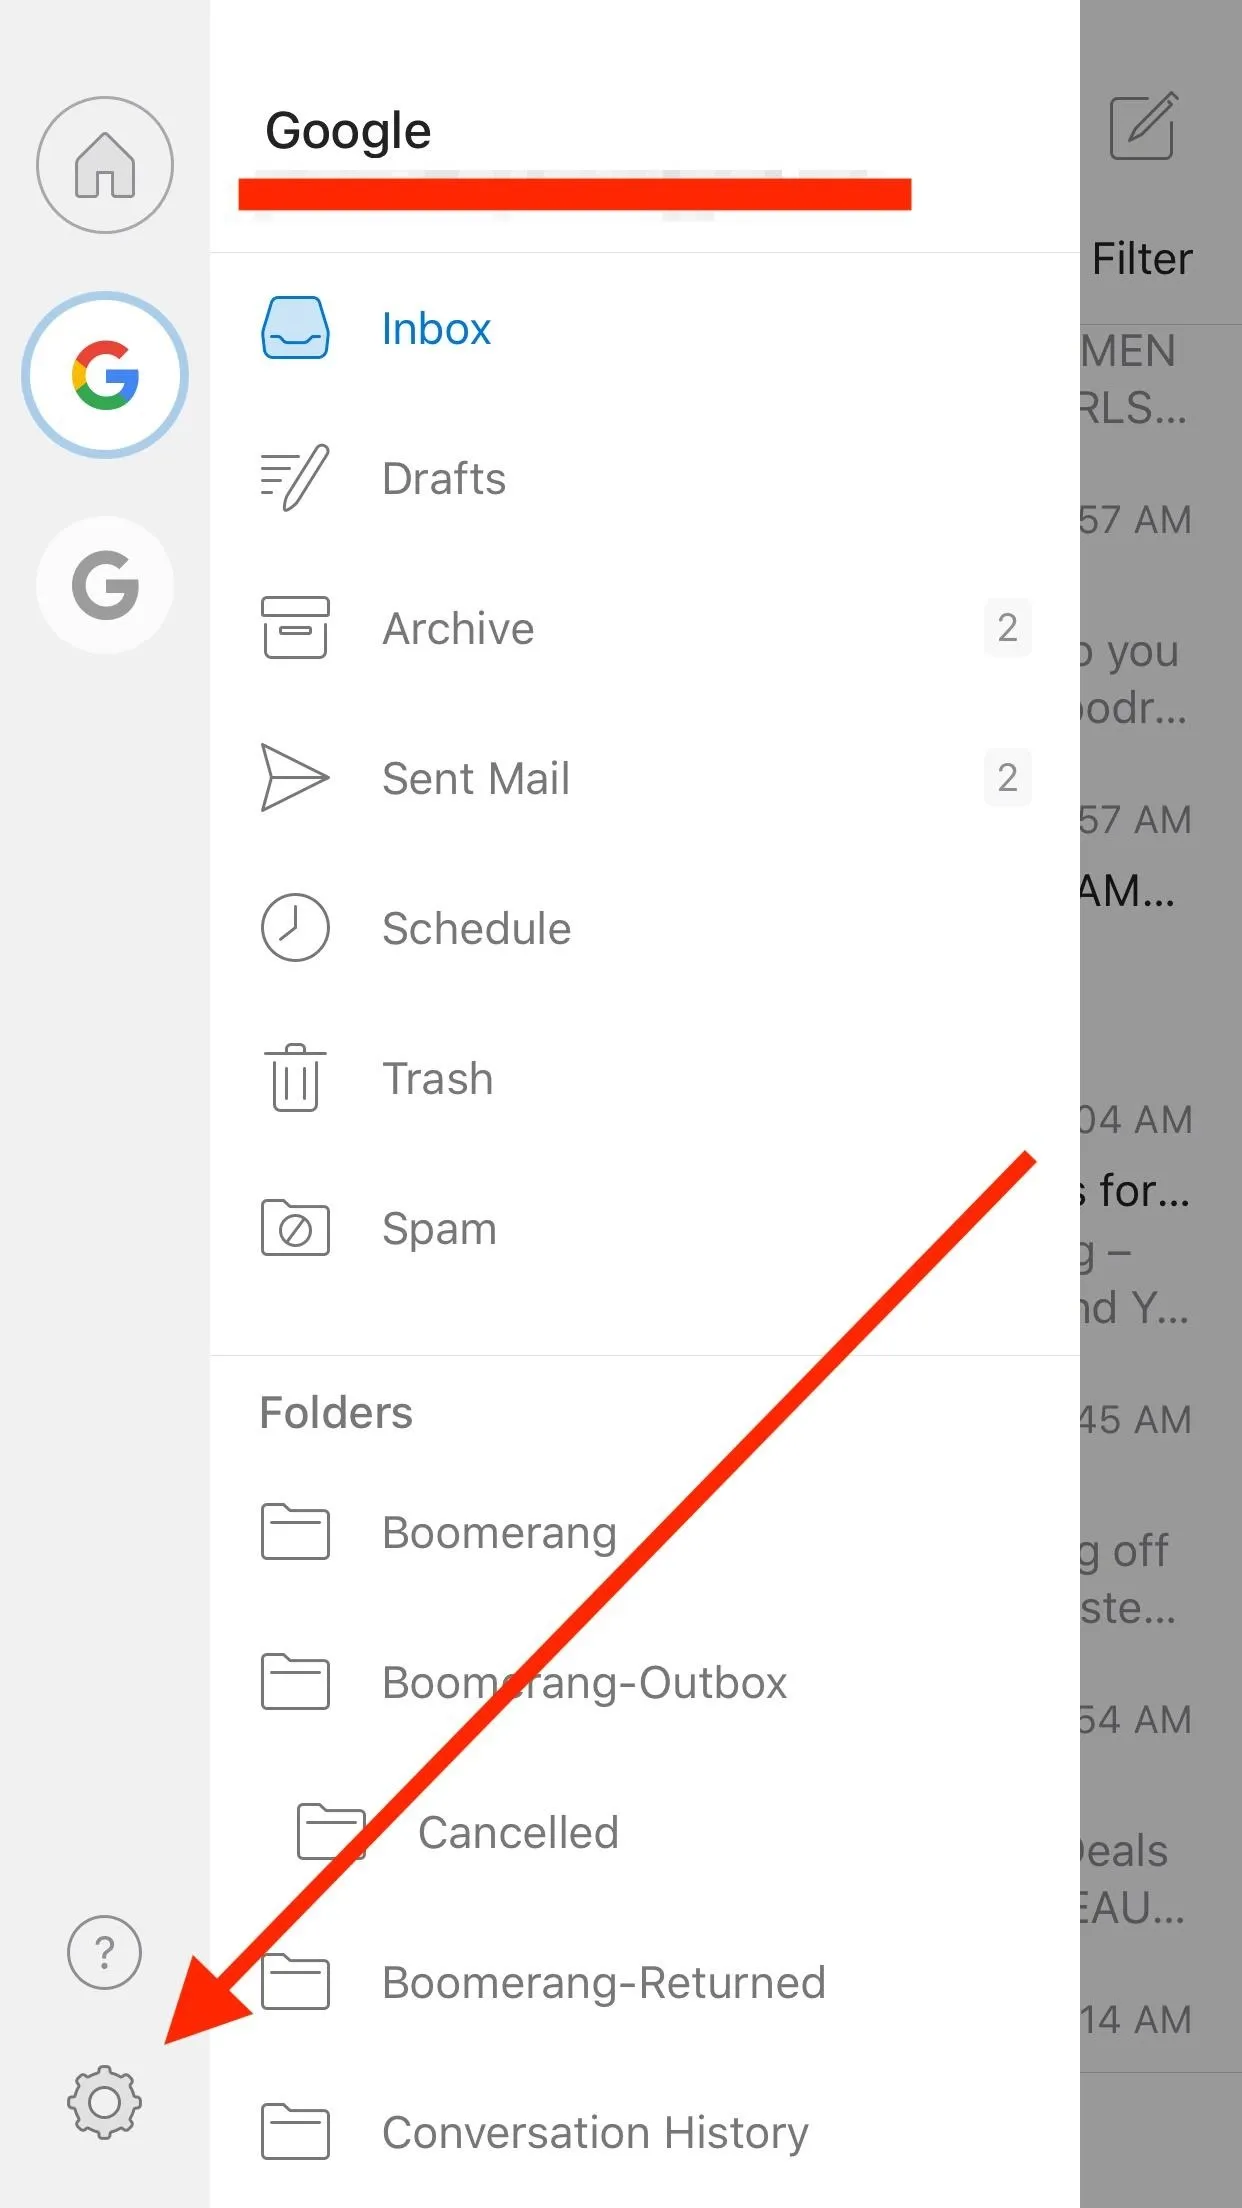
To start, launch Outlook. Next, tap the hamburger icon in the top-left corner of the display, then tap the settings gear in the bottom-left corner. If you're running an older version of the Outlook app on Android, you can simply tap the settings gear in the top right-corner of the main page.


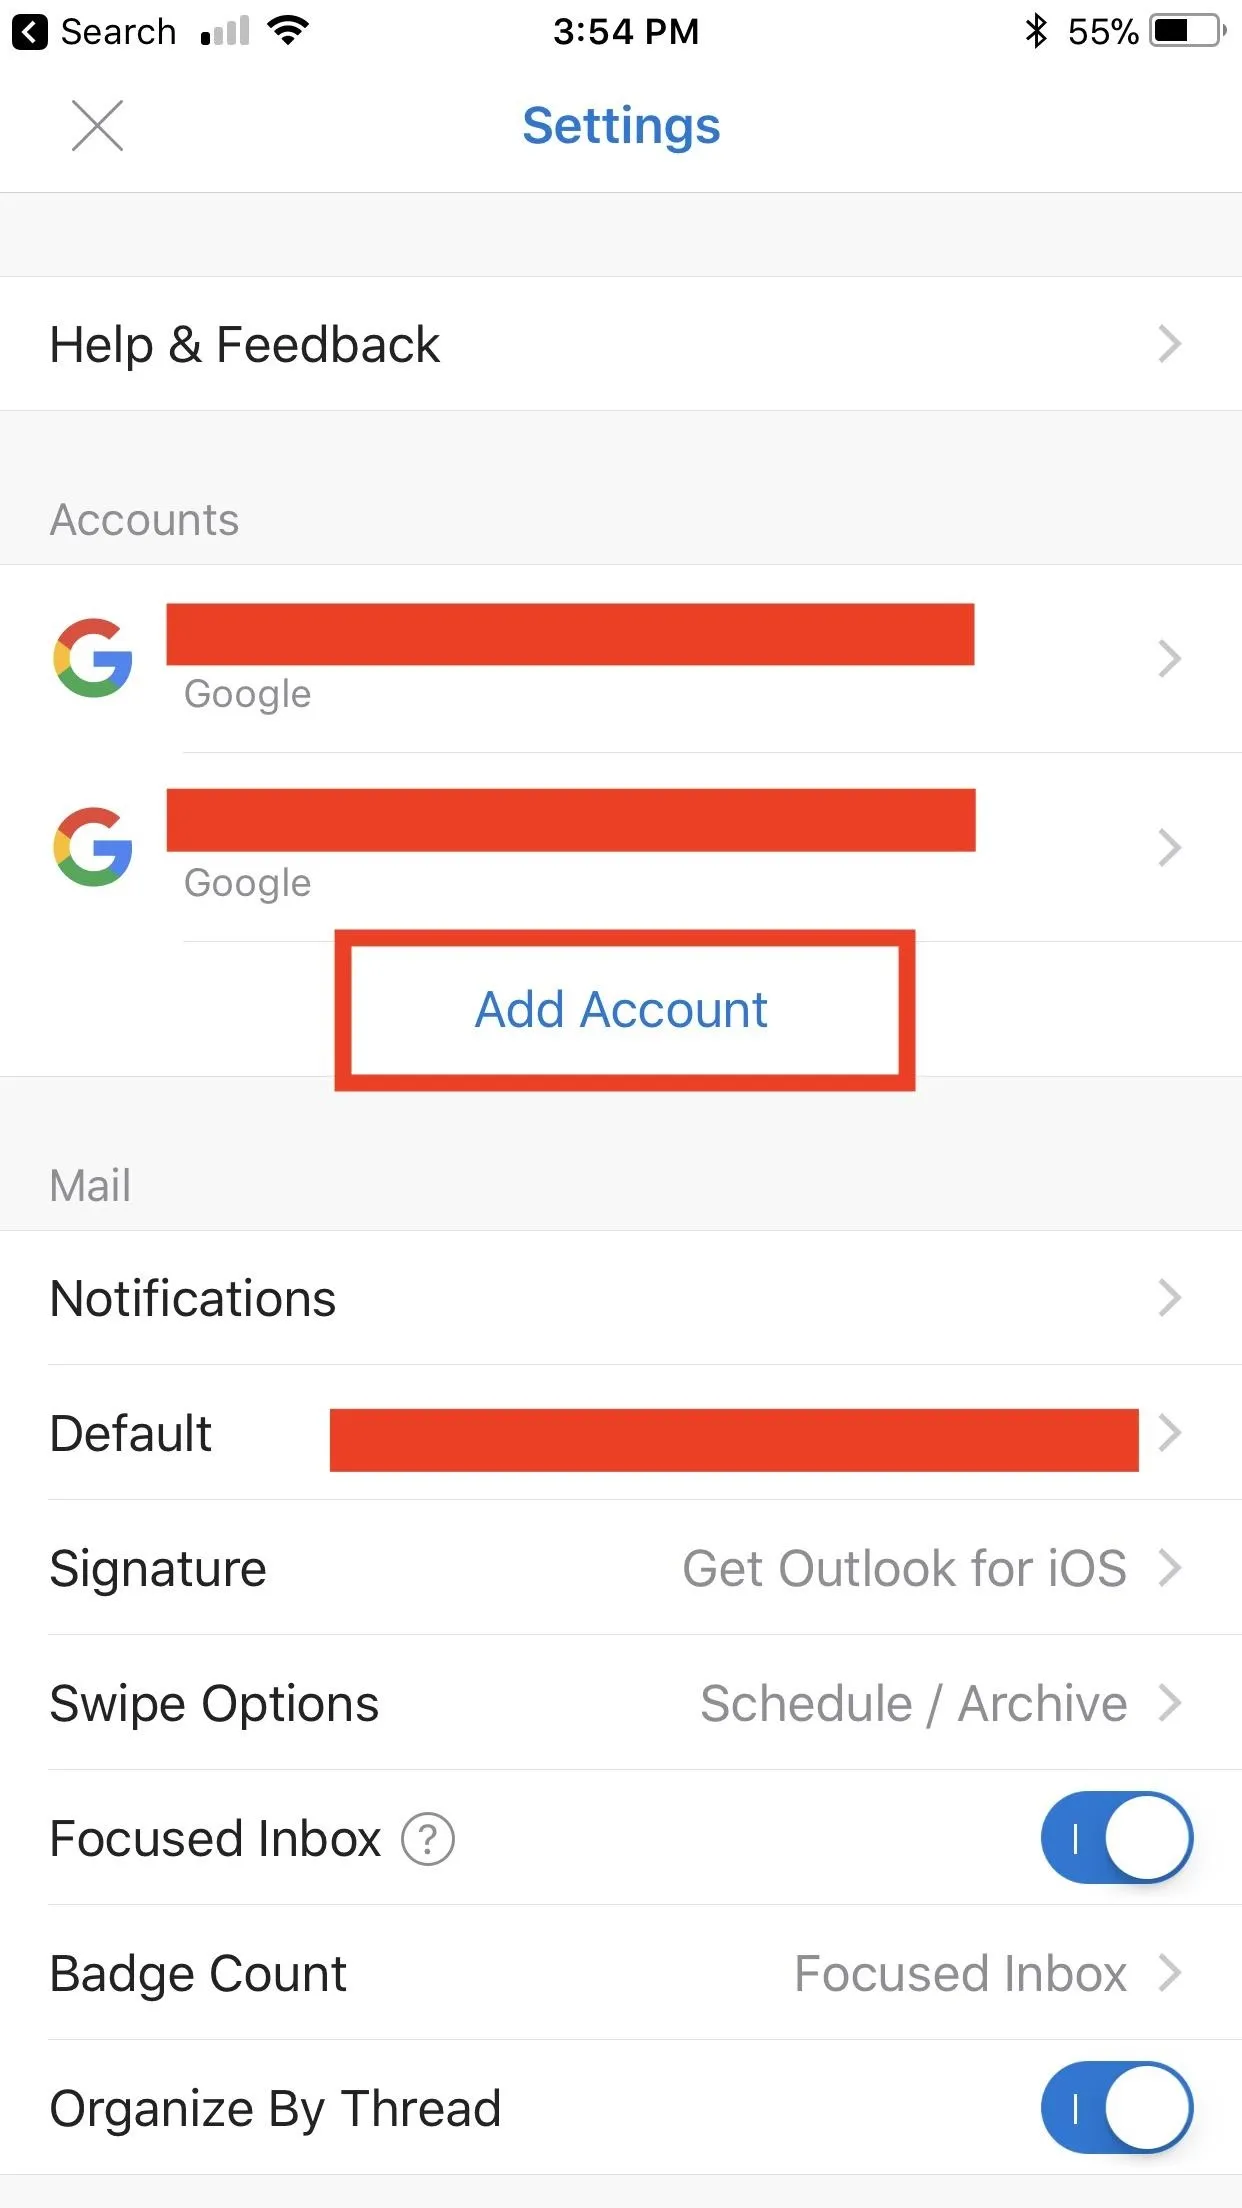
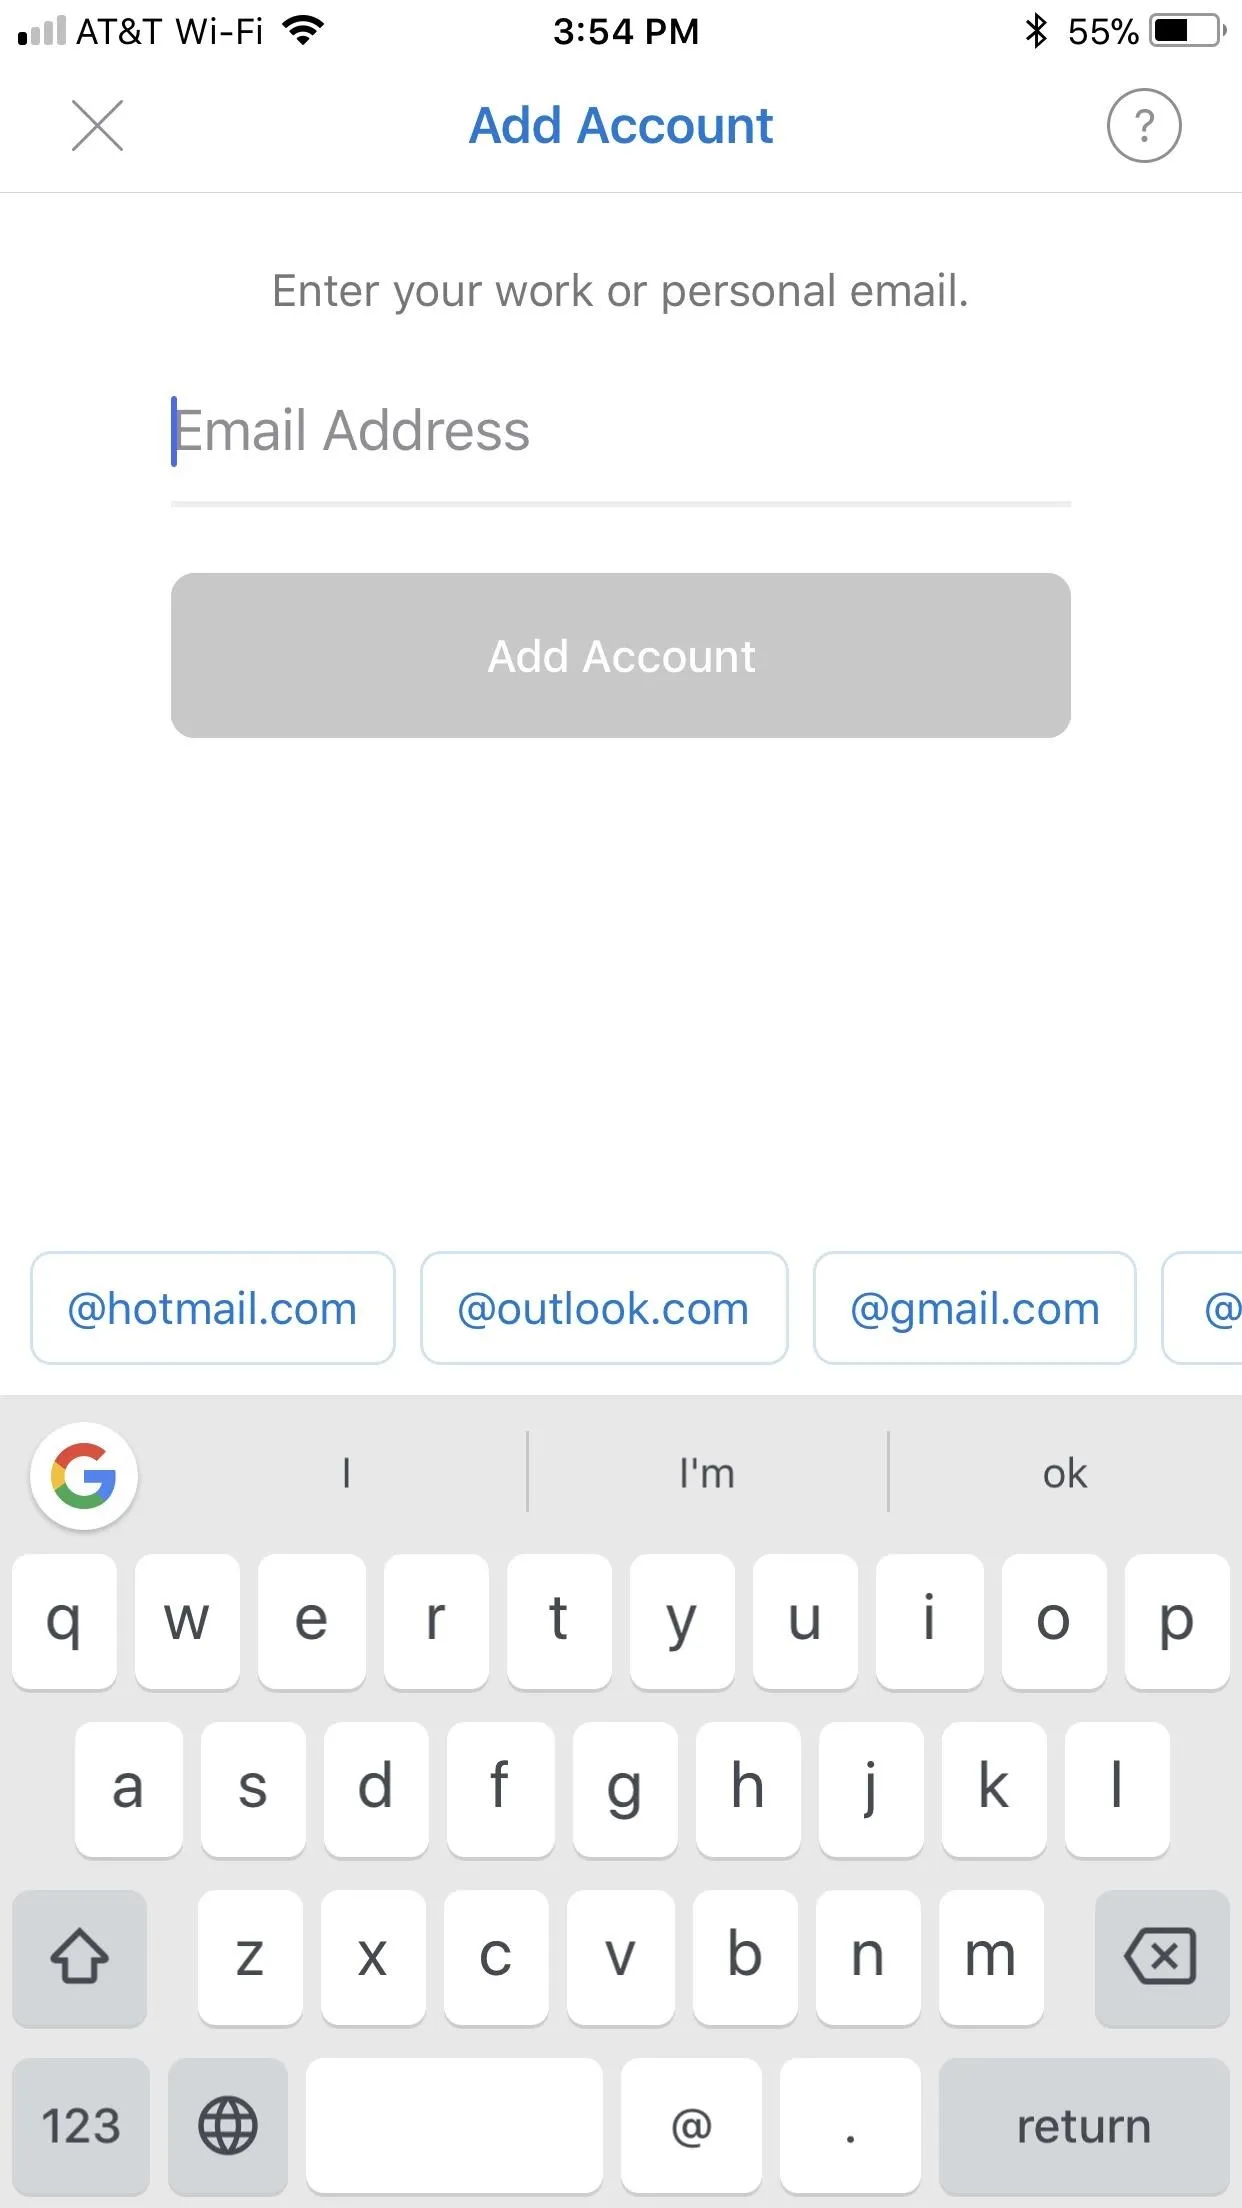
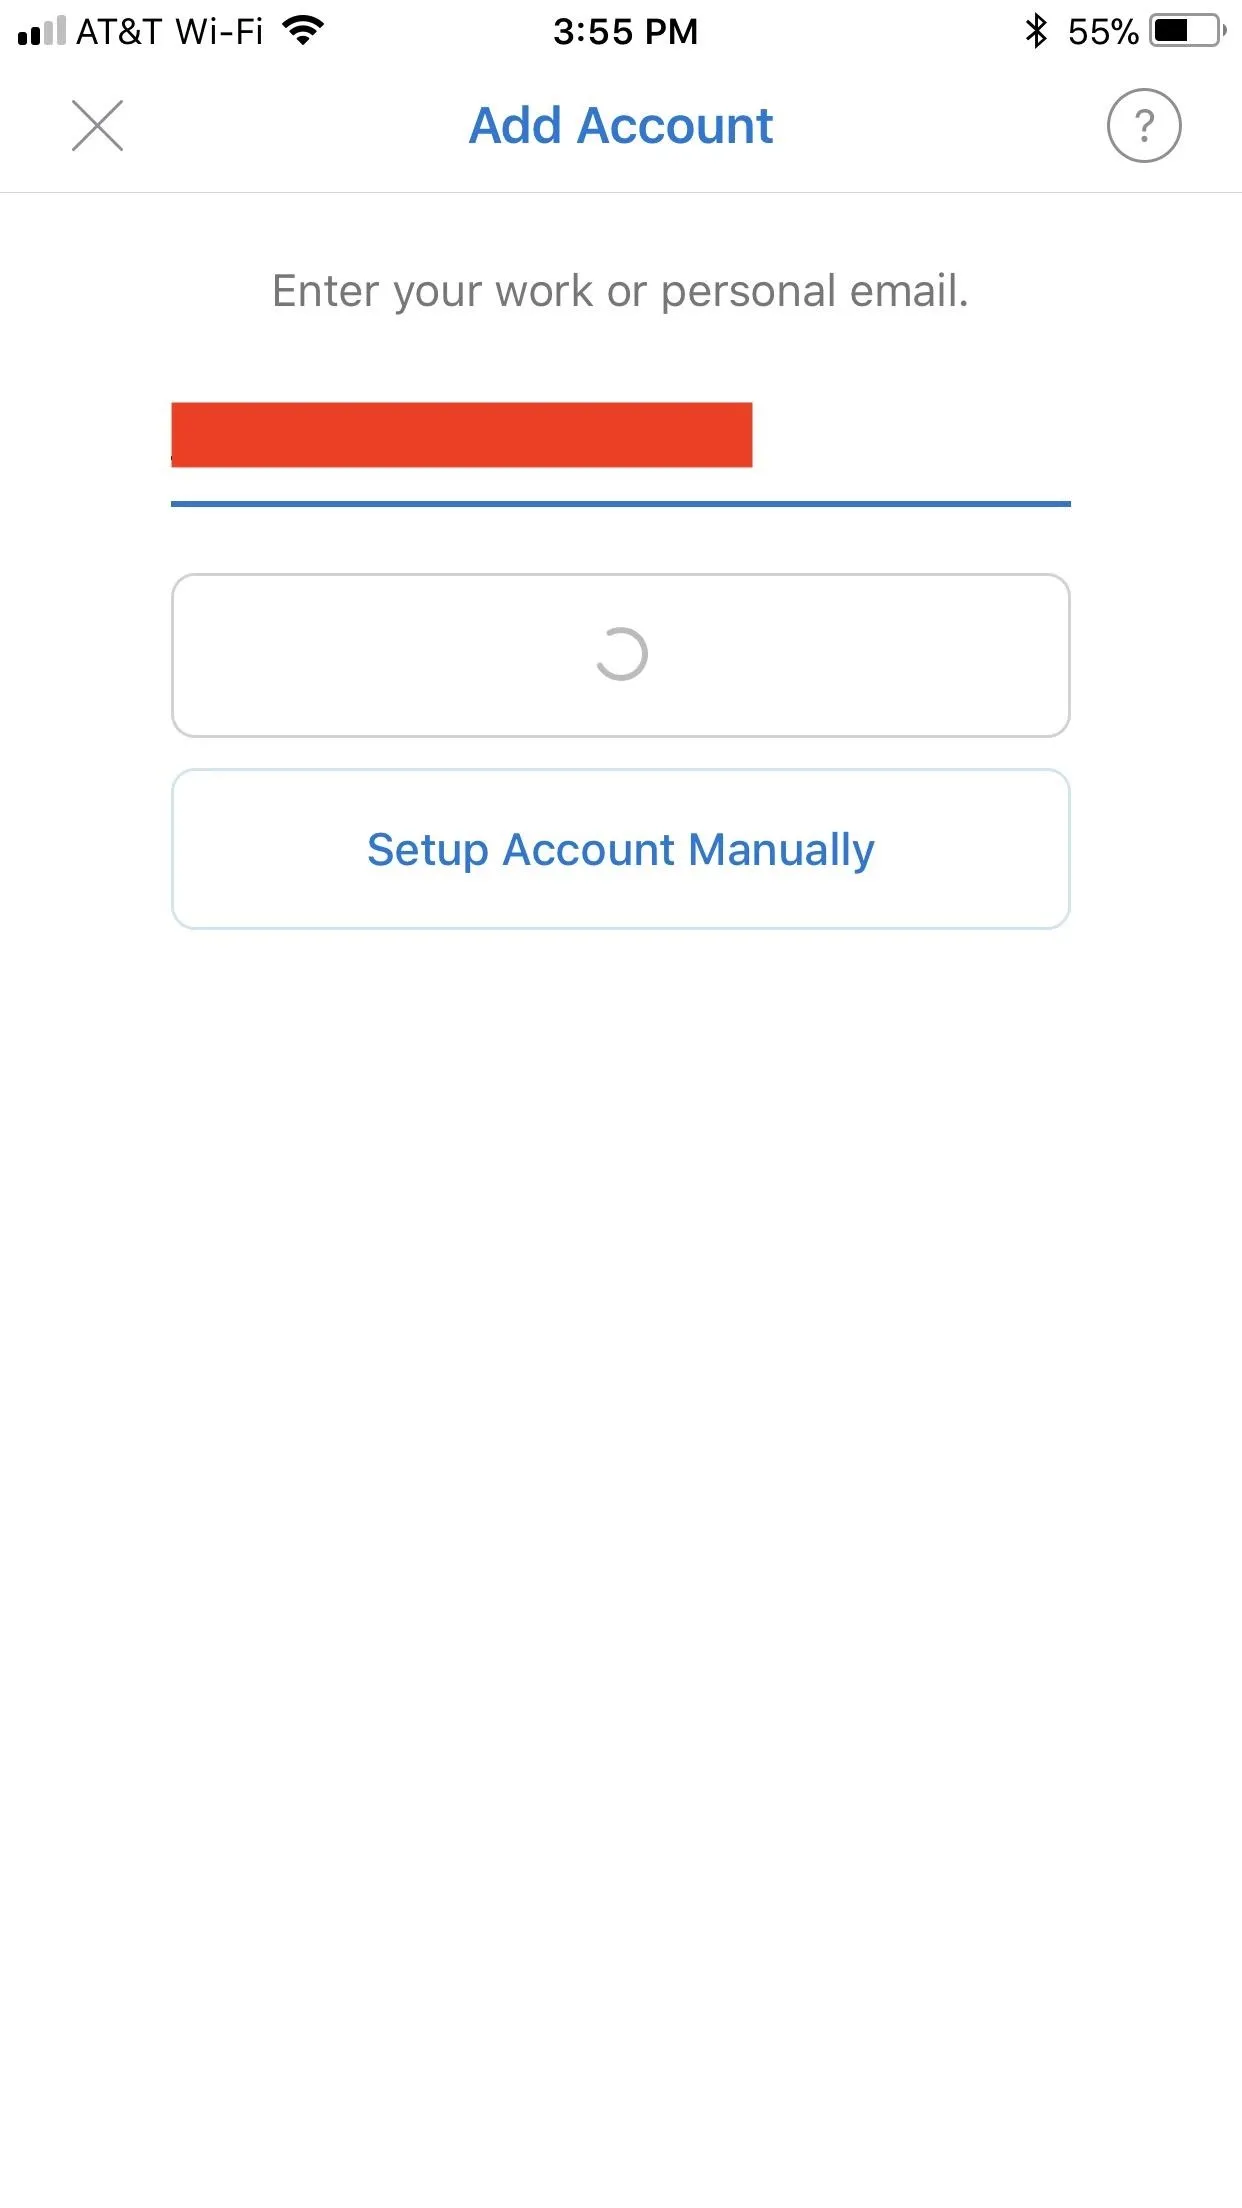
Once in settings, tap "Add Account" under Accounts. Tap "Add Email Account," and Outlook will present you with a form box to enter a new address. Type out your secondary account, then tap "Enter." While Outlook processes your email address, you might see the prompt "Set Up Manually" at the bottom of the display. If you know detailed information about your email account and server, you can tap this to enter-in all relevant data. Otherwise, just wait for Outlook to complete loading.


If Outlook automatically recognizes your email provider, it will take you to their setup page. Follow the on-screen instructions for your provider, which will involve entering your account password, as well as allowing permissions for Outlook.
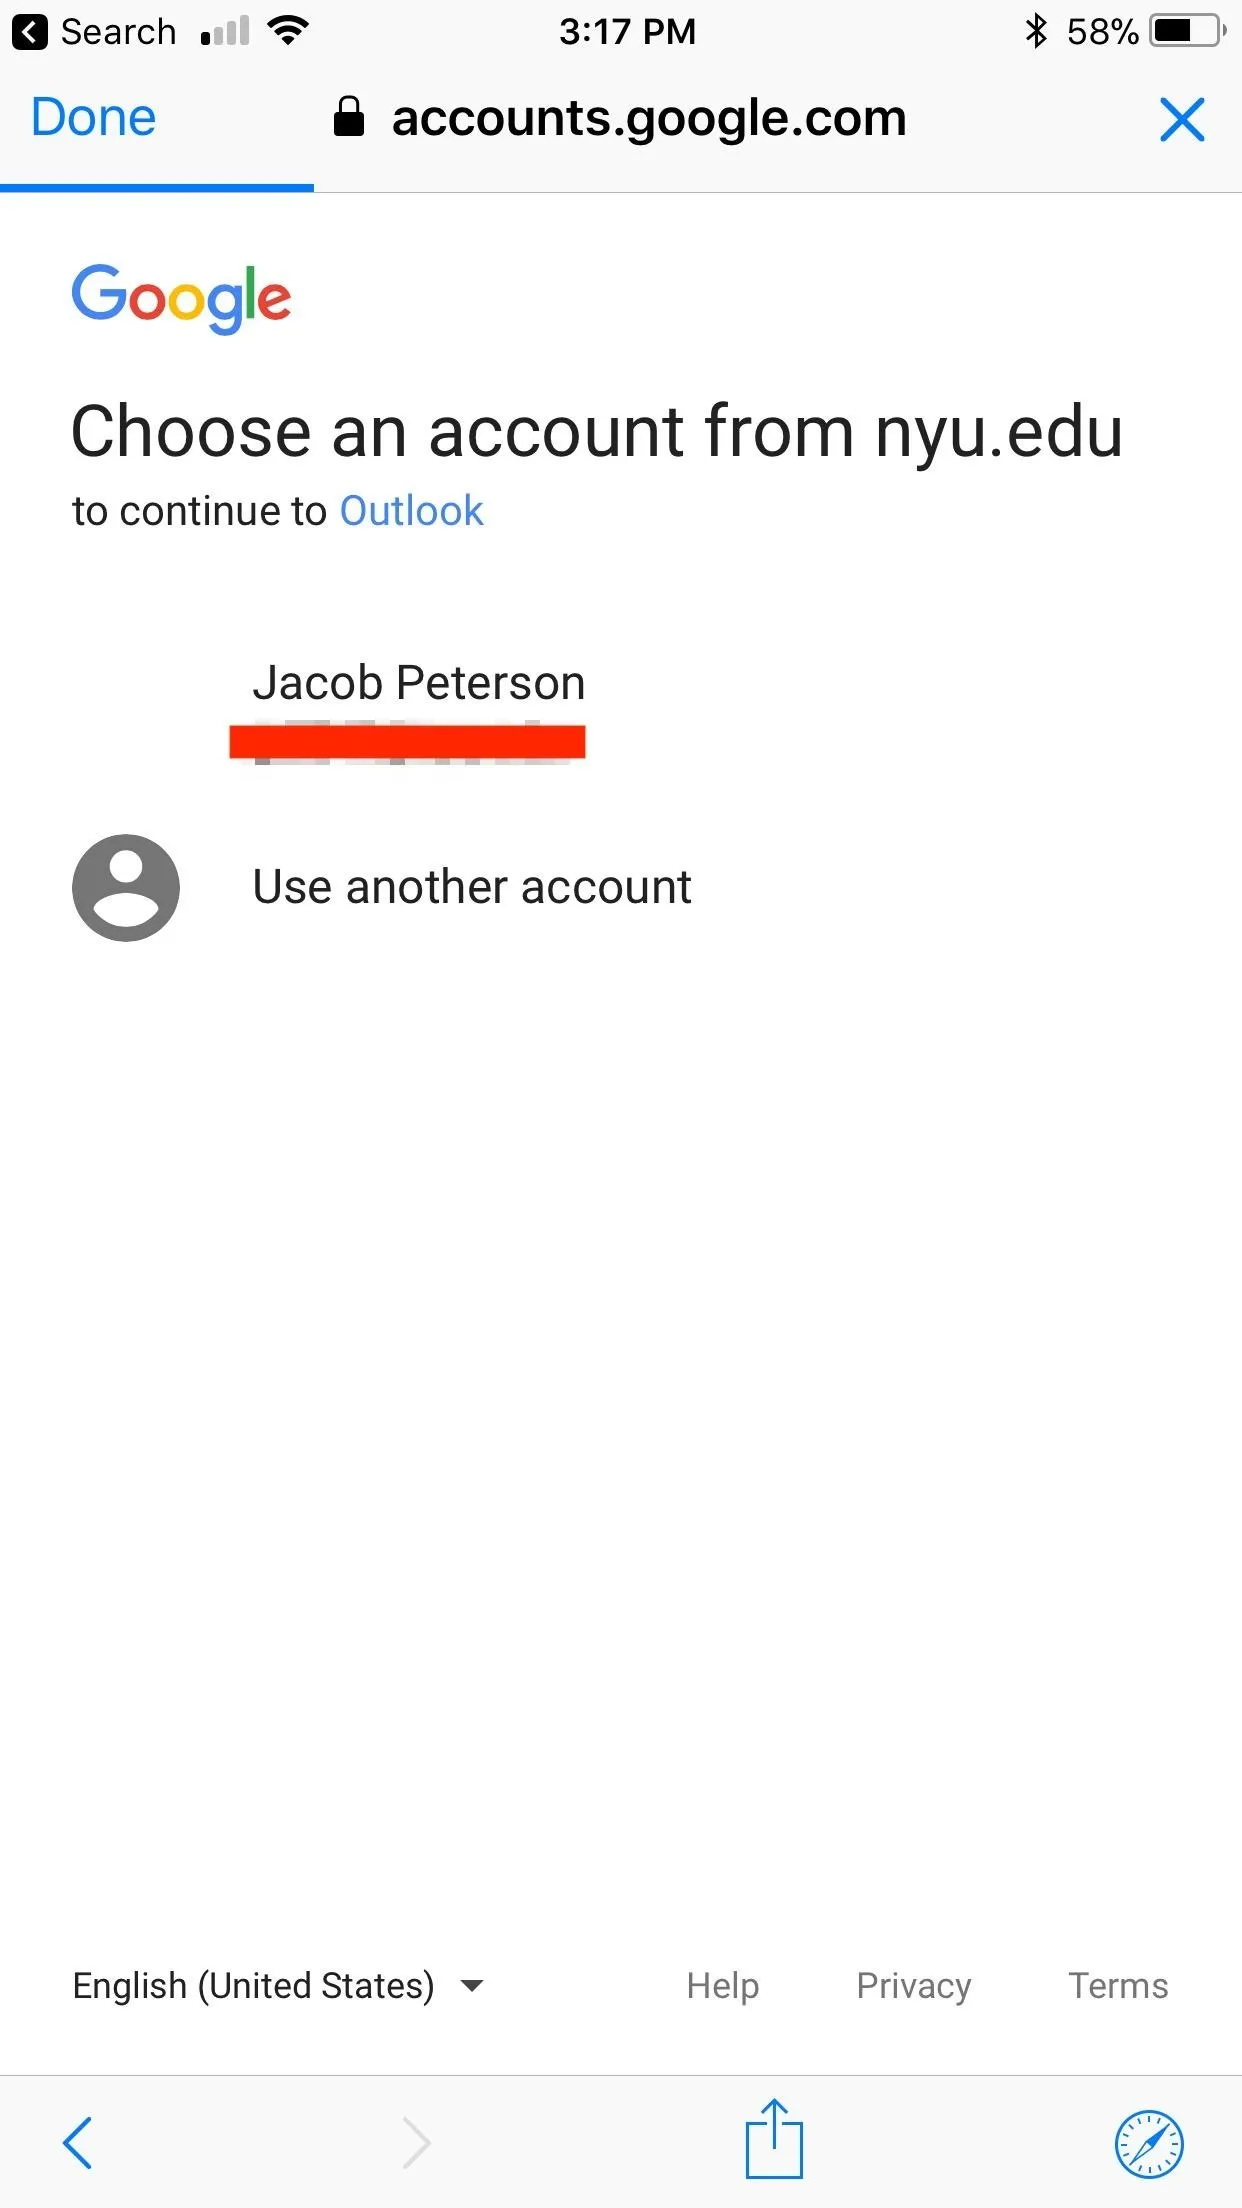
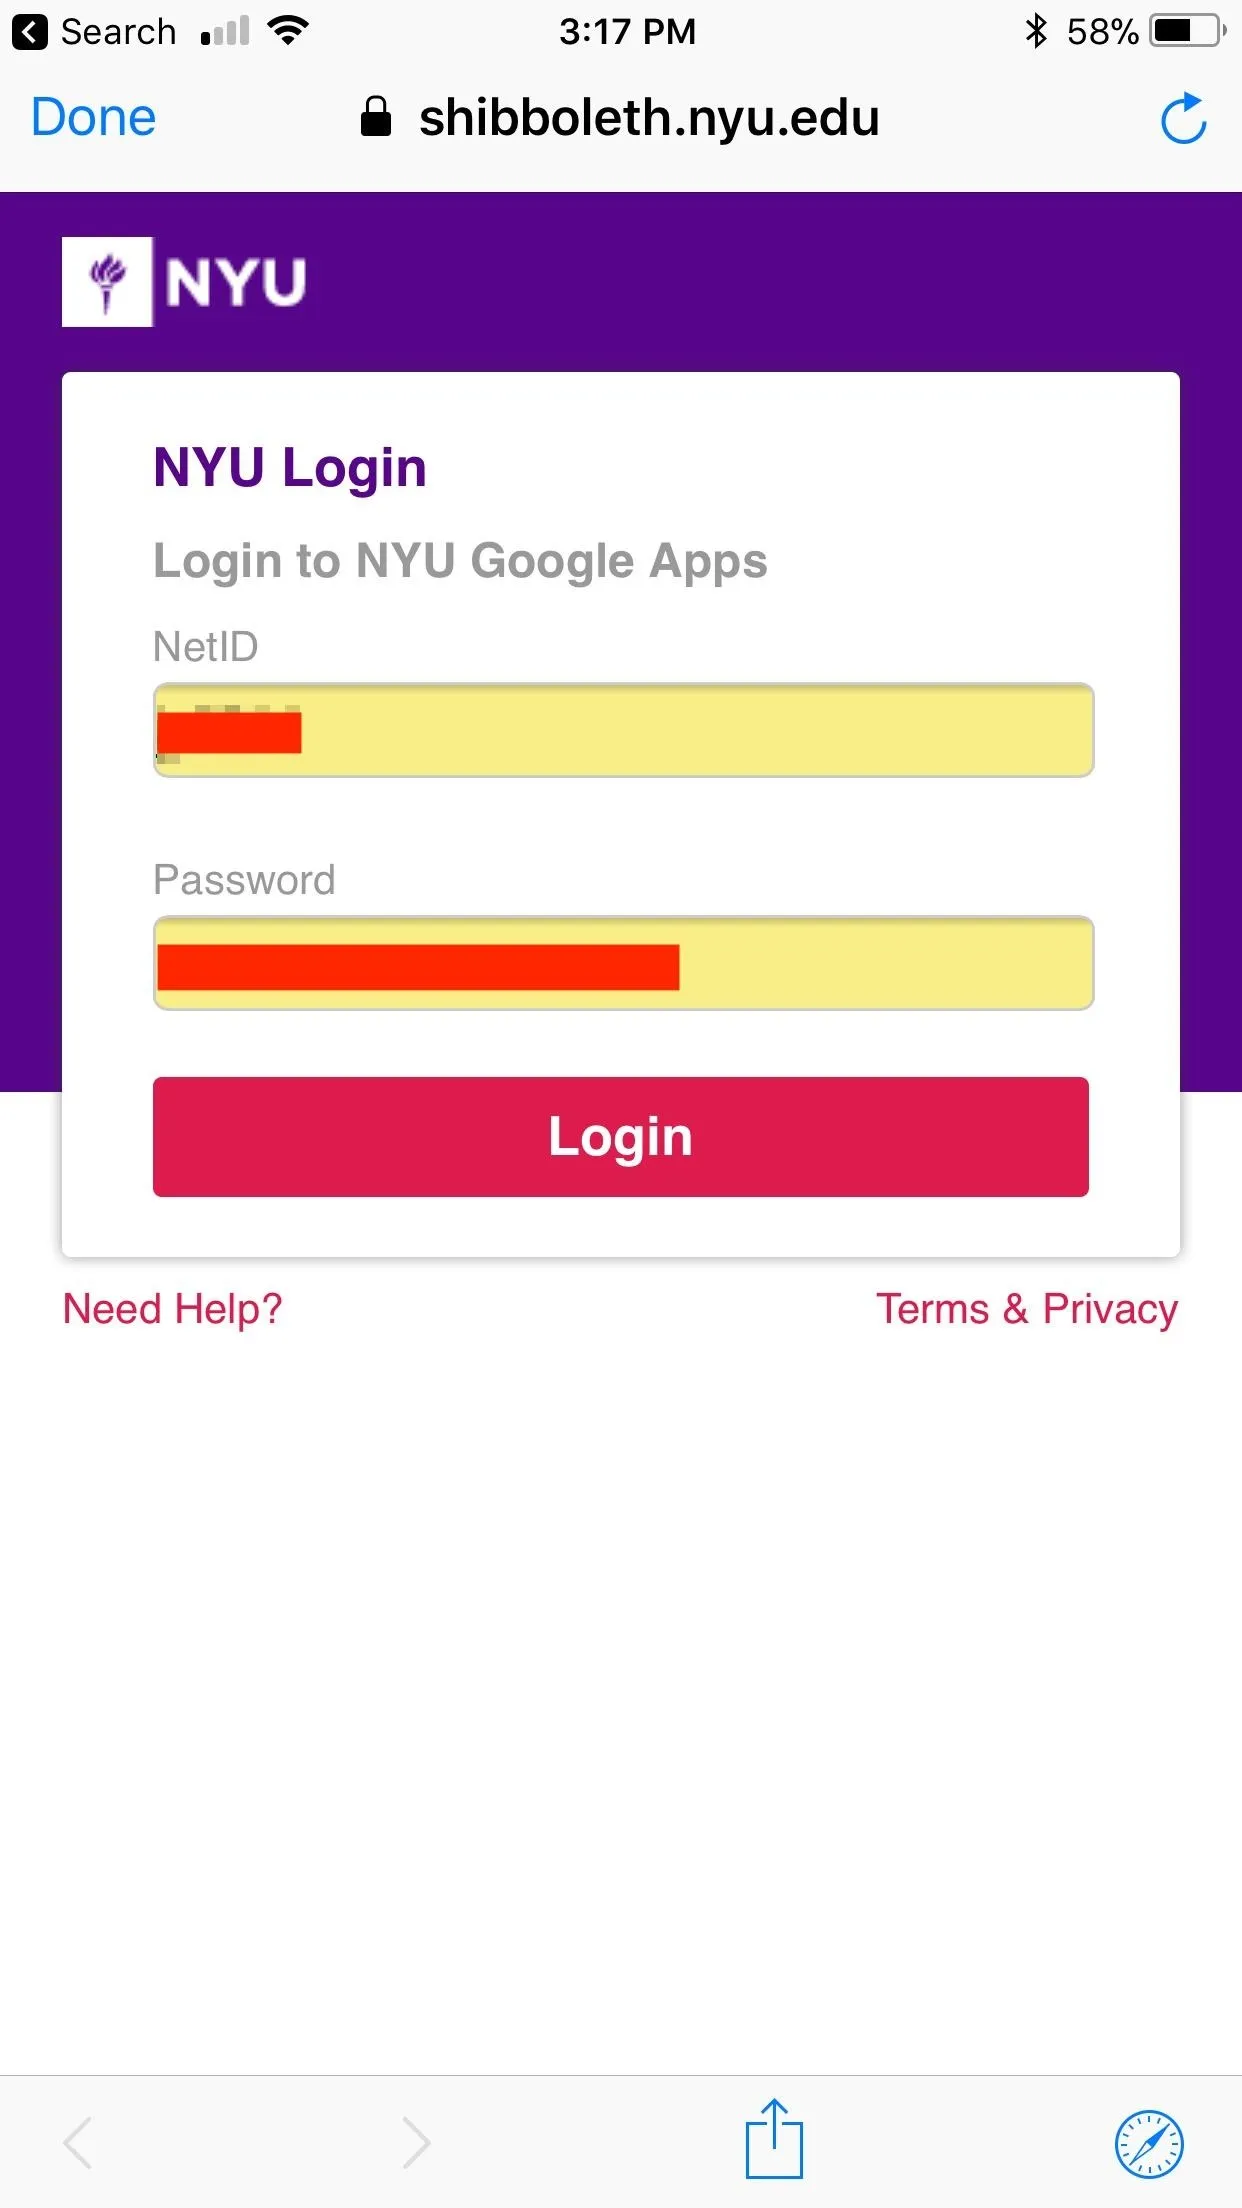
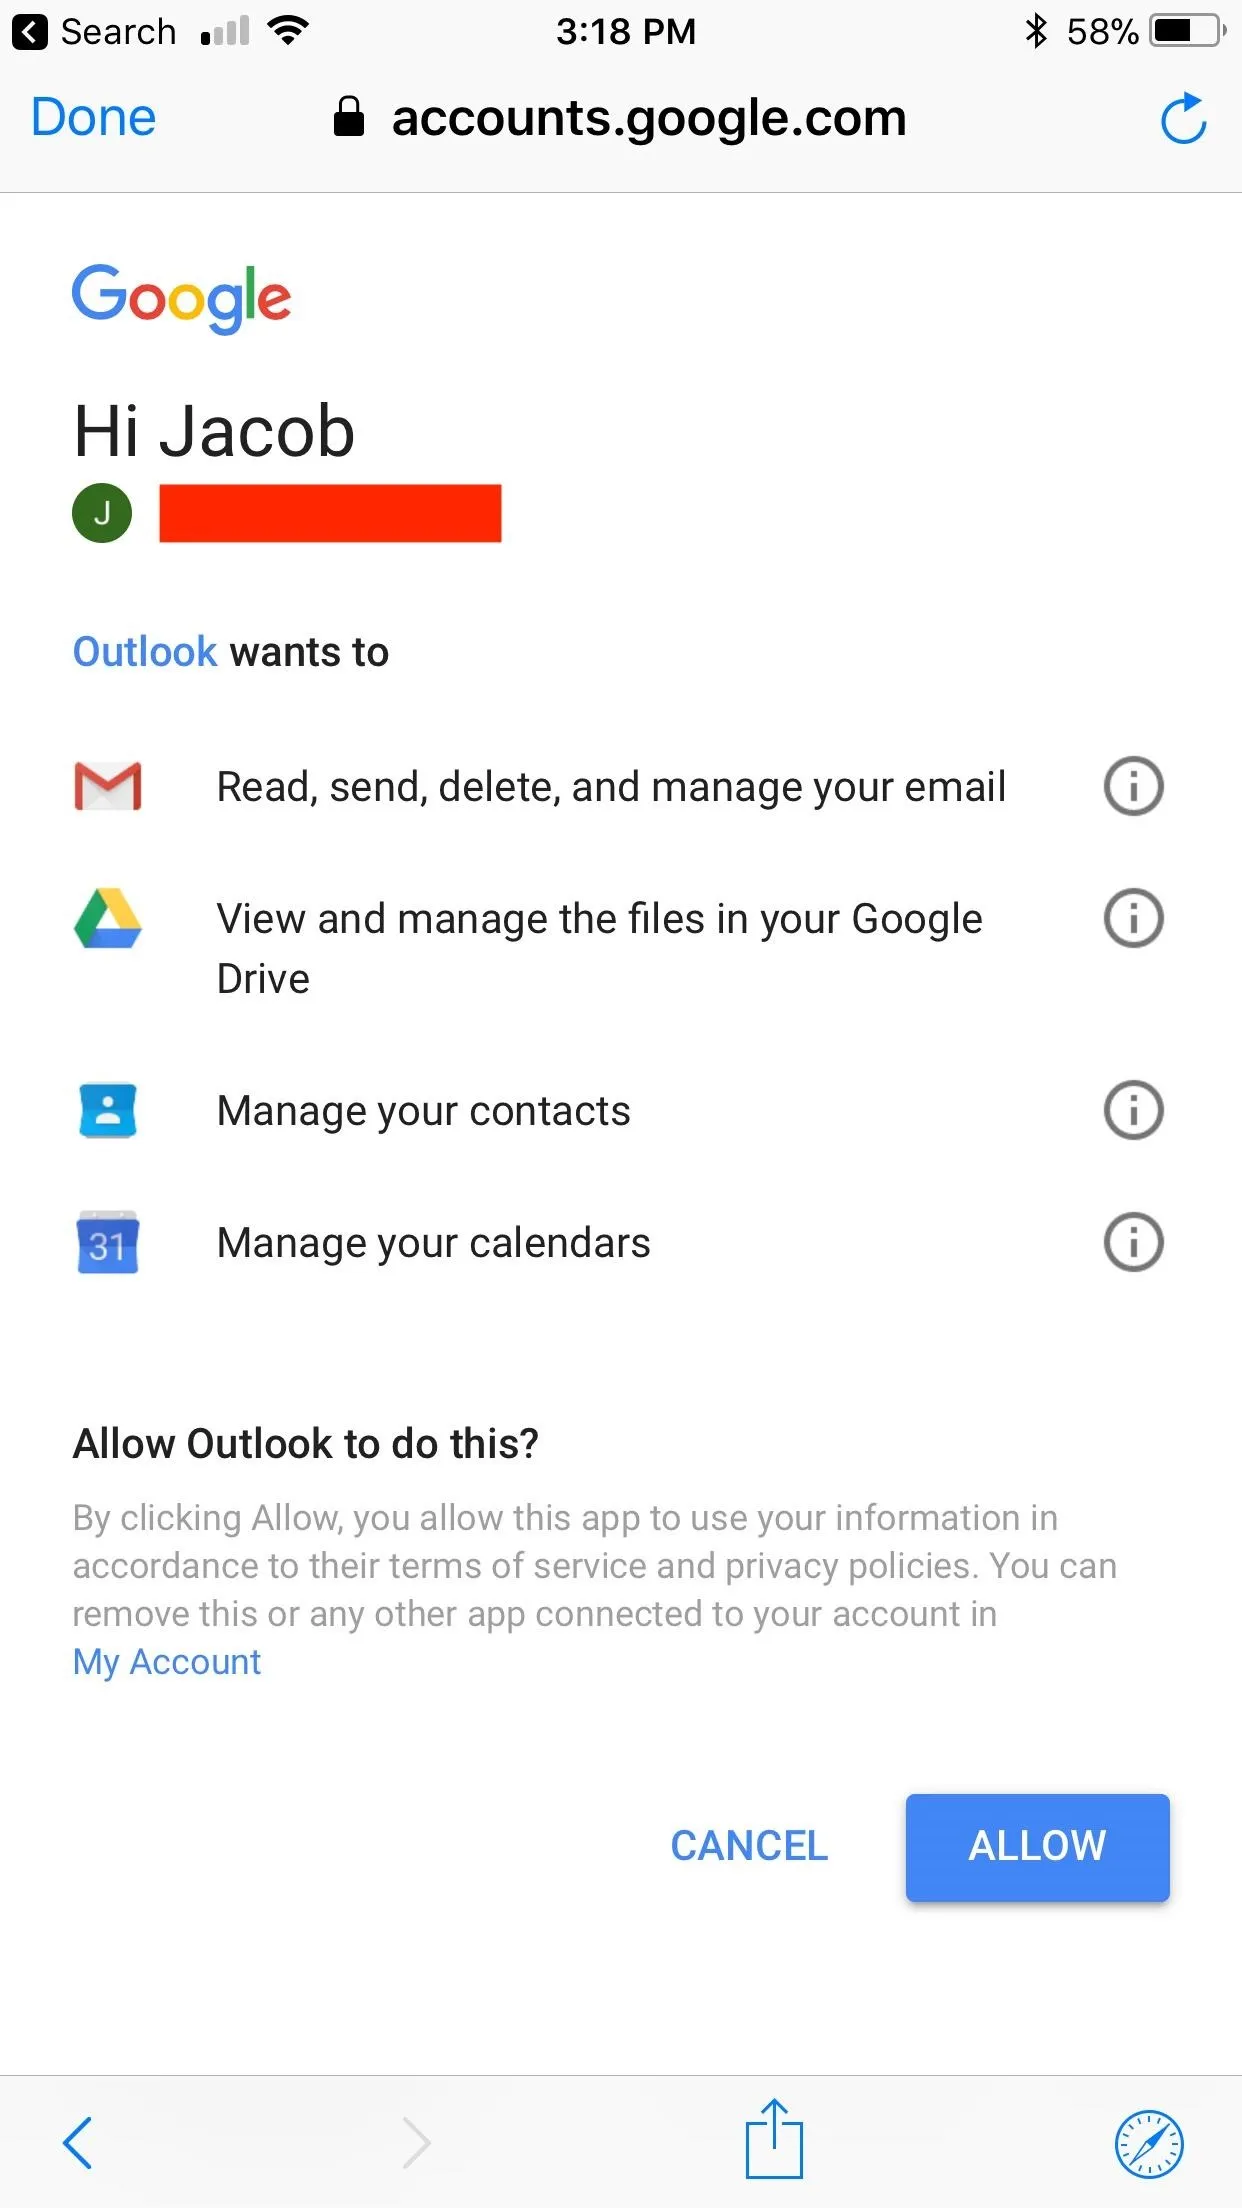


If Outlook does not recognize your email provider, you may have to choose one from the provider list, or, alternatively, enter the information manually (which you can typically find in the settings page on your email account). However, if your provider is listed, simply tap it to be brought to their setup page, in which case, you can follow the instructions above.
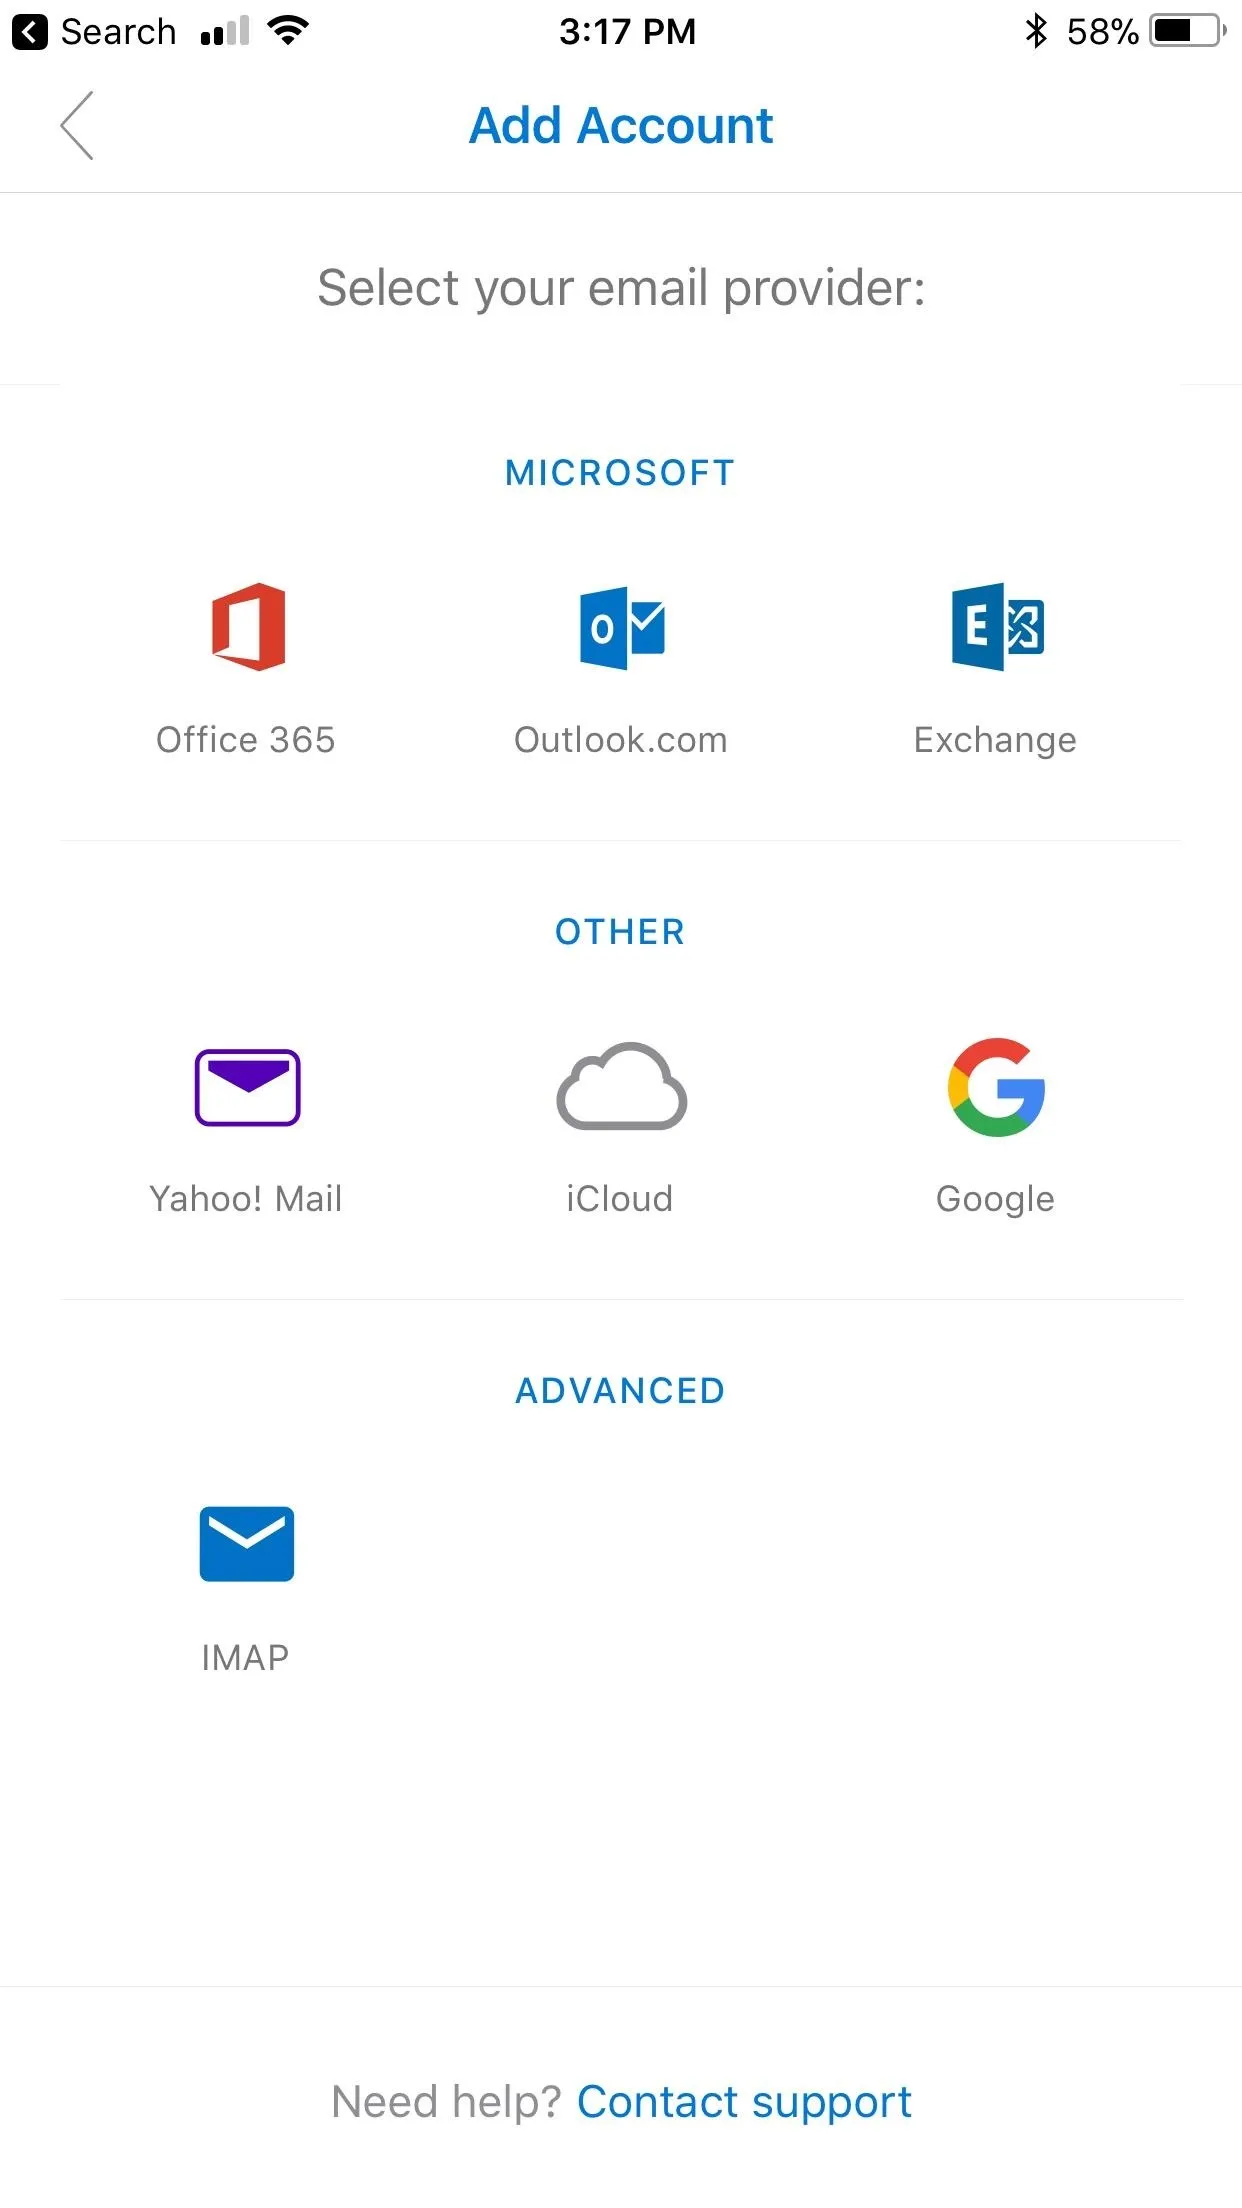
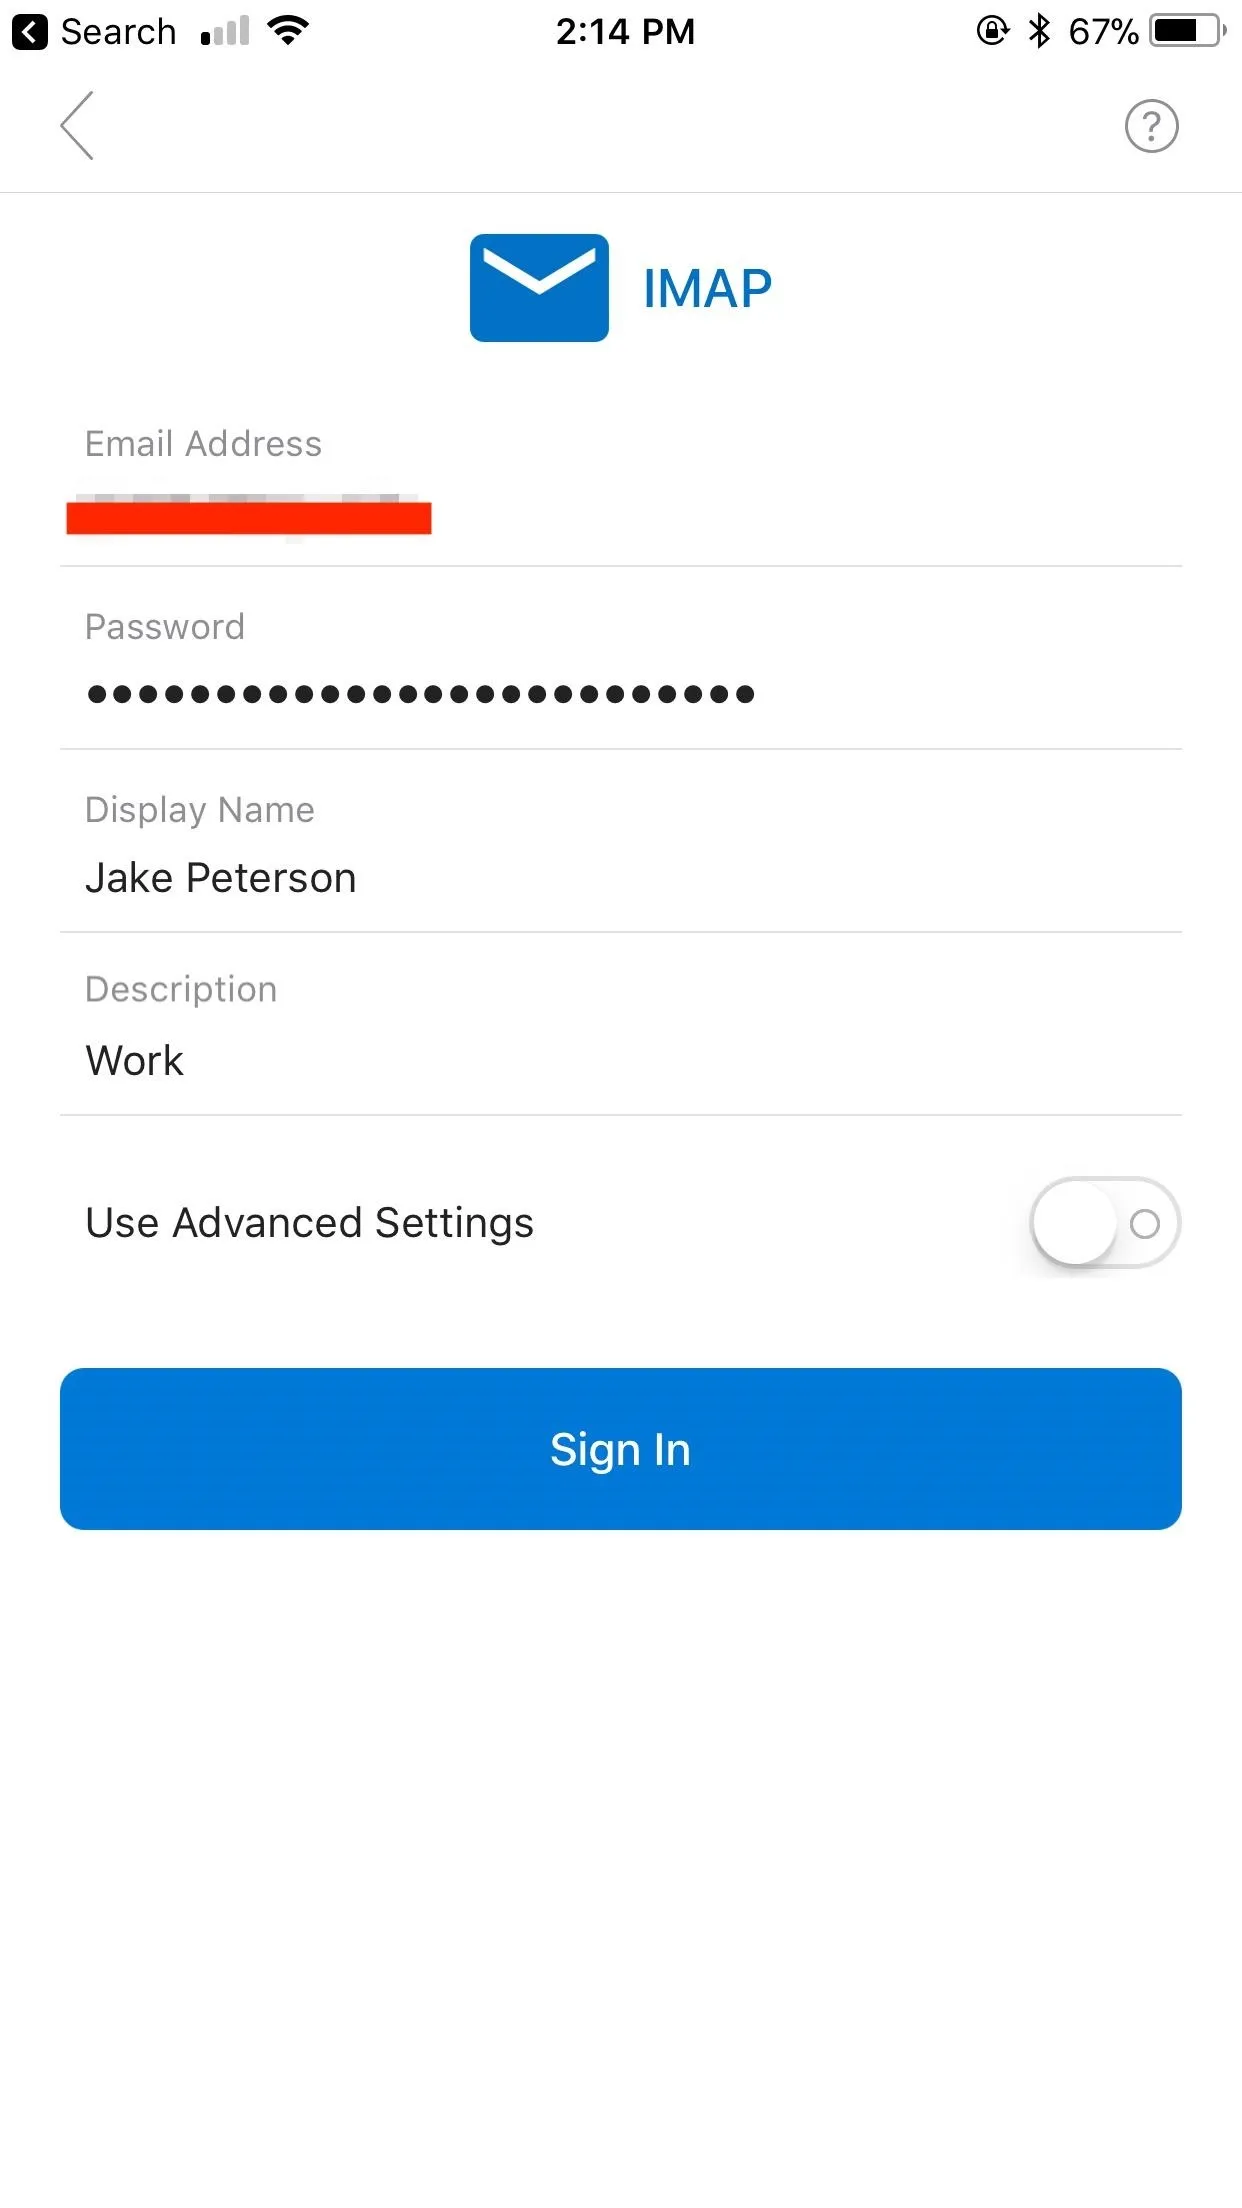


If all information is correct, Outlook will subsequently add your email account to your existing addresses. You can then repeat these steps for as many accounts as you have or wish to enter.
By default, your inbox will display emails from all accounts you've added. If you'd like to see a filtered view of just one of your email accounts, you can tap the hamburger icon in the top-left corner, then select a specific account by tapping one of the circle icons beneath the home icon in the top-left corner of the hamburger menu itself. From there, tapping the home icon in the hamburger menu will return you to your "All Accounts" view.
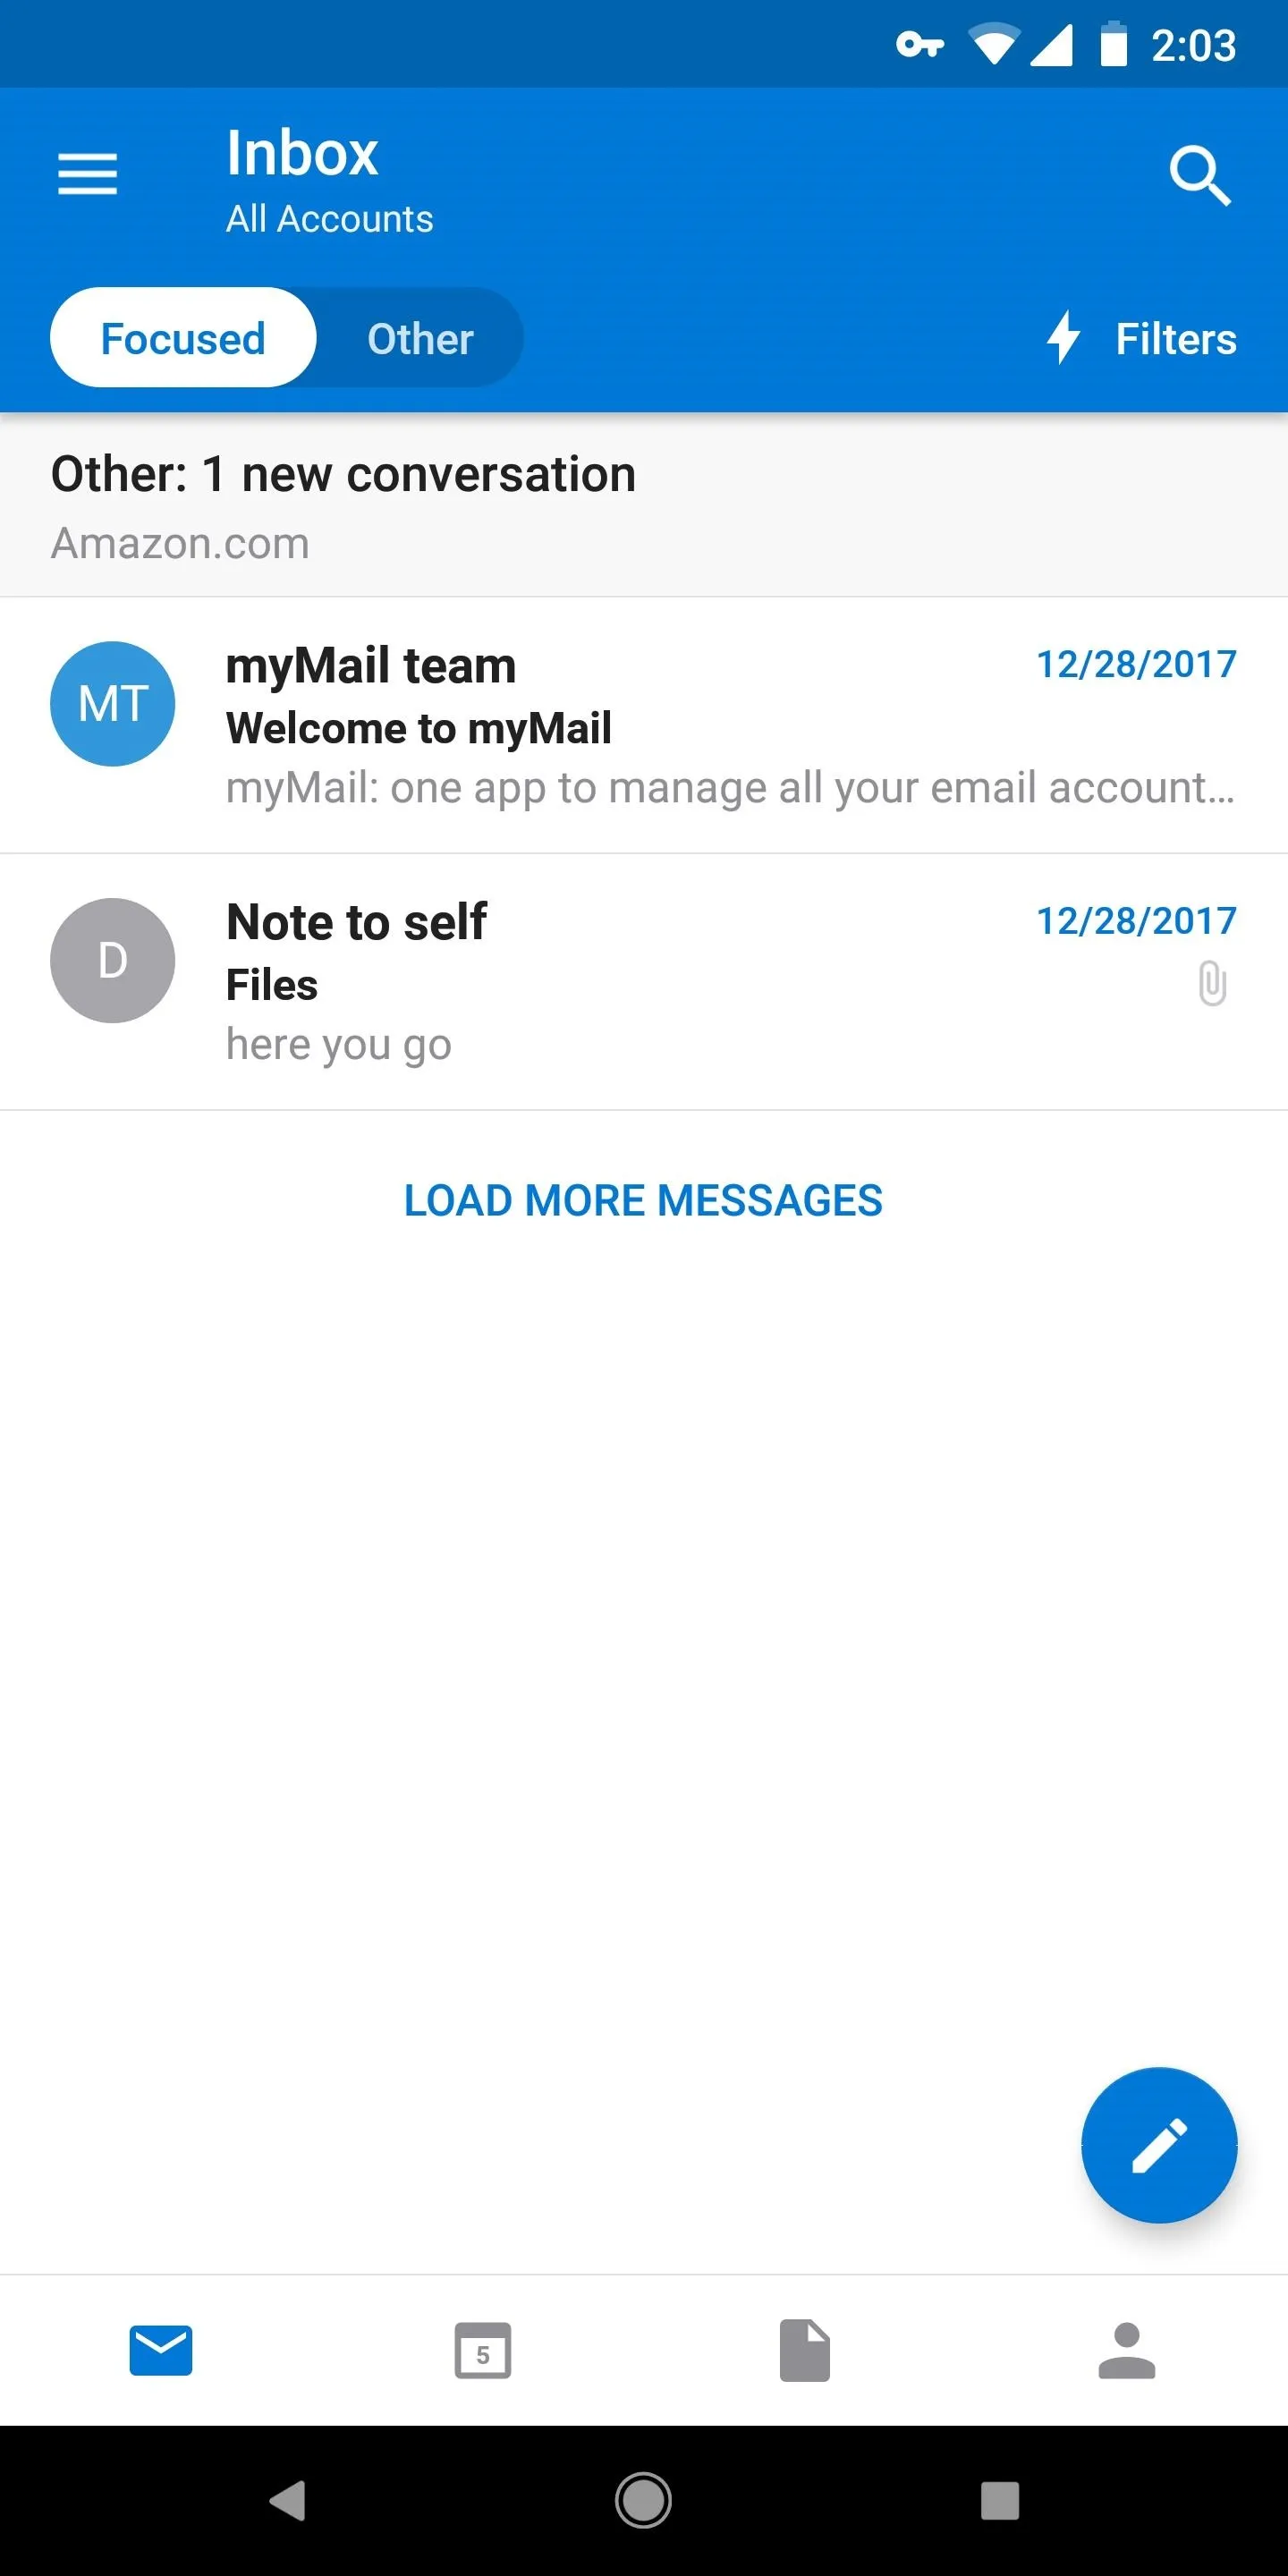
"All Accounts" view (default).
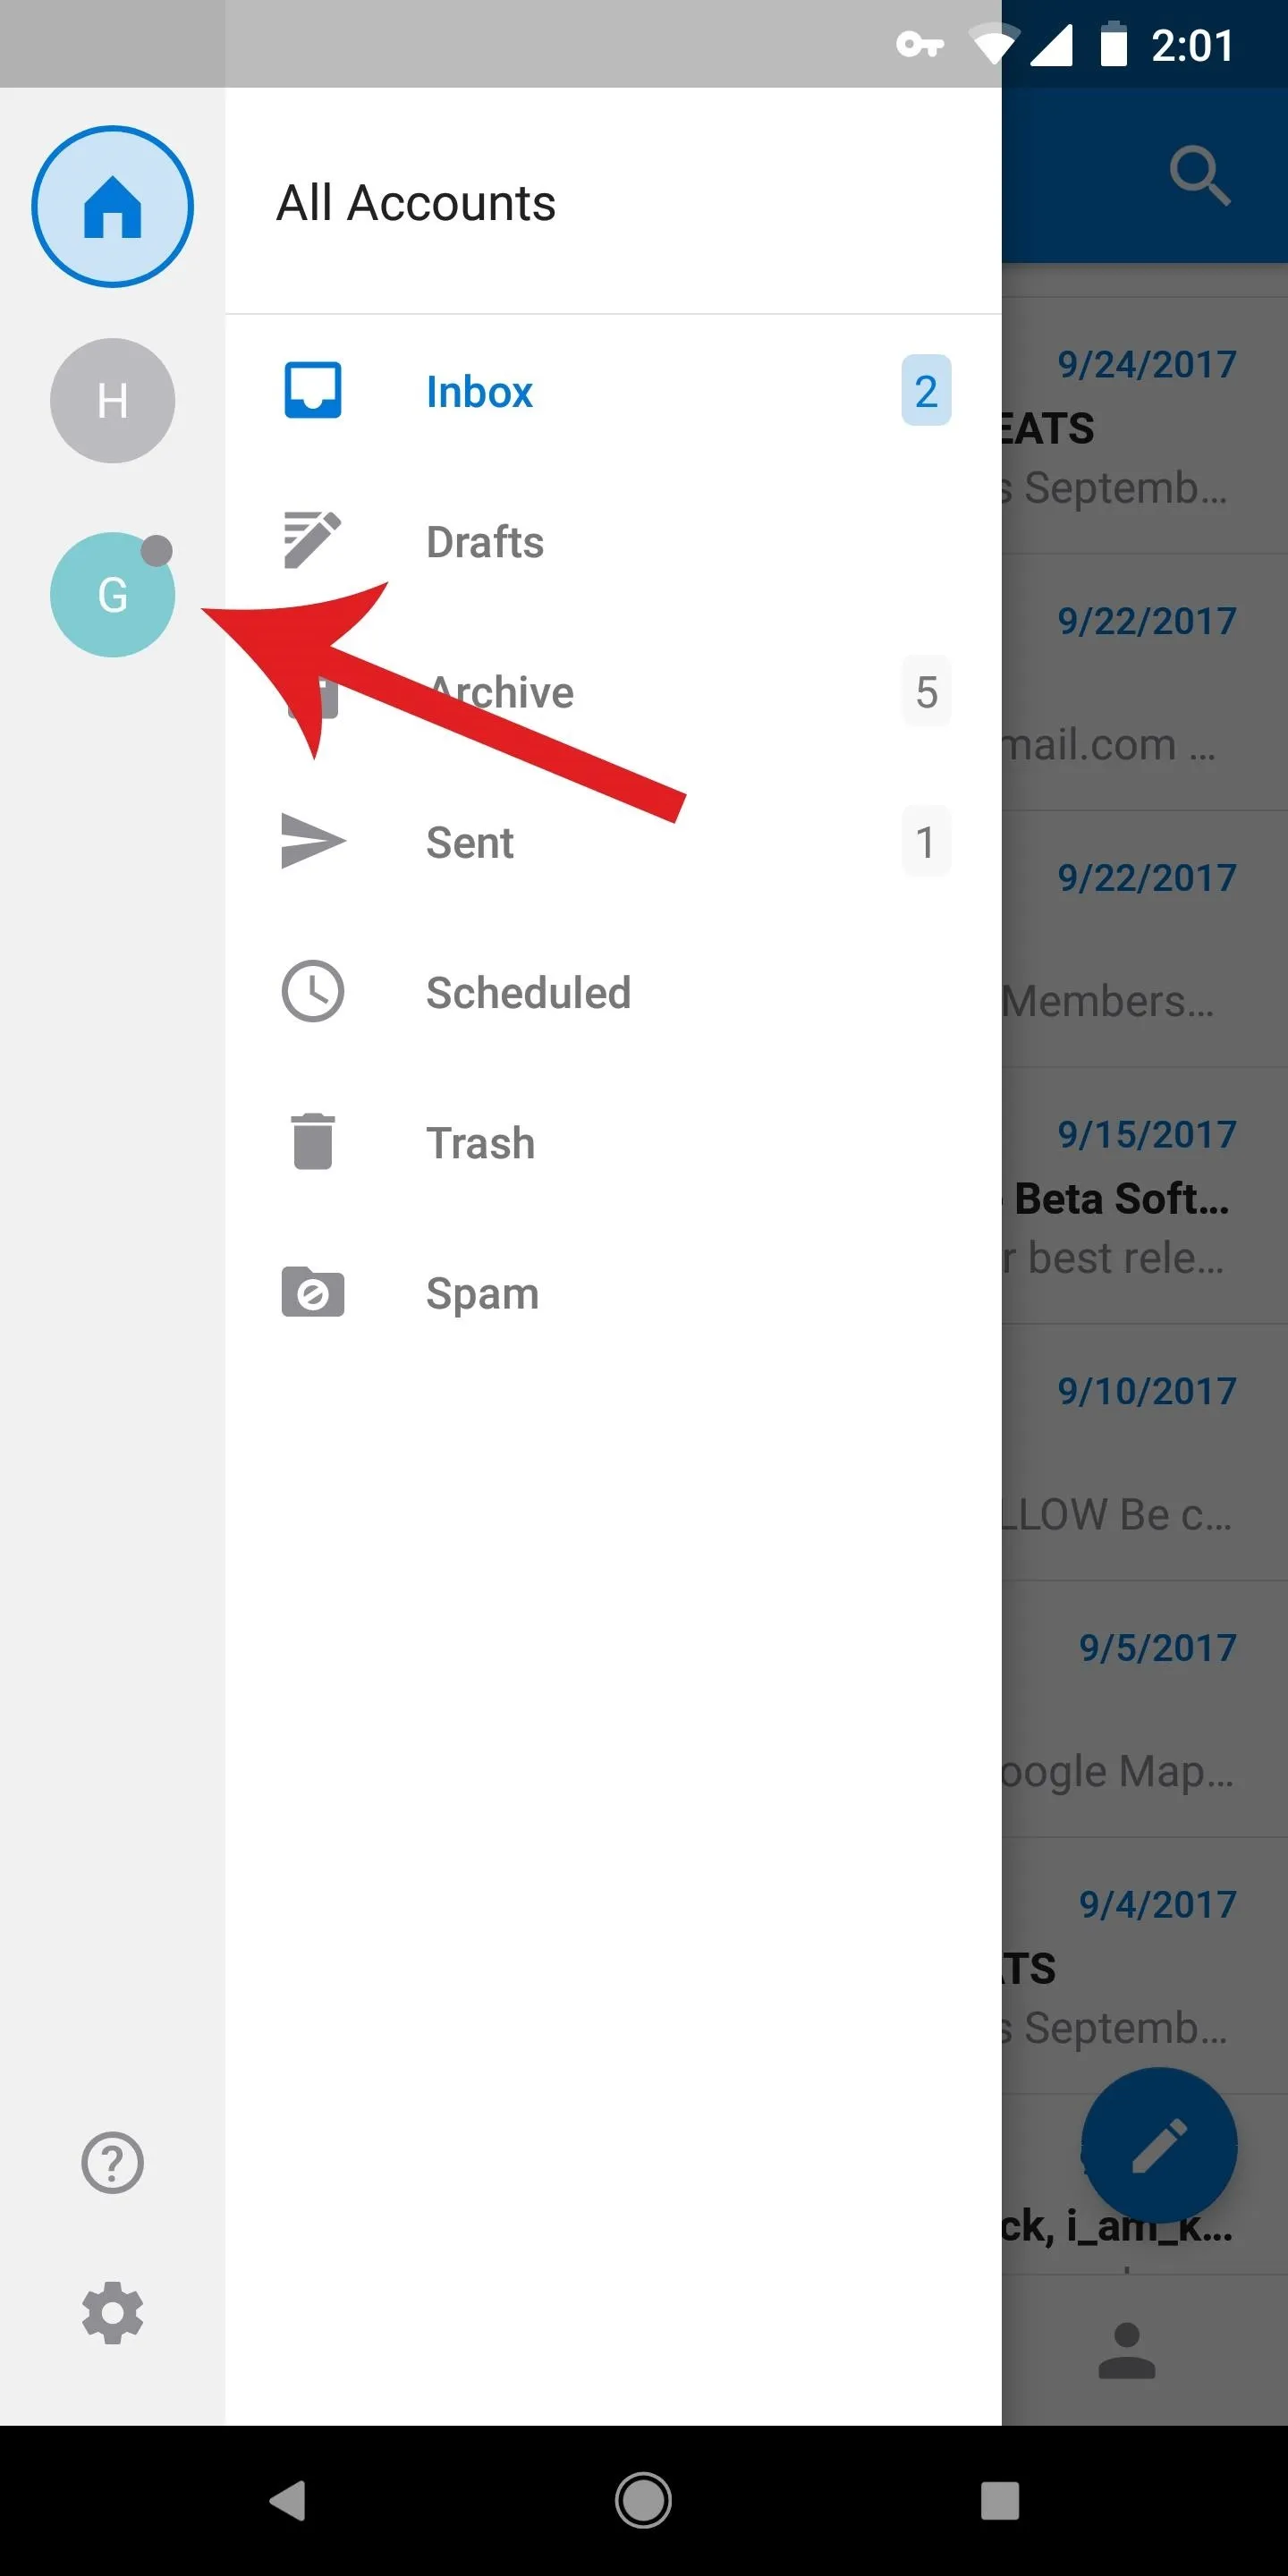
Selecting a single account from the hamburger menu.

"All Accounts" view (default).

Selecting a single account from the hamburger menu.
- Follow Gadget Hacks on Facebook, Twitter, YouTube, and Flipboard
- Follow WonderHowTo on Facebook, Twitter, Pinterest, and Flipboard
Cover image and screenshots by Jake Peterson/Gadget Hacks




Comments
No Comments Exist
Be the first, drop a comment!