Snapchat popularized personalized stickers for social media and messaging with Bitmoji, followed by walled-garden versions from Apple with Memojis and Samsung with AR Emojis. Even Google has gotten into the game, integrating an emoji generator for Gboard.
Finally, Facebook has followed its predecessors in the tech world with its own take on digital caricatures with Avatar, which is rolling out to users now.
But don't look for a specific app like Bitmoji. In fact, you'll have to dig a bit to generate your own Avatar for Facebook.
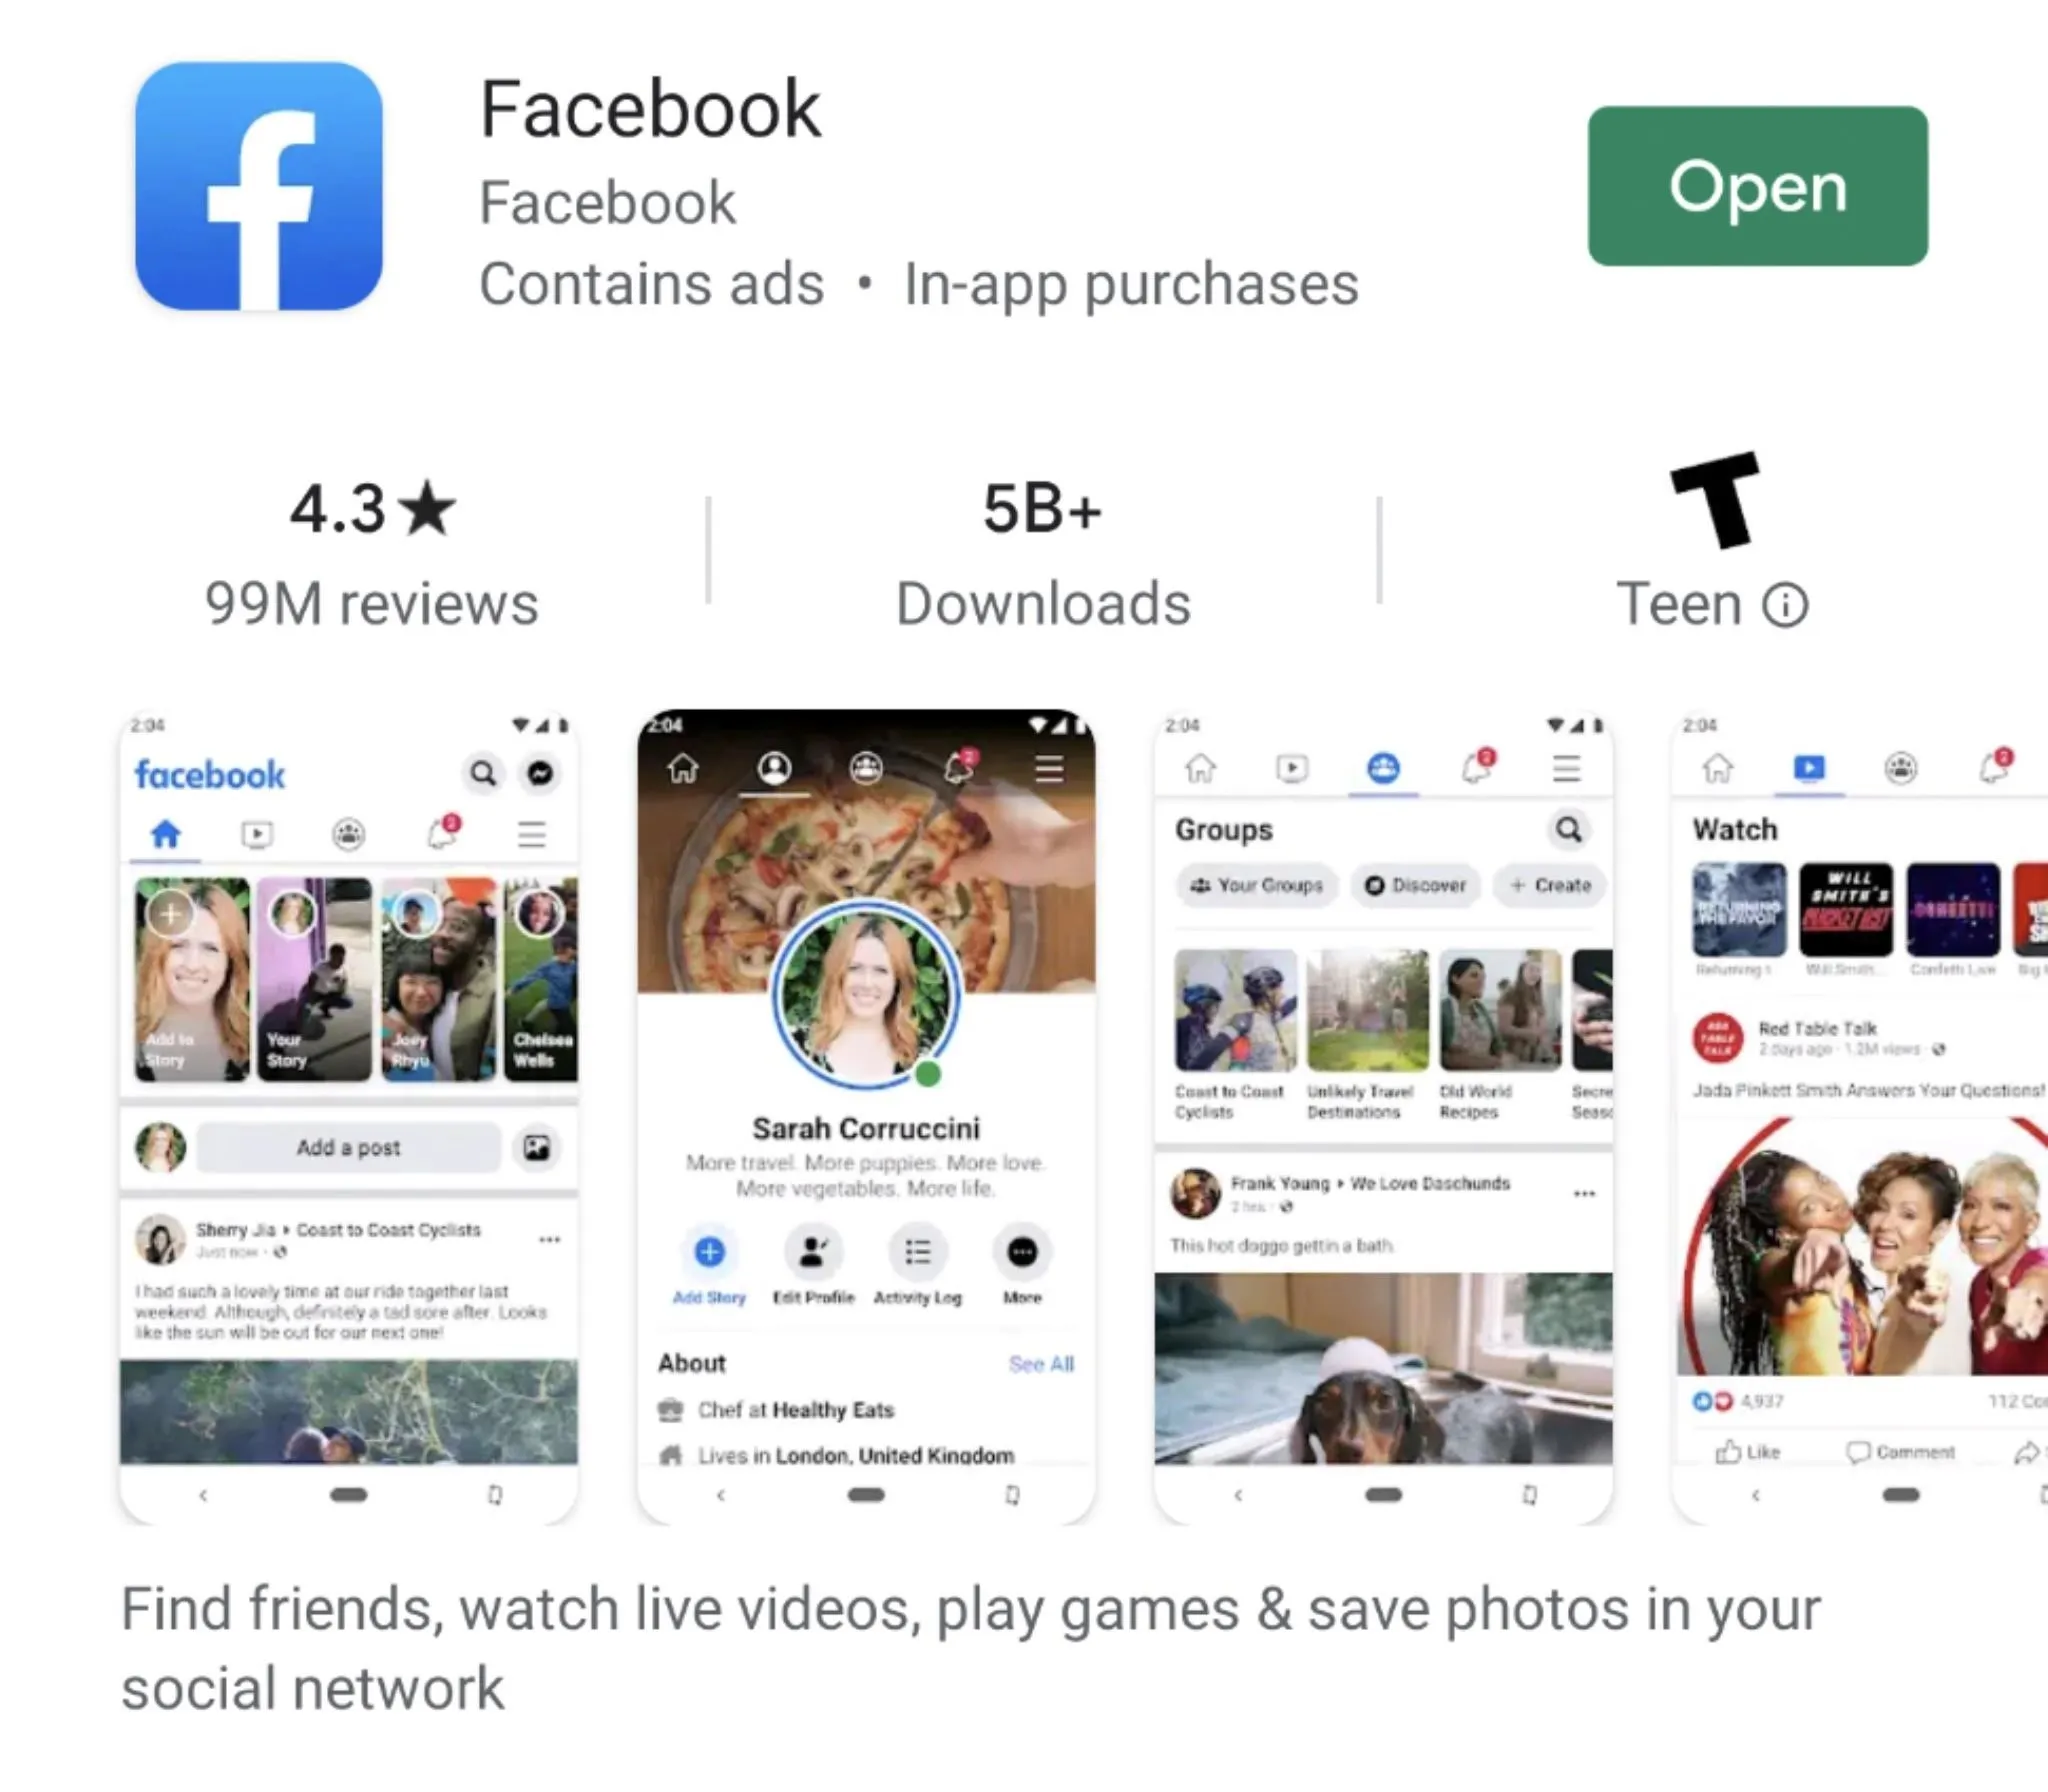
Step 1: Install Facebook or Messenger
I know, I know, the Facebook mobile app is a bit controversial. Because of its size and battery usage, many tech writers advocate deleting the app and using the mobile website or a third-party version. If you want to use Avatars, though, you'll need to install the app at least one more time.
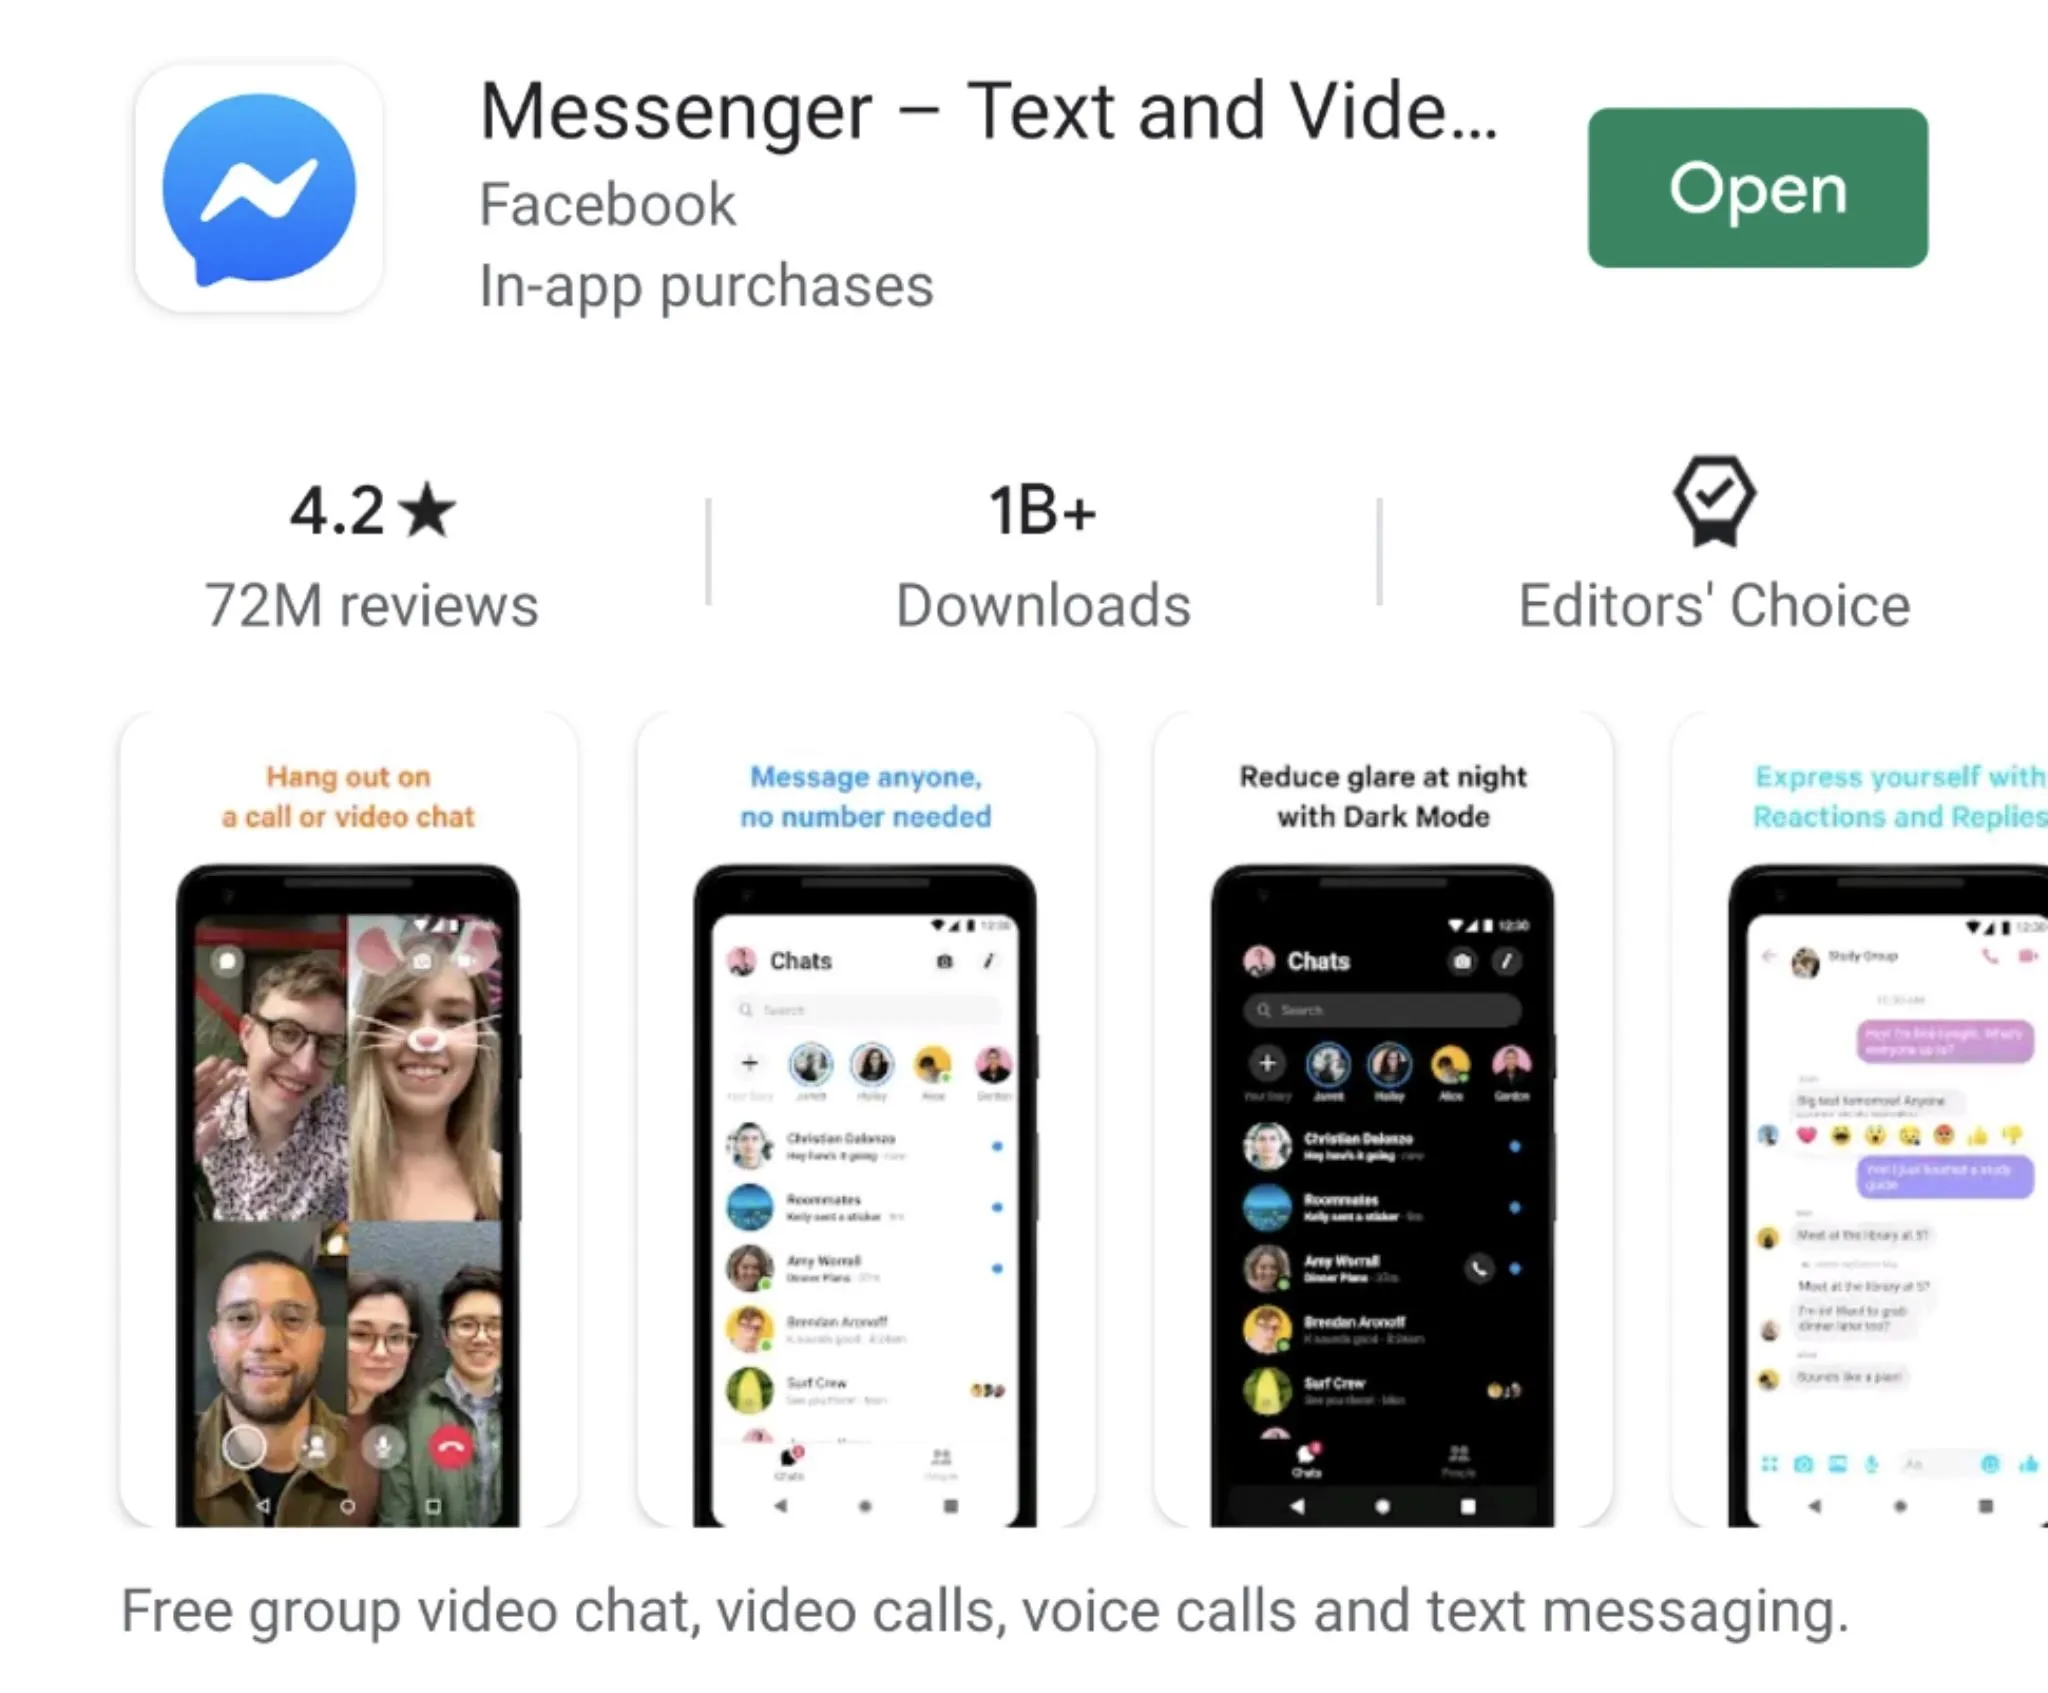
Alternately, if you only use the Messenger app, you can build your Avatar through it instead. The process is mostly the same, and it will be available on both platforms as a result.
If you have the apps installed already, check your respective app marketplace to install any available updates.
Step 2: Start Writing a Comment or Message
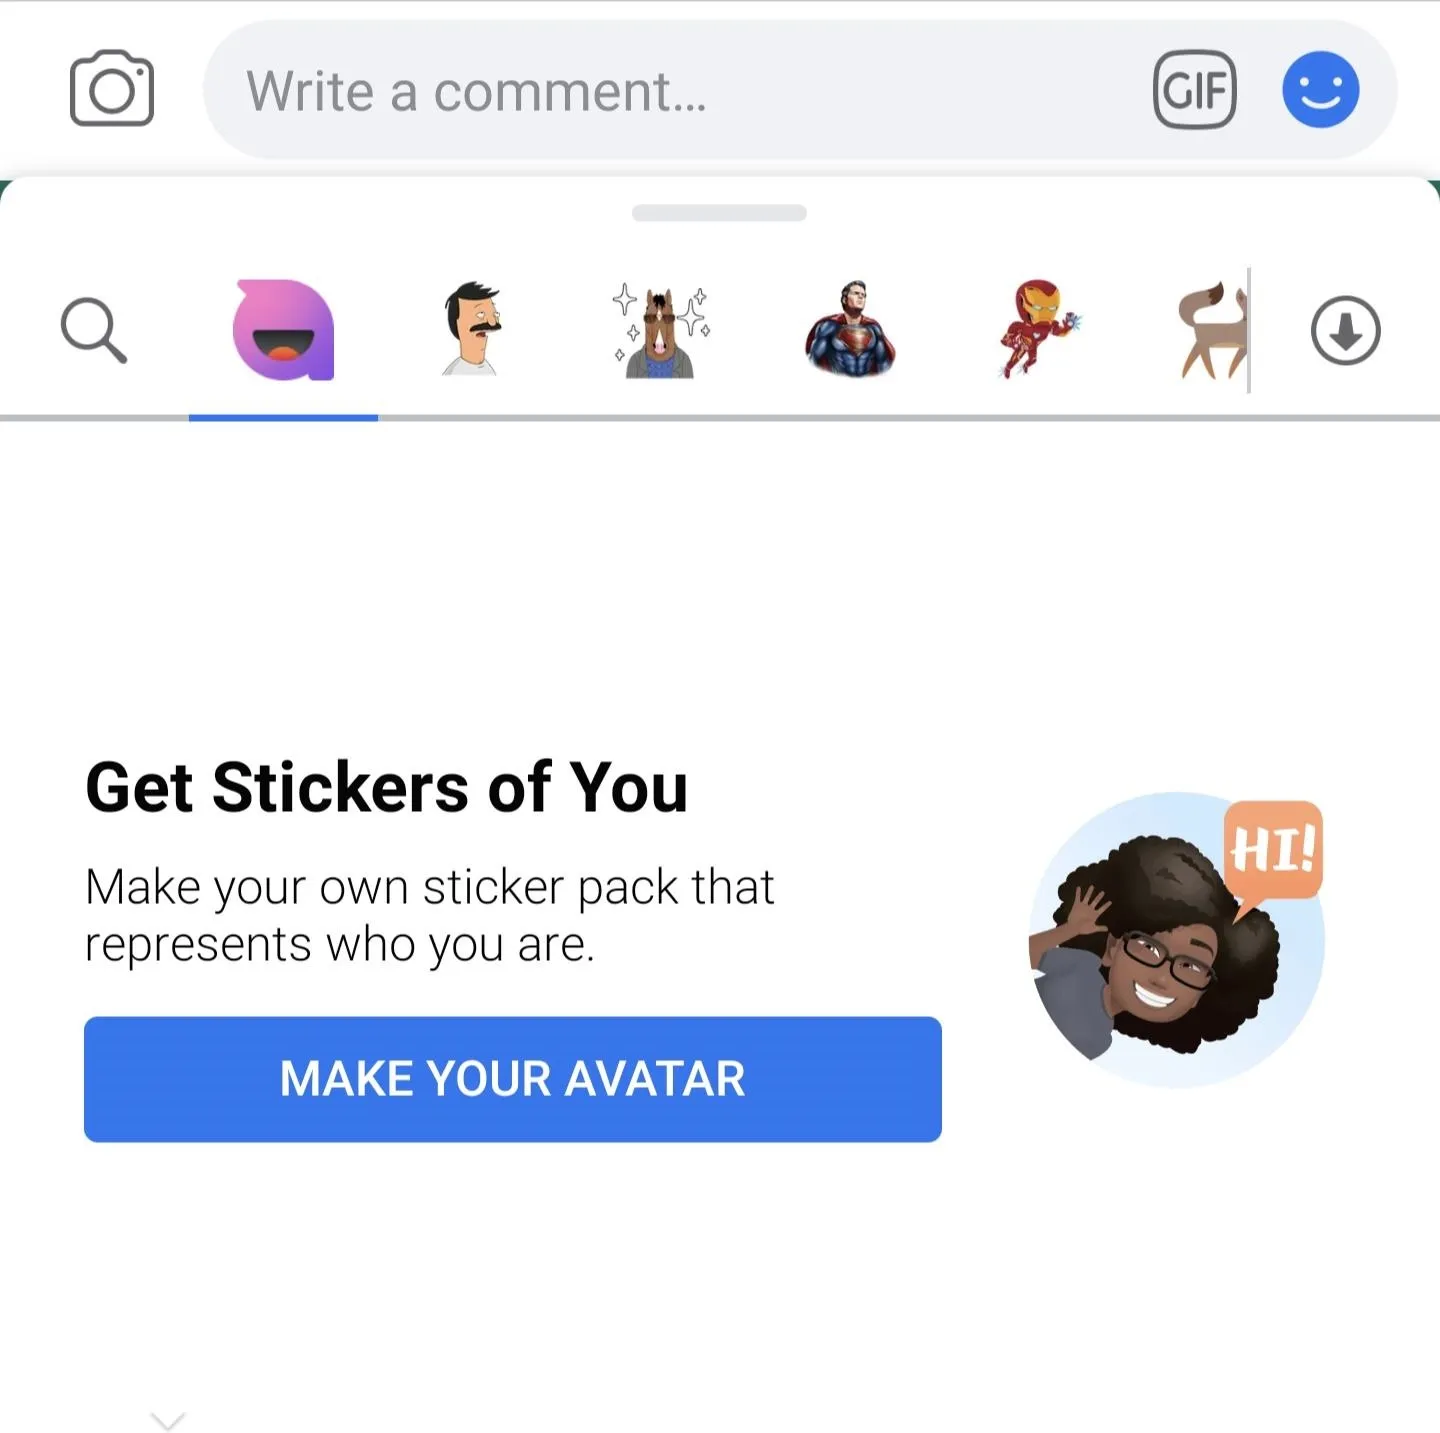
Find a post on Facebook, or a conversation on Messenger, and tap into the message composing field. To the right of the field, tap the smiley face icon to access your stickers.
Look for the Avatar logo. It looks like a purple lowercase "a" with a mouth. Tap it, and you'll see an introductory message and a button to begin building your Avatar. Tap the button to get started.
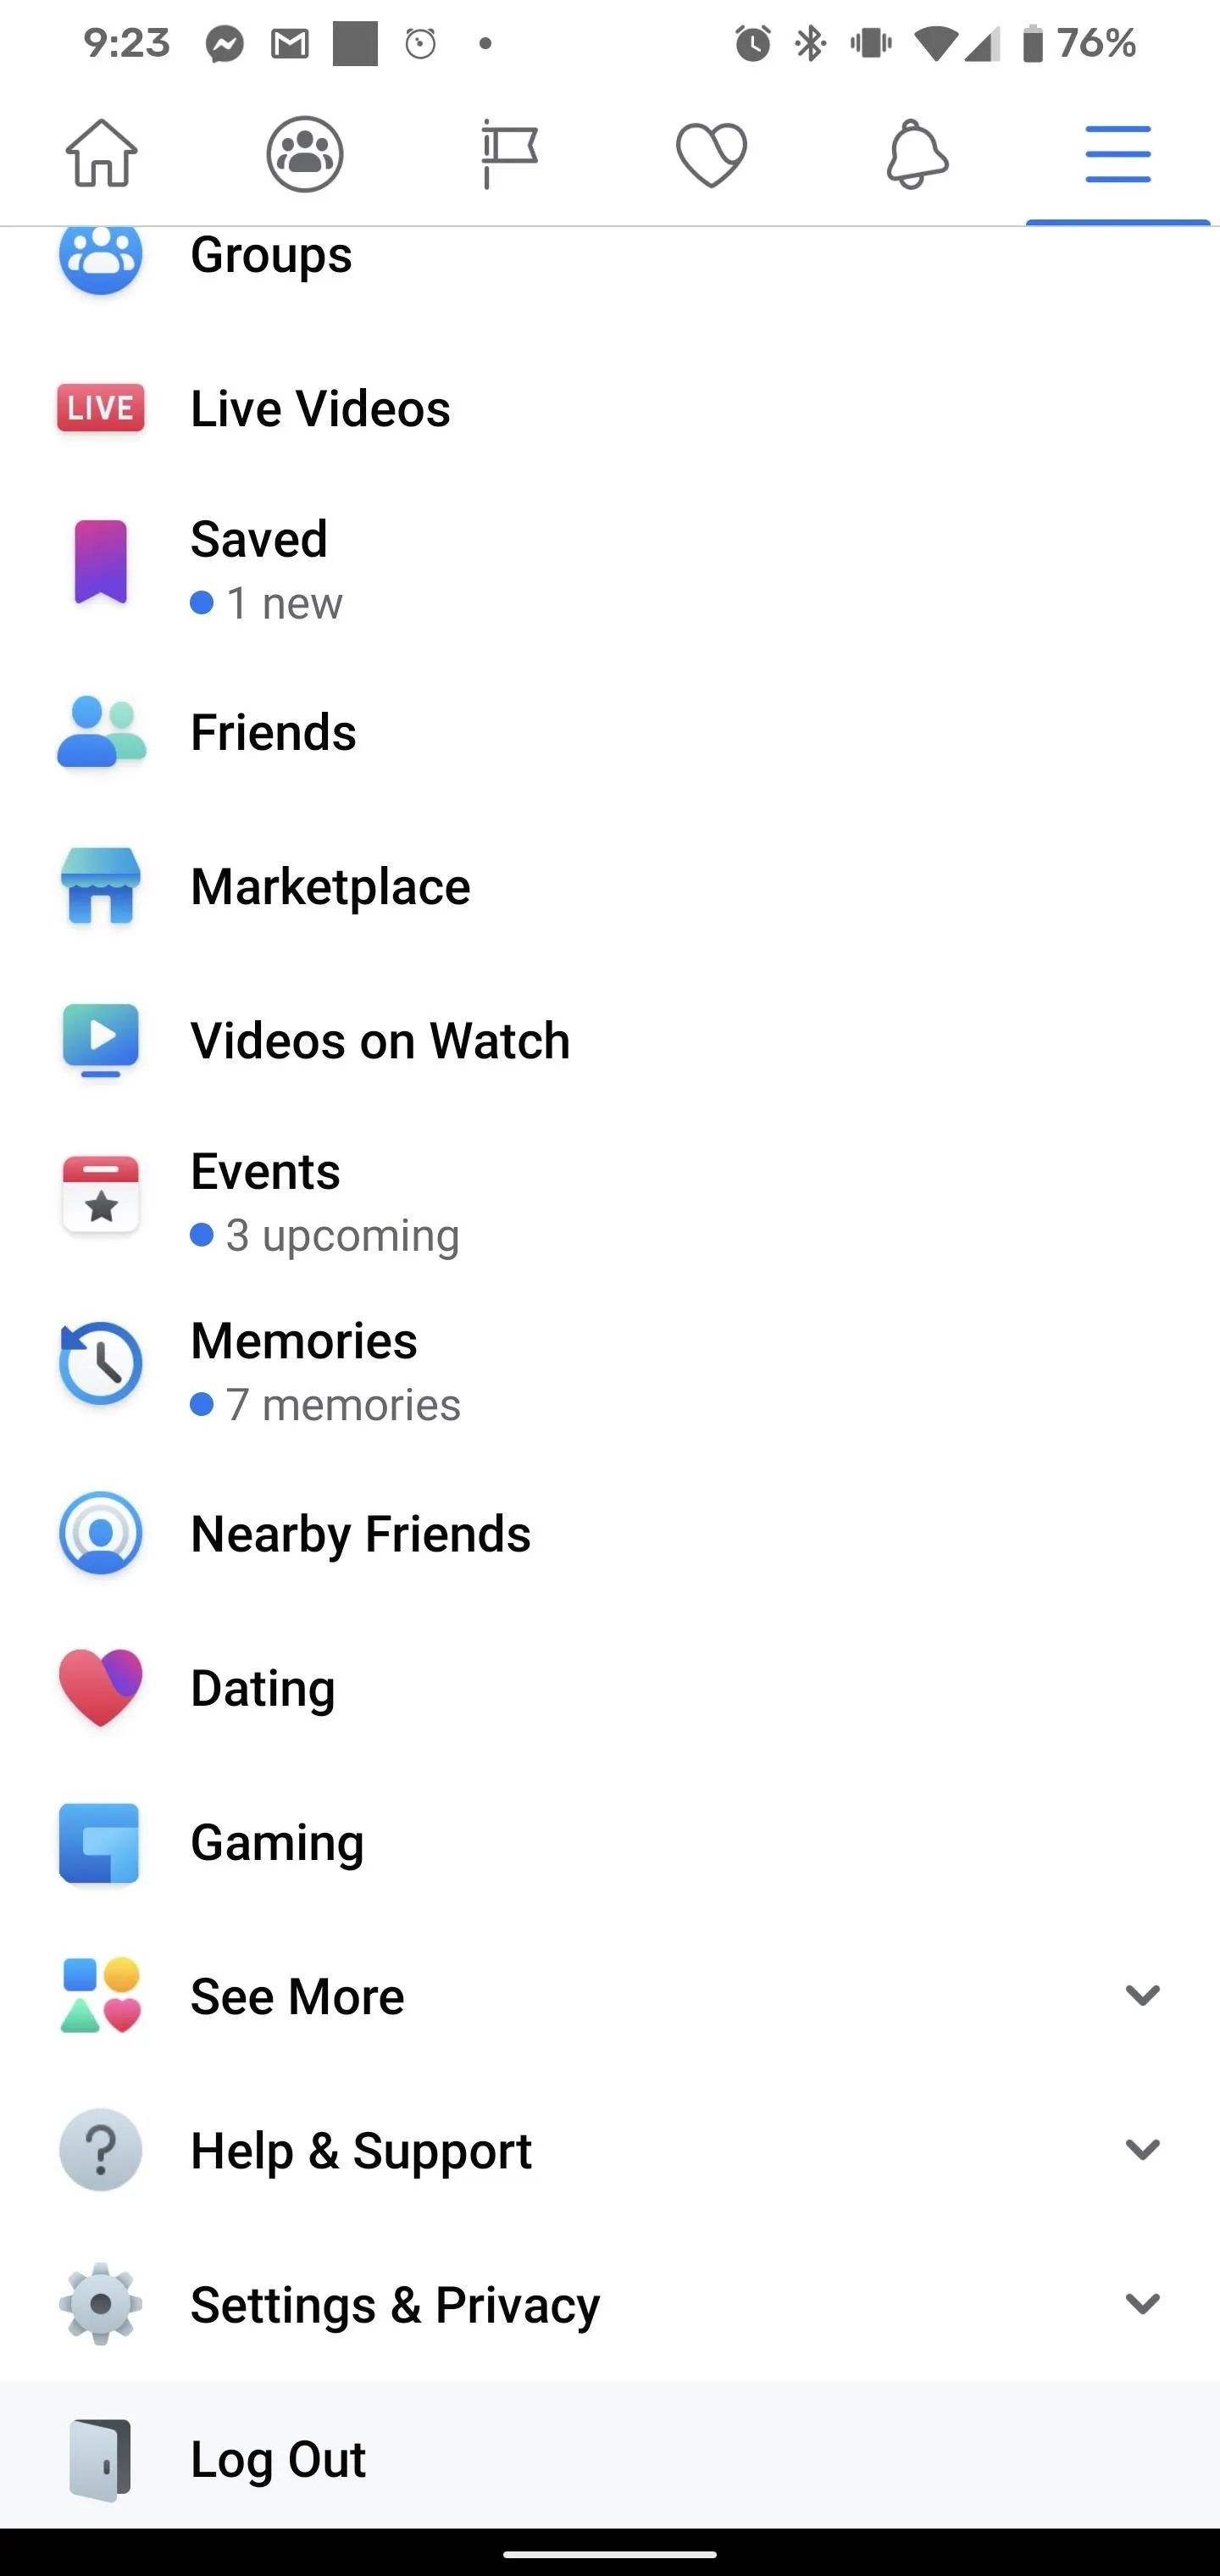
Alternately, you can also initiate the Avatar creation engine under the hamburger menu in the Facebook app. Scroll down to "See More" and expand it. You'll find an option for Avatars there.
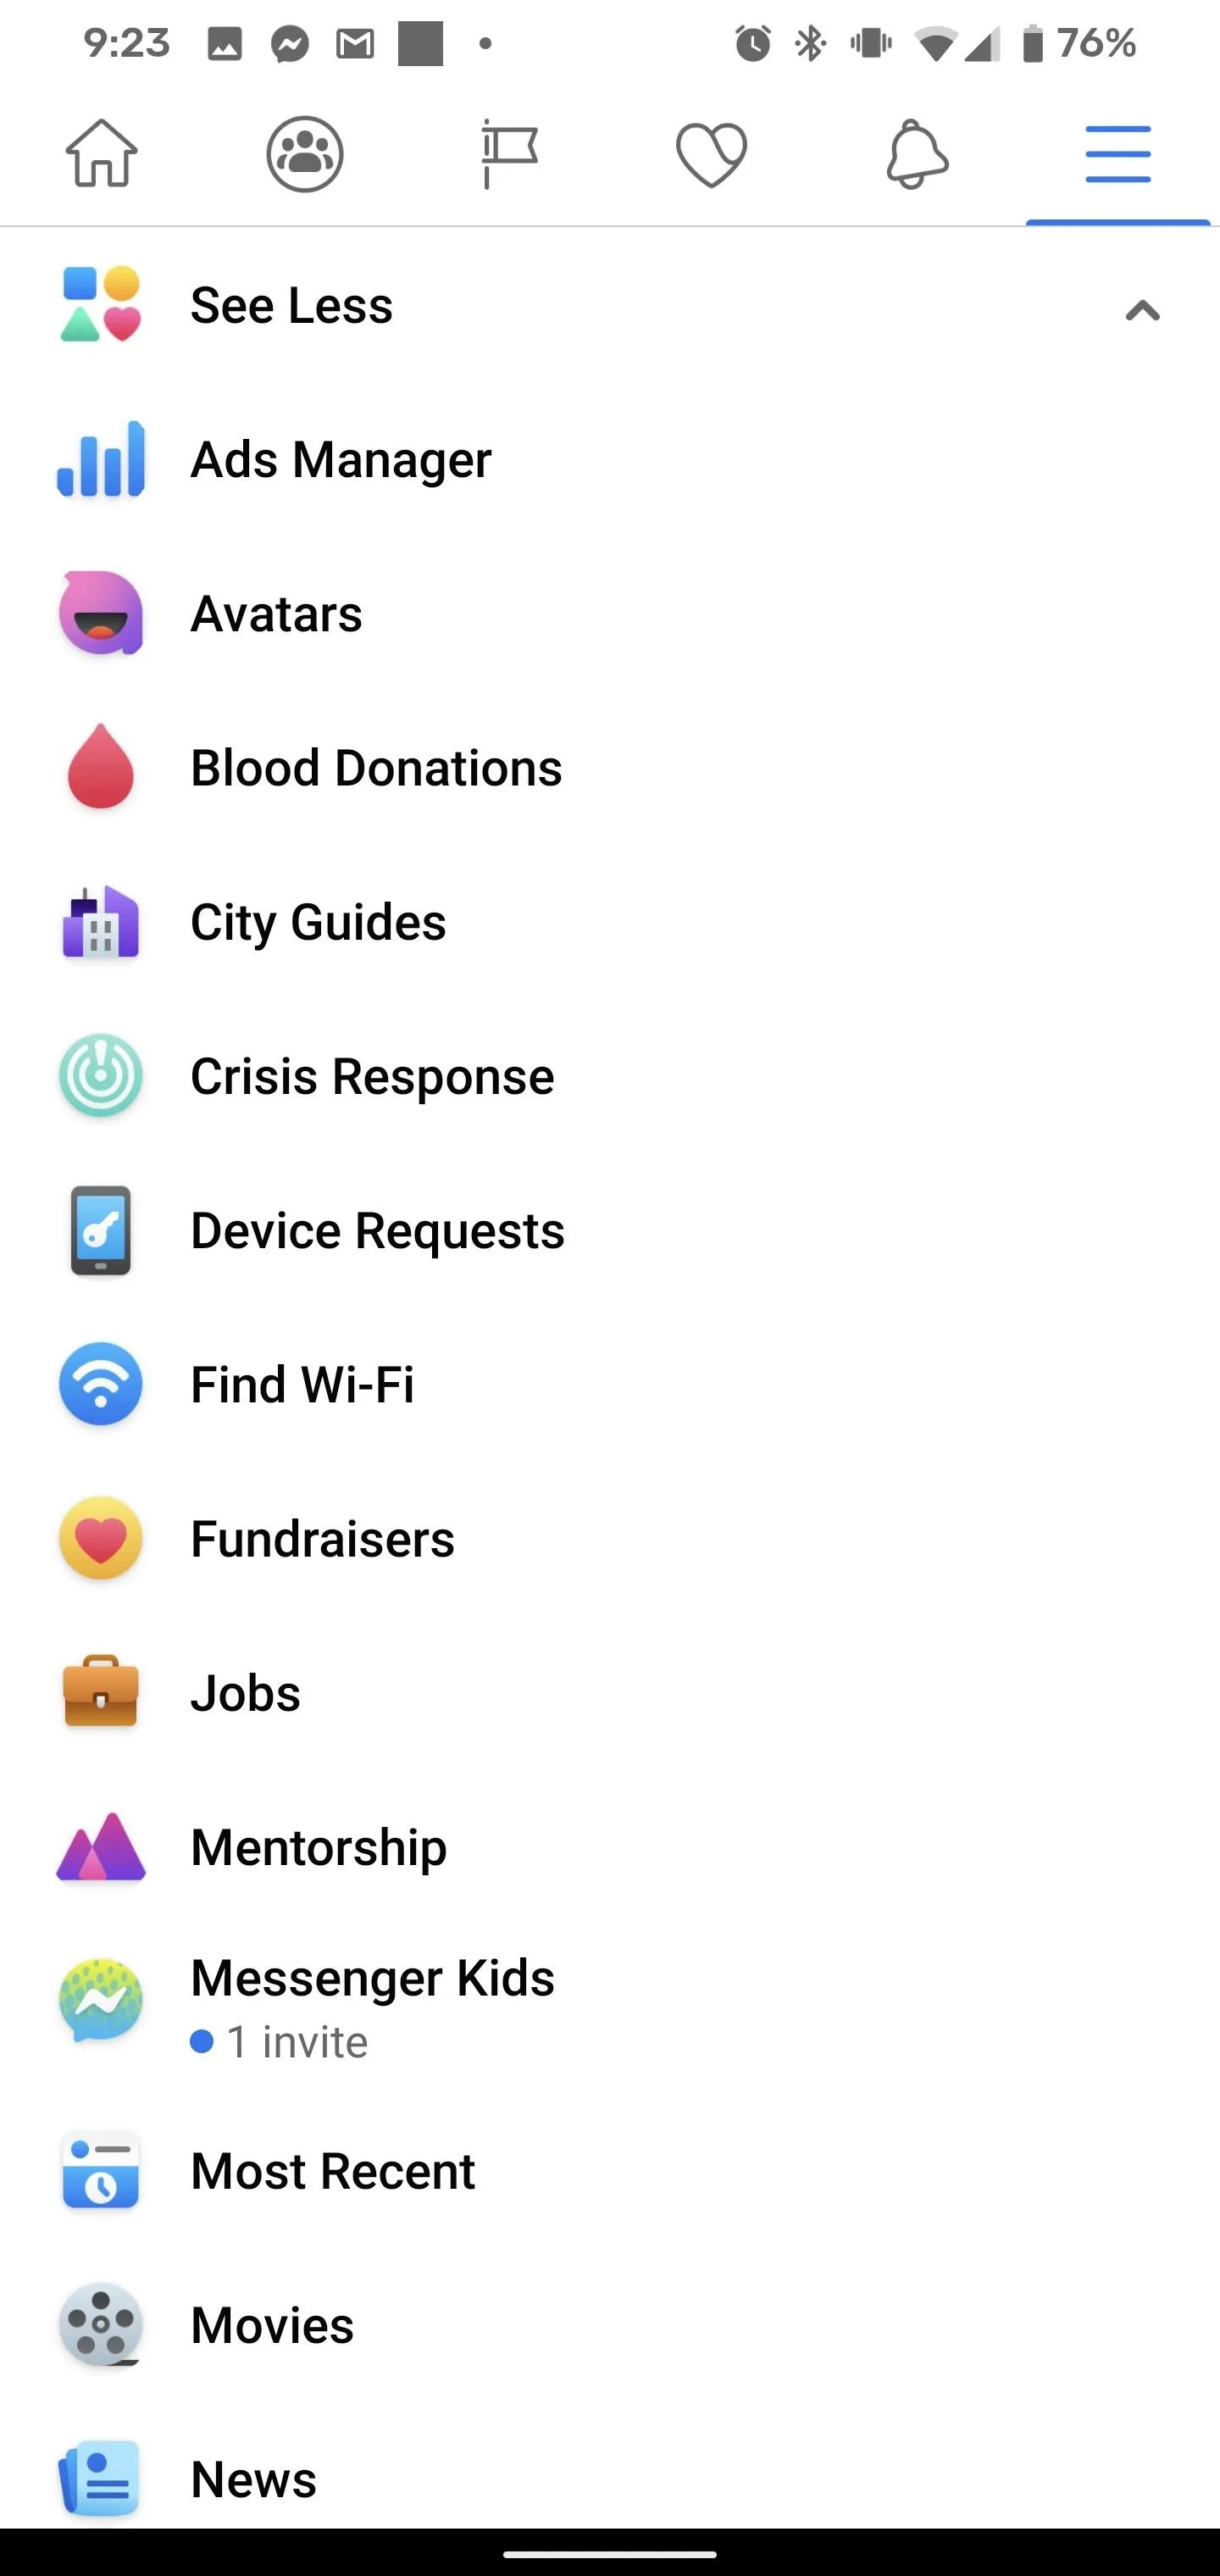


Step 3: Customize Your Avatar
As you enter the Avatar generator, you'll be greeted with a splash screen for the feature. Tap "Next" to proceed to dial in your look.
In Messenger, you'll get a second splash screen describing stickers. Tap "Get Started" to proceed.
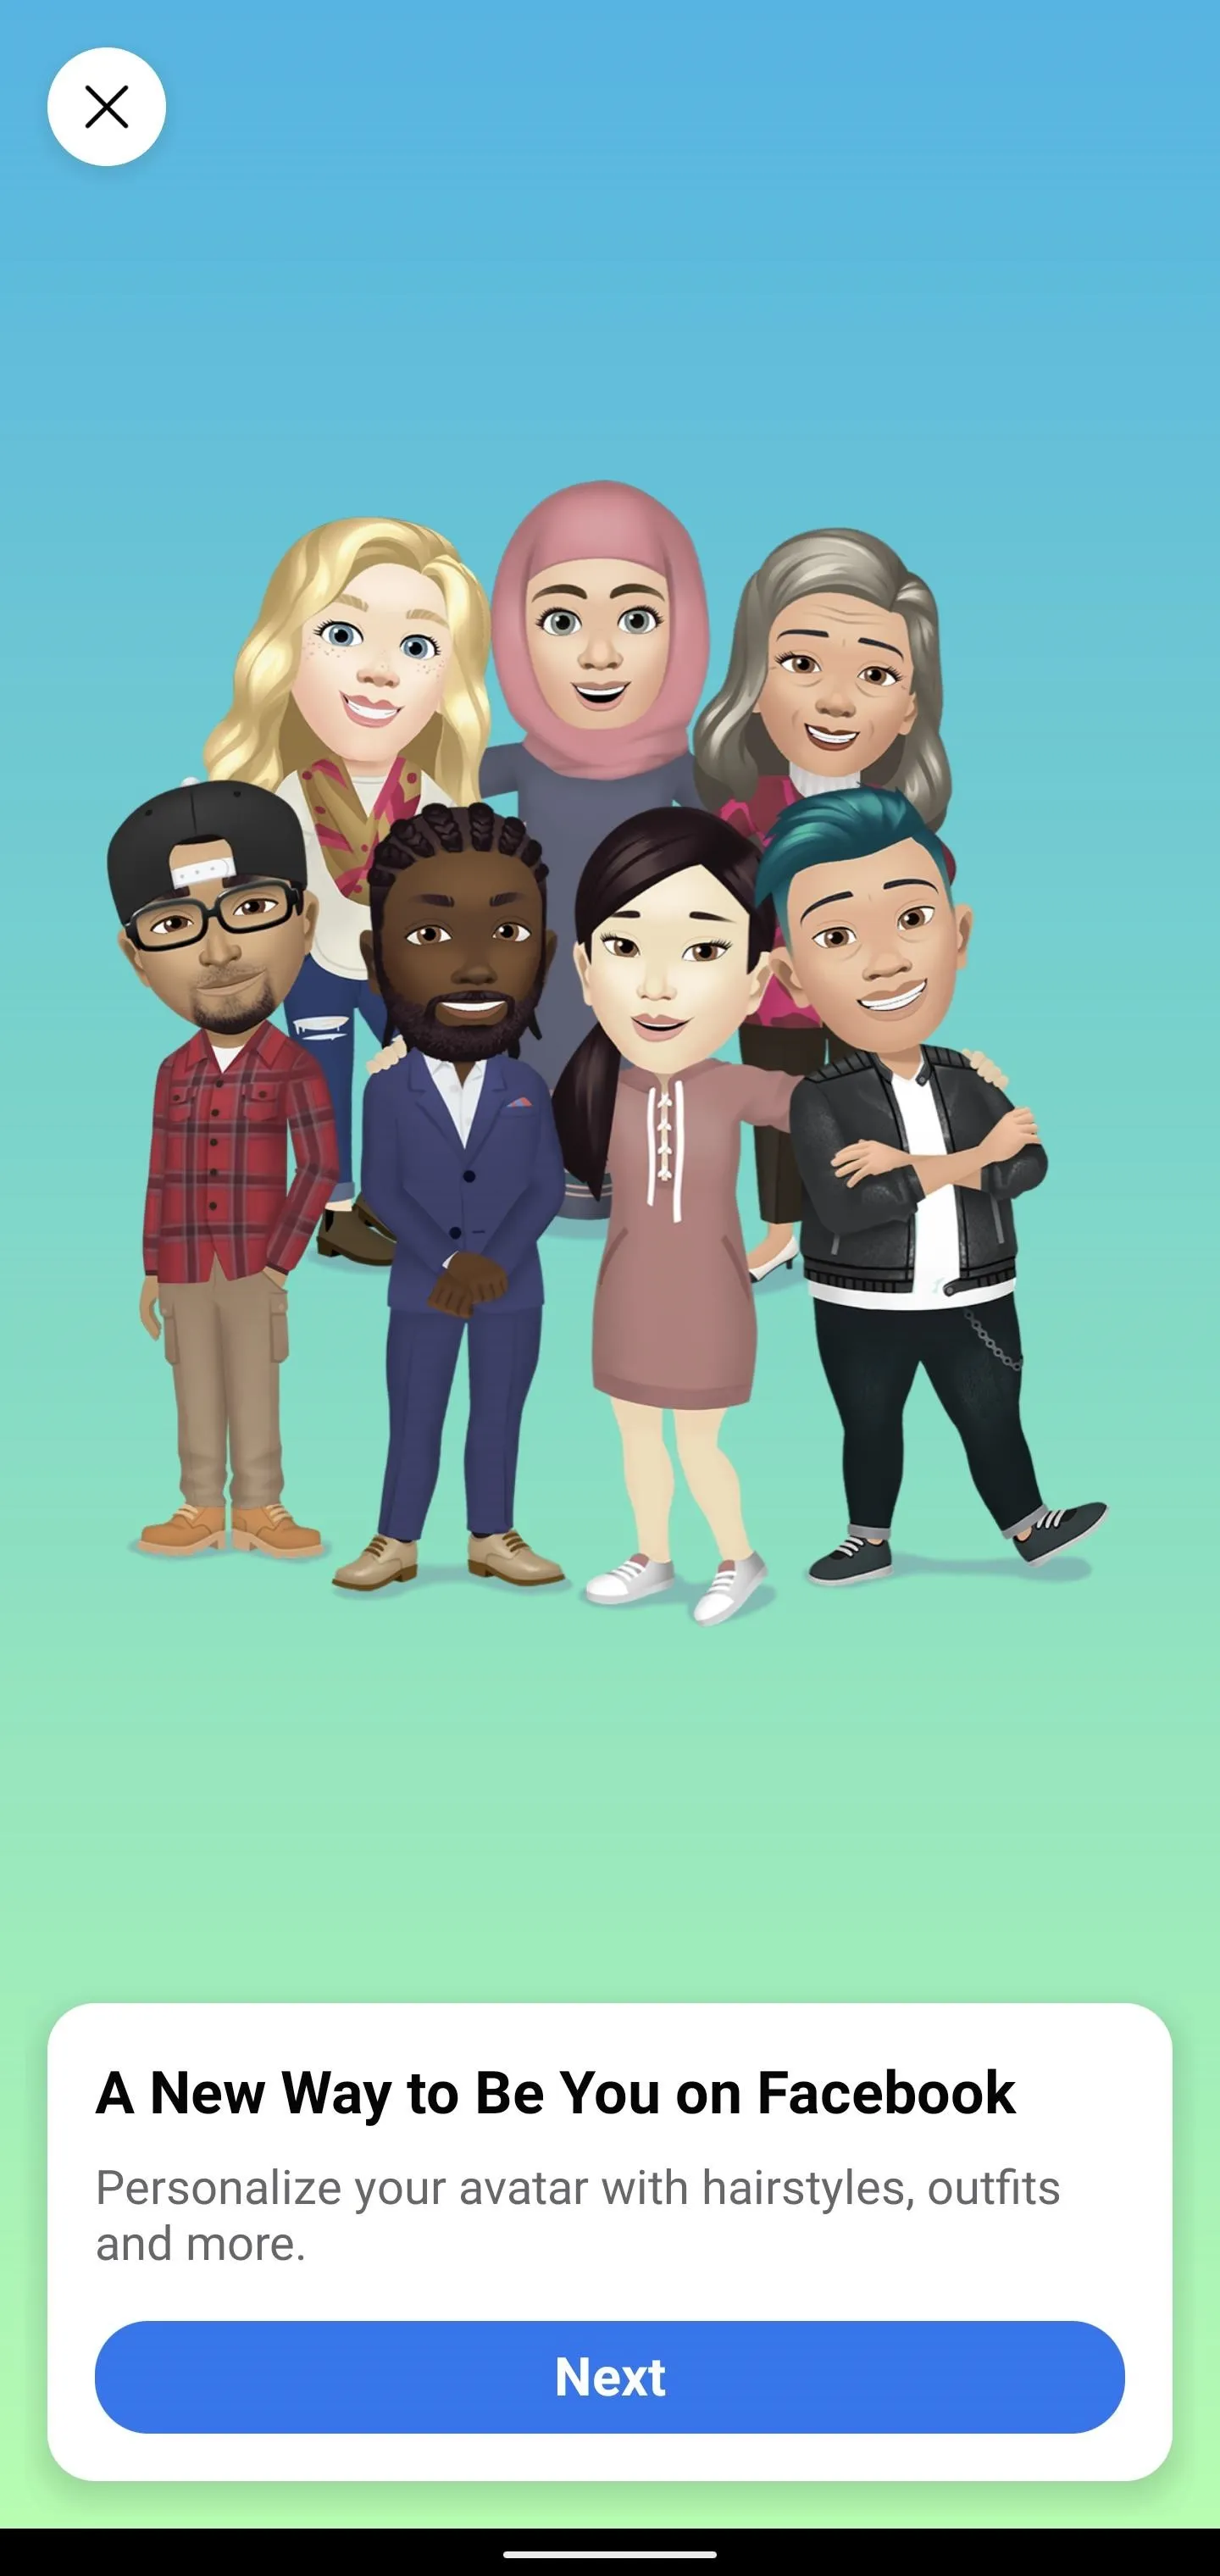
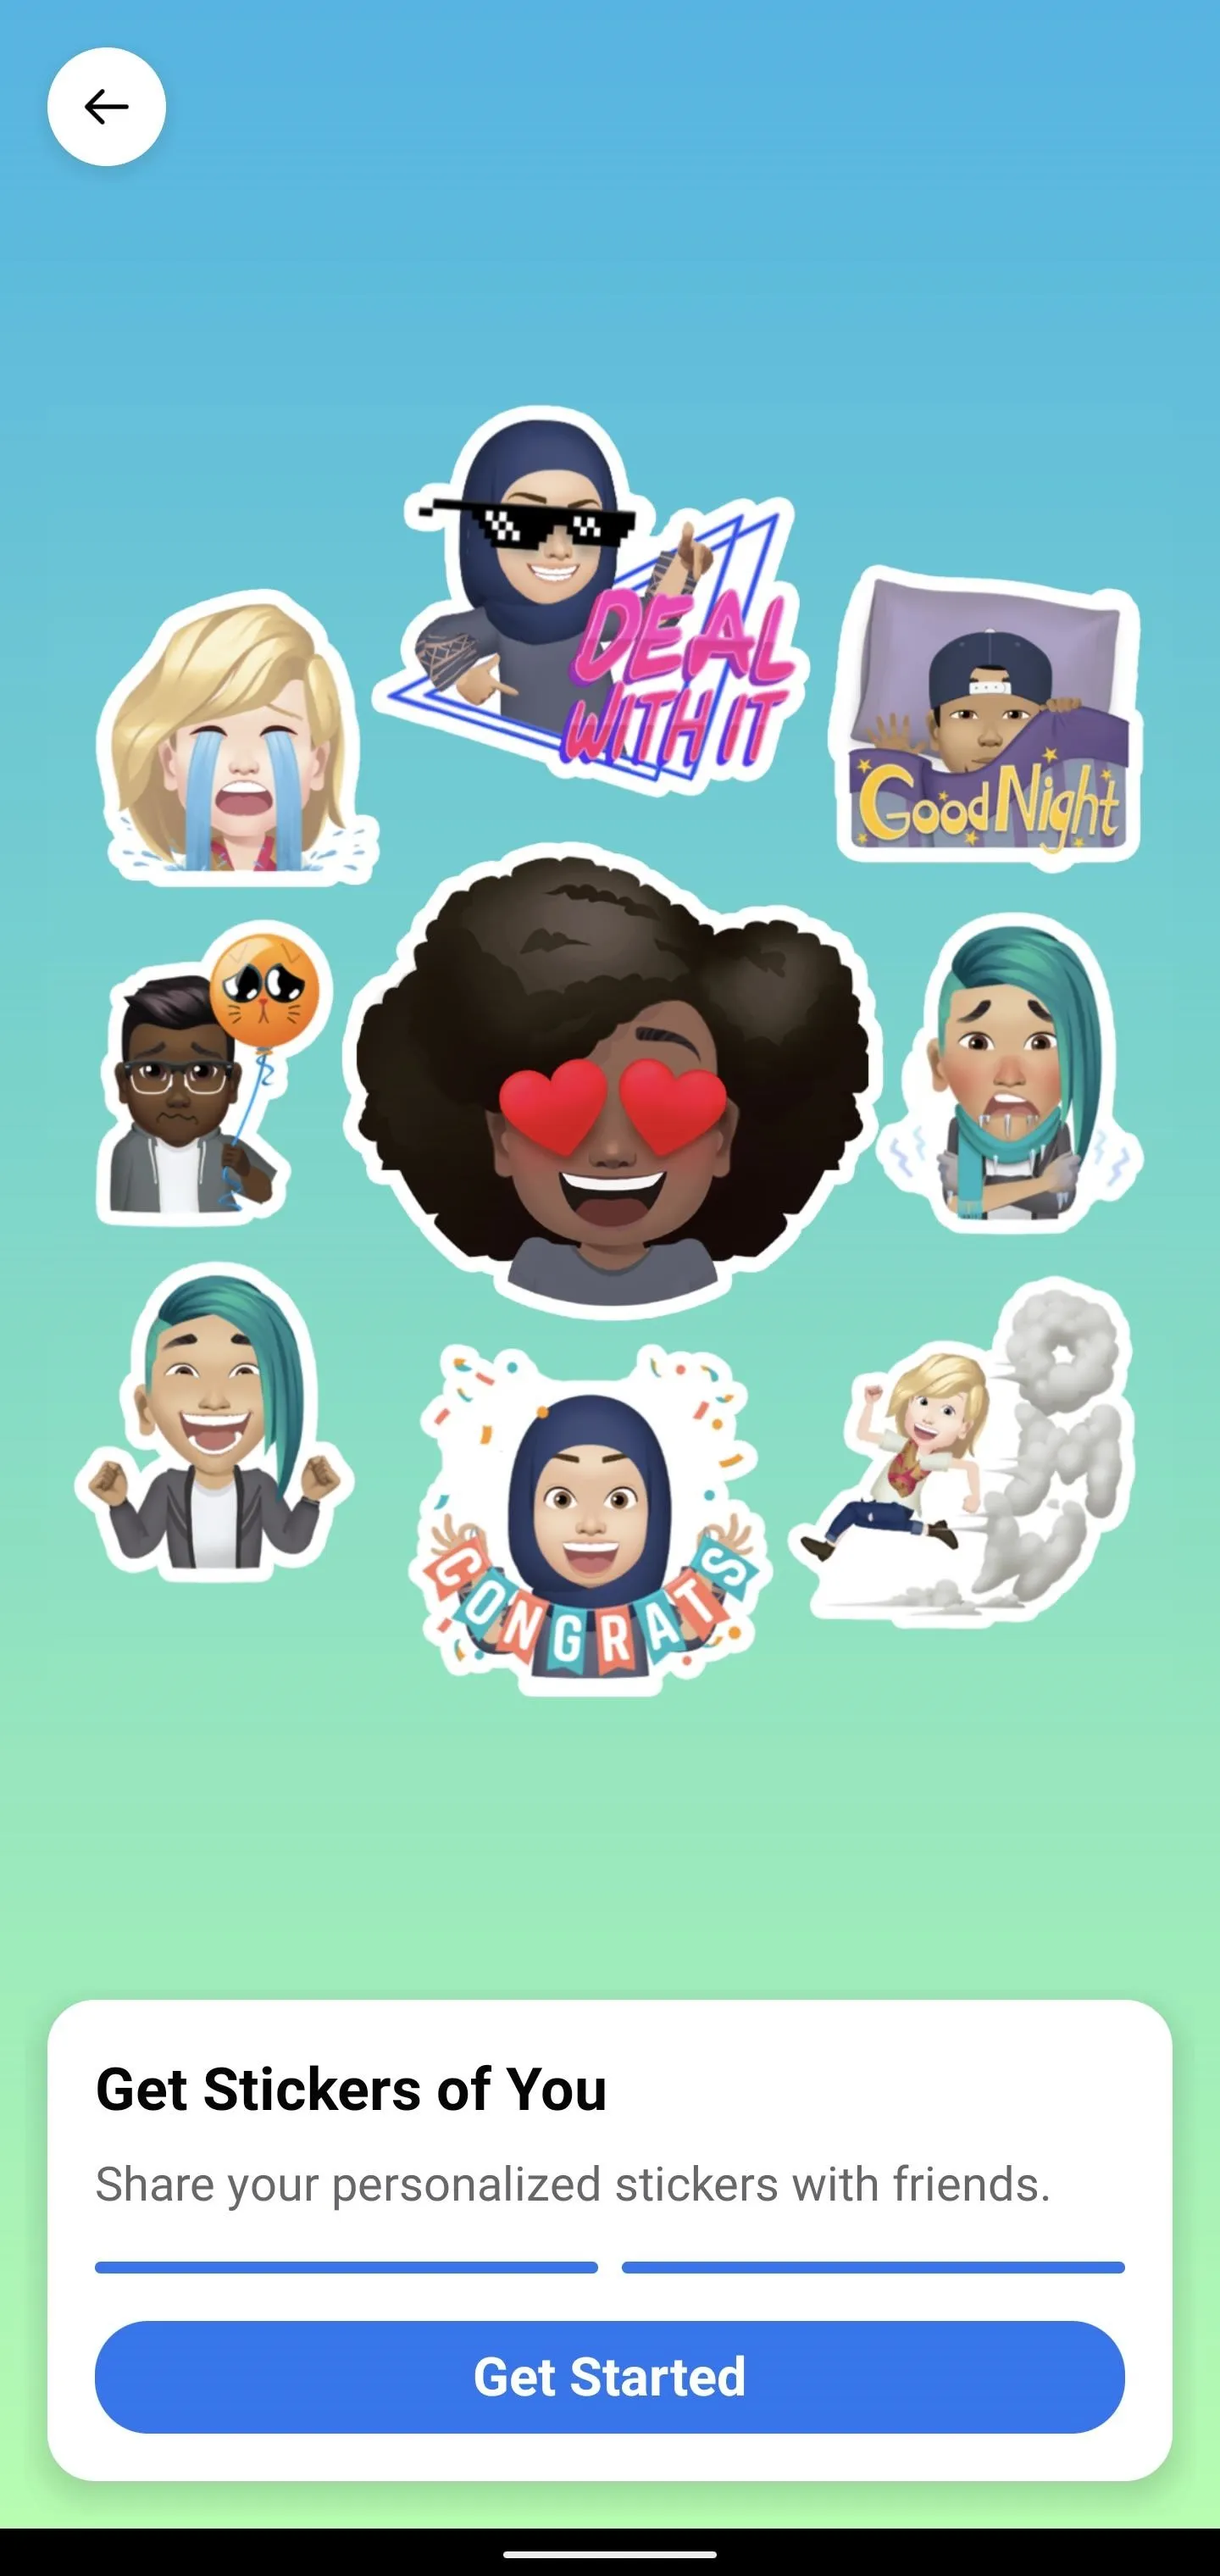


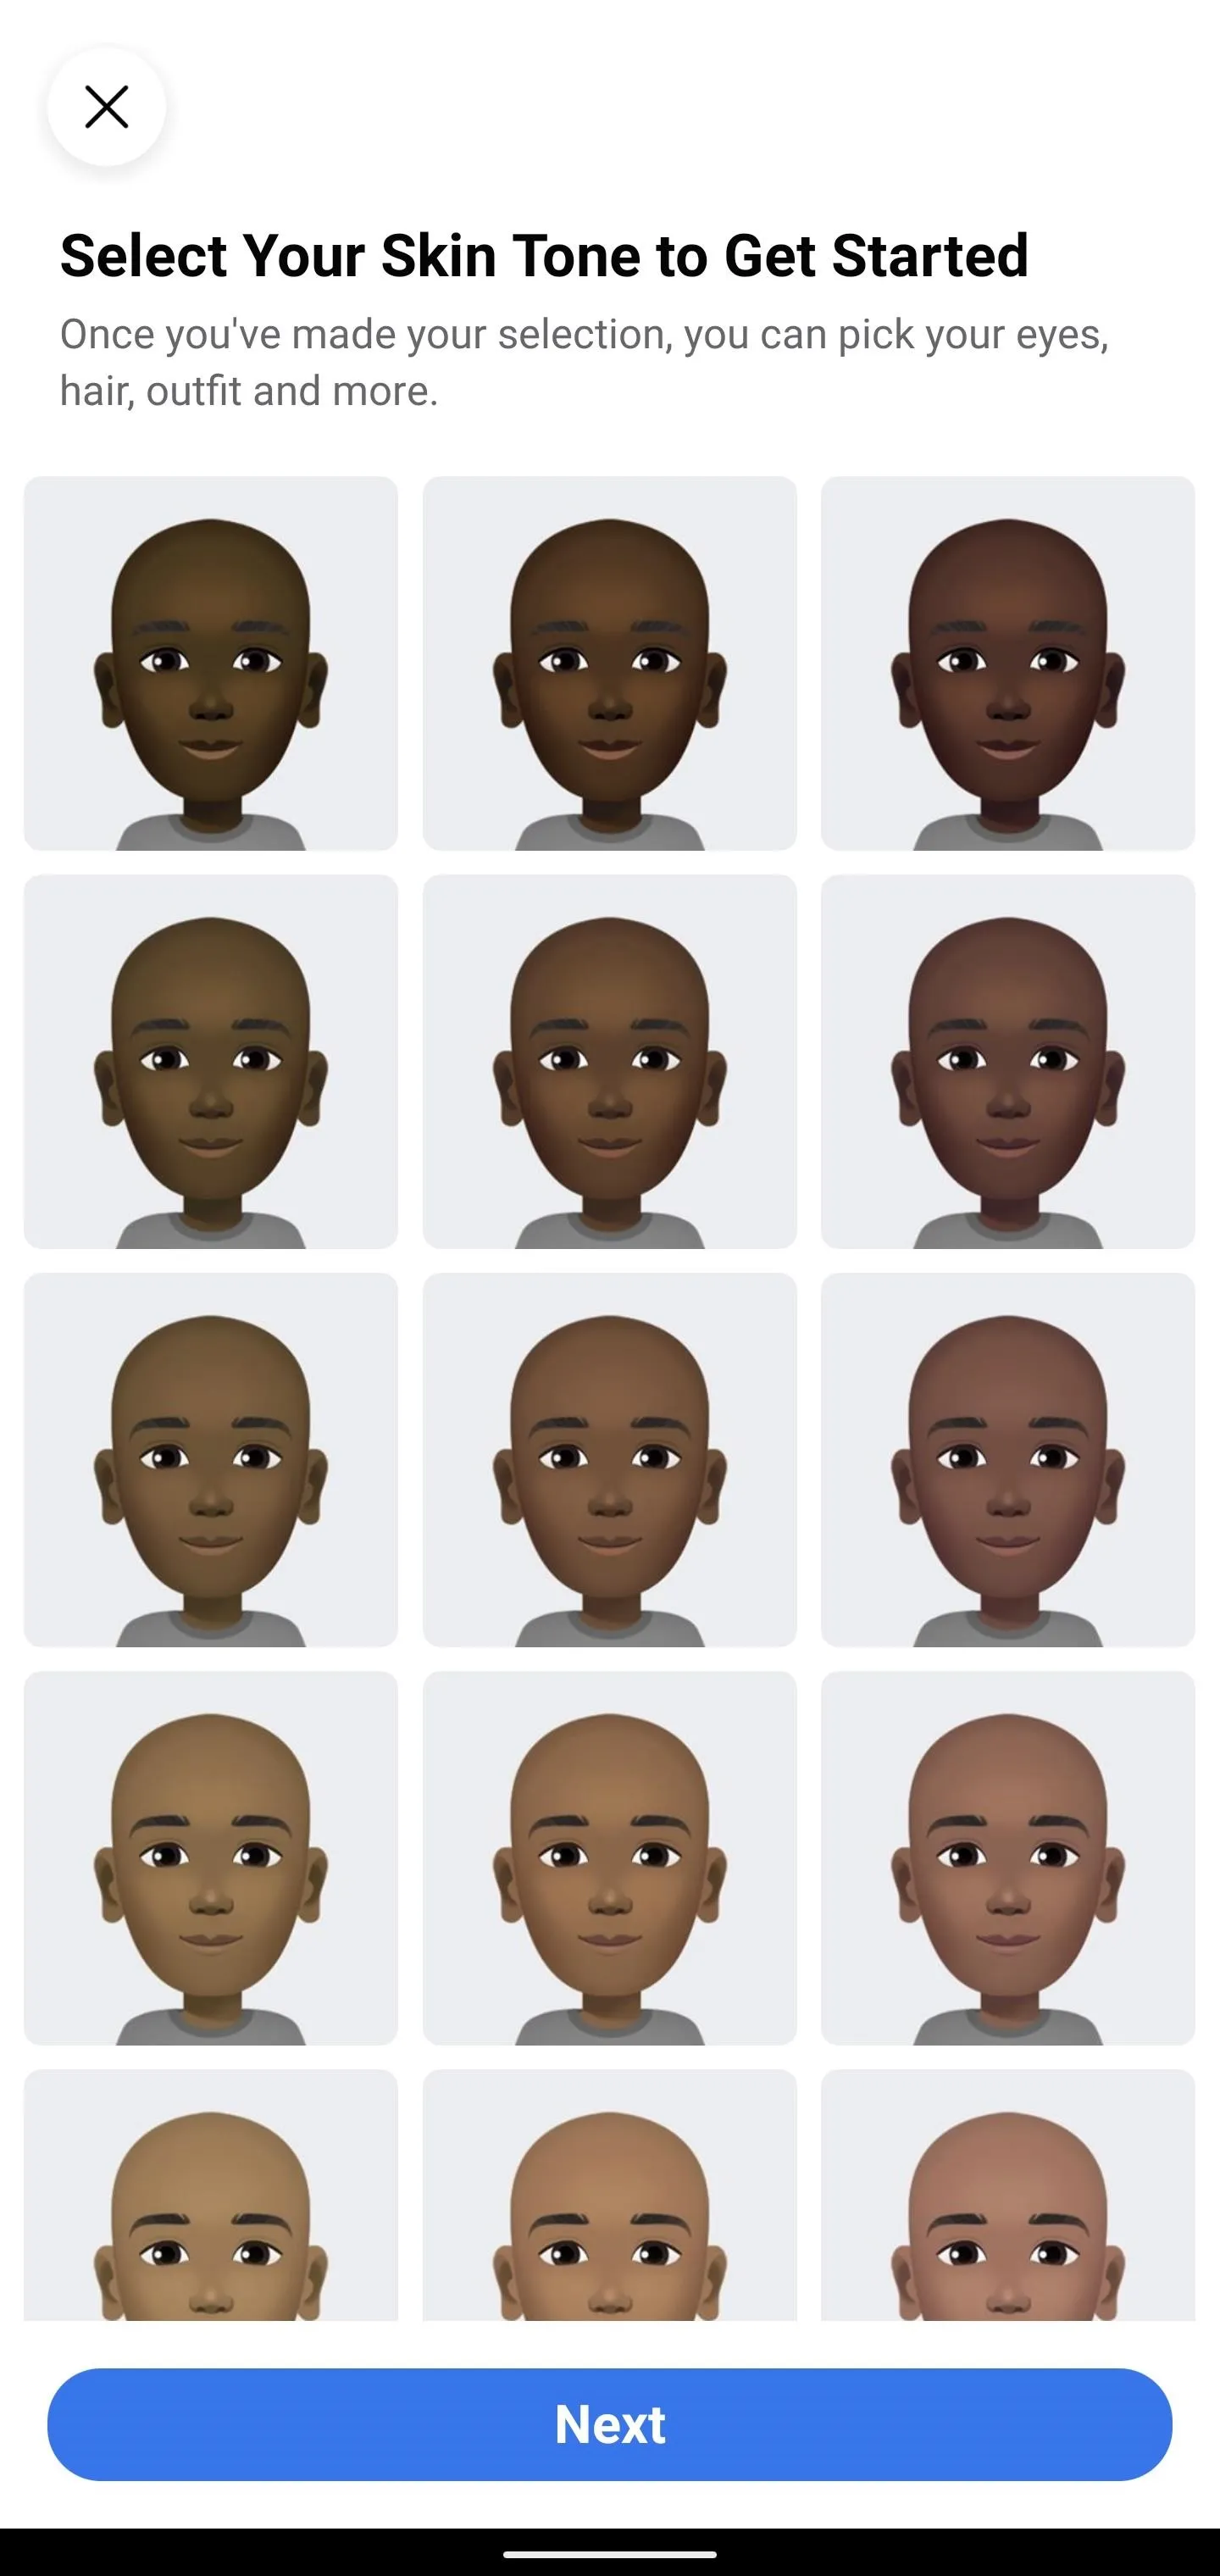
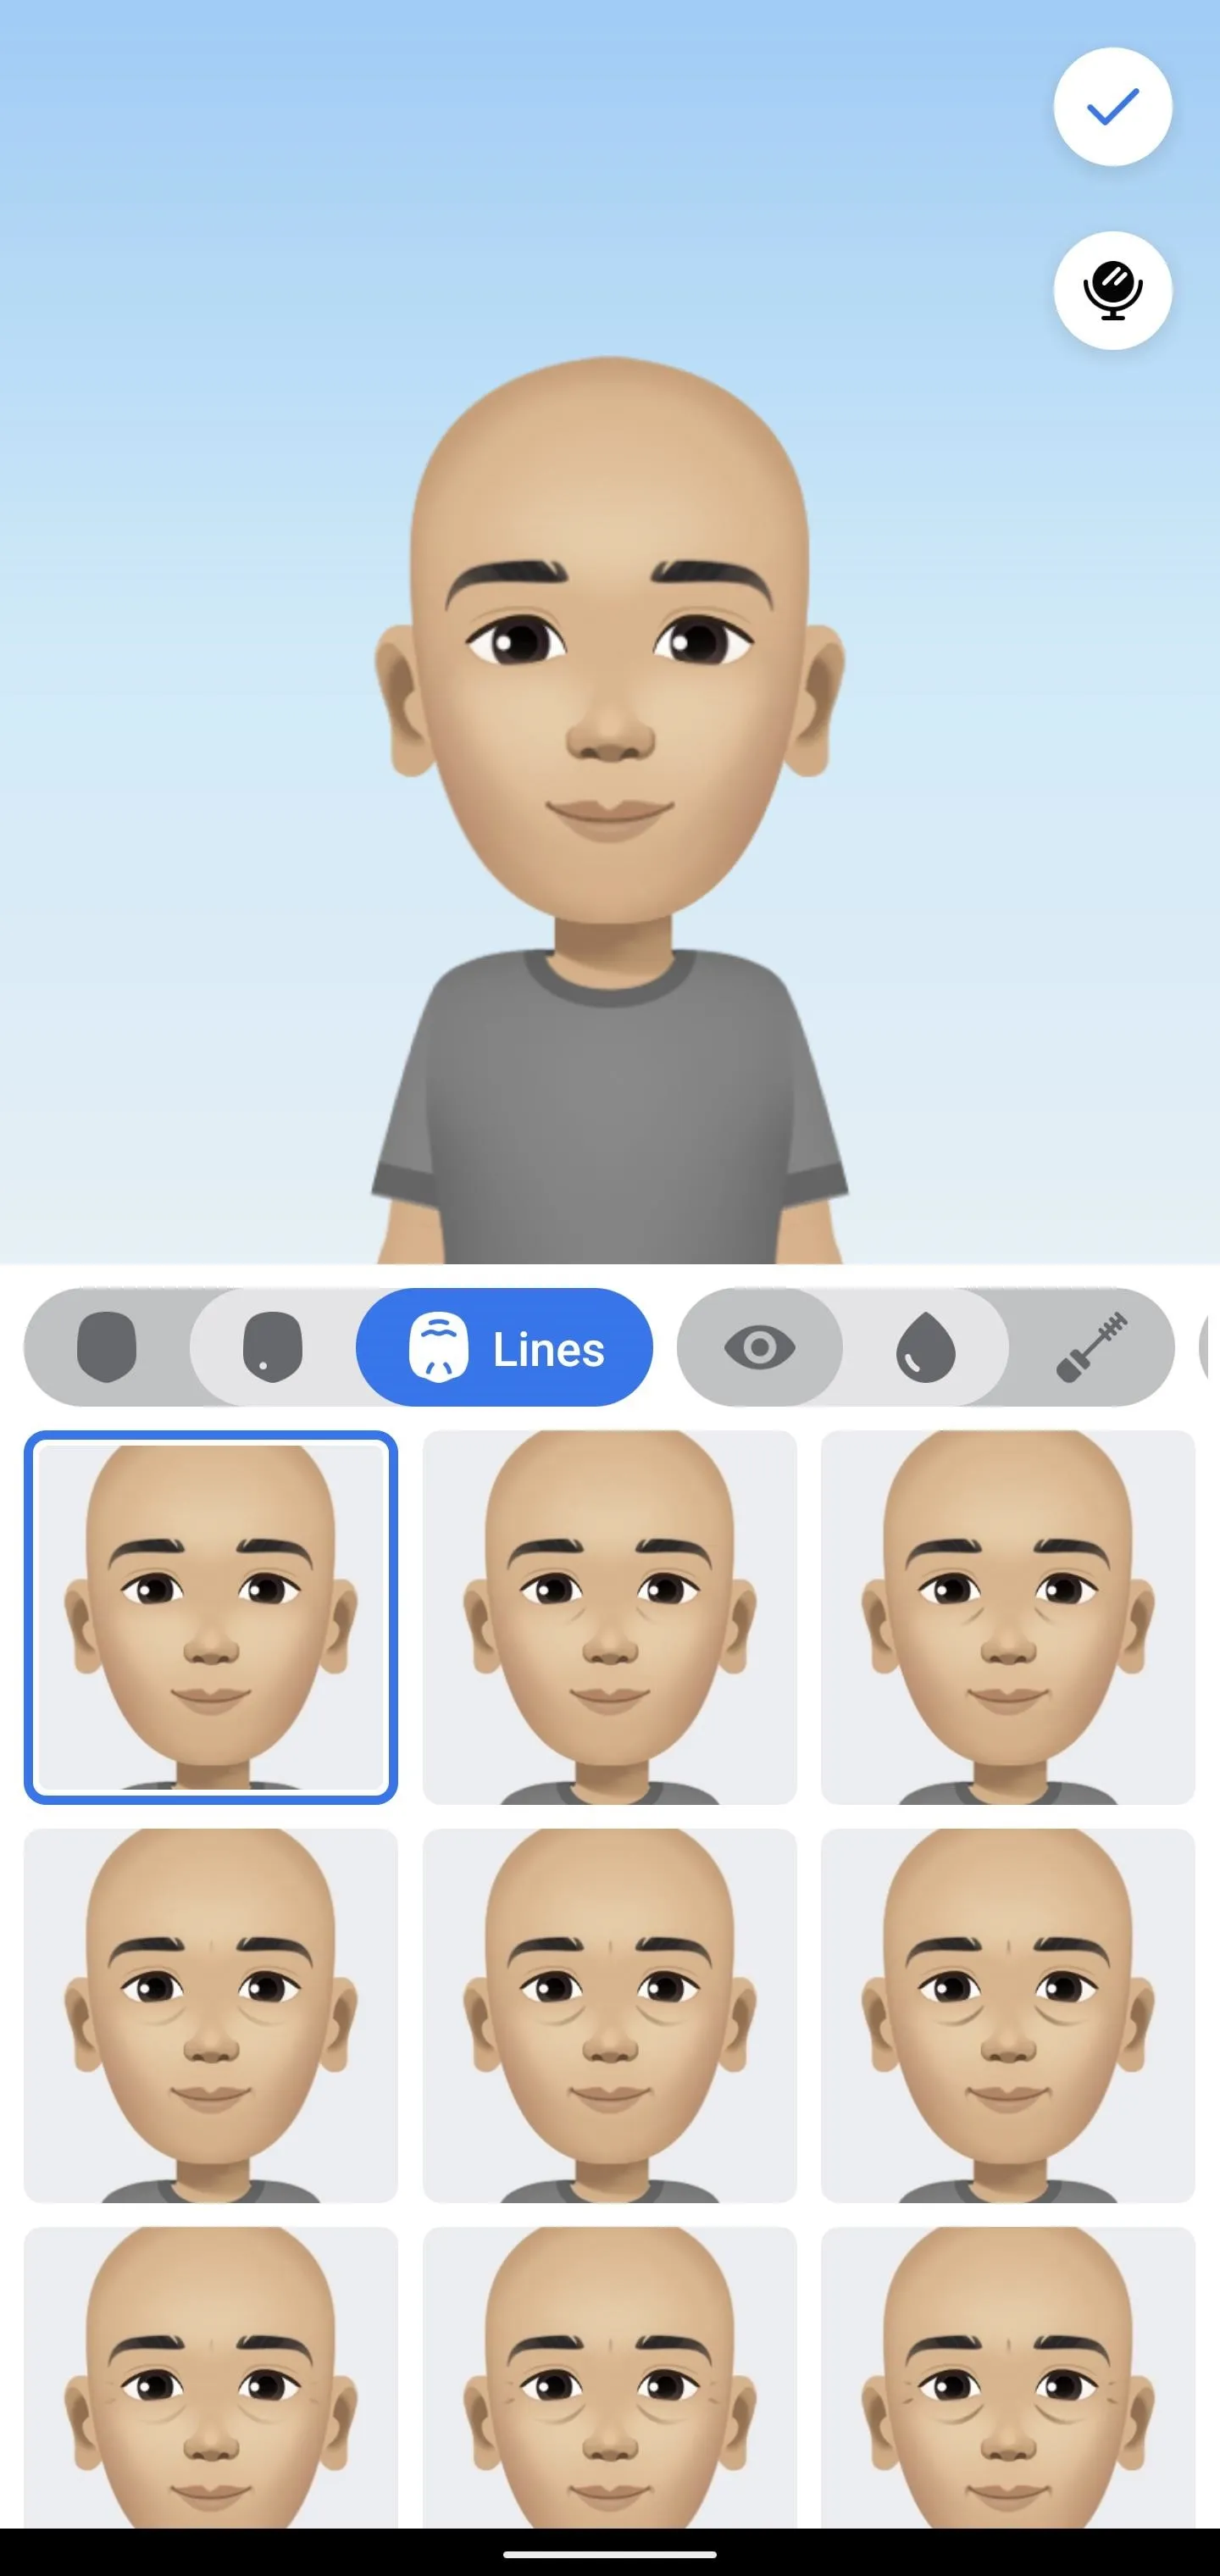
If you've customized a Bitmoji, Memoji, AR Emoji, or Gboard Emoji, then this part of the process will be familiar. You can select your skin tone, hair style, face shape, and complexion, and, if you're honest, add lines to your face.
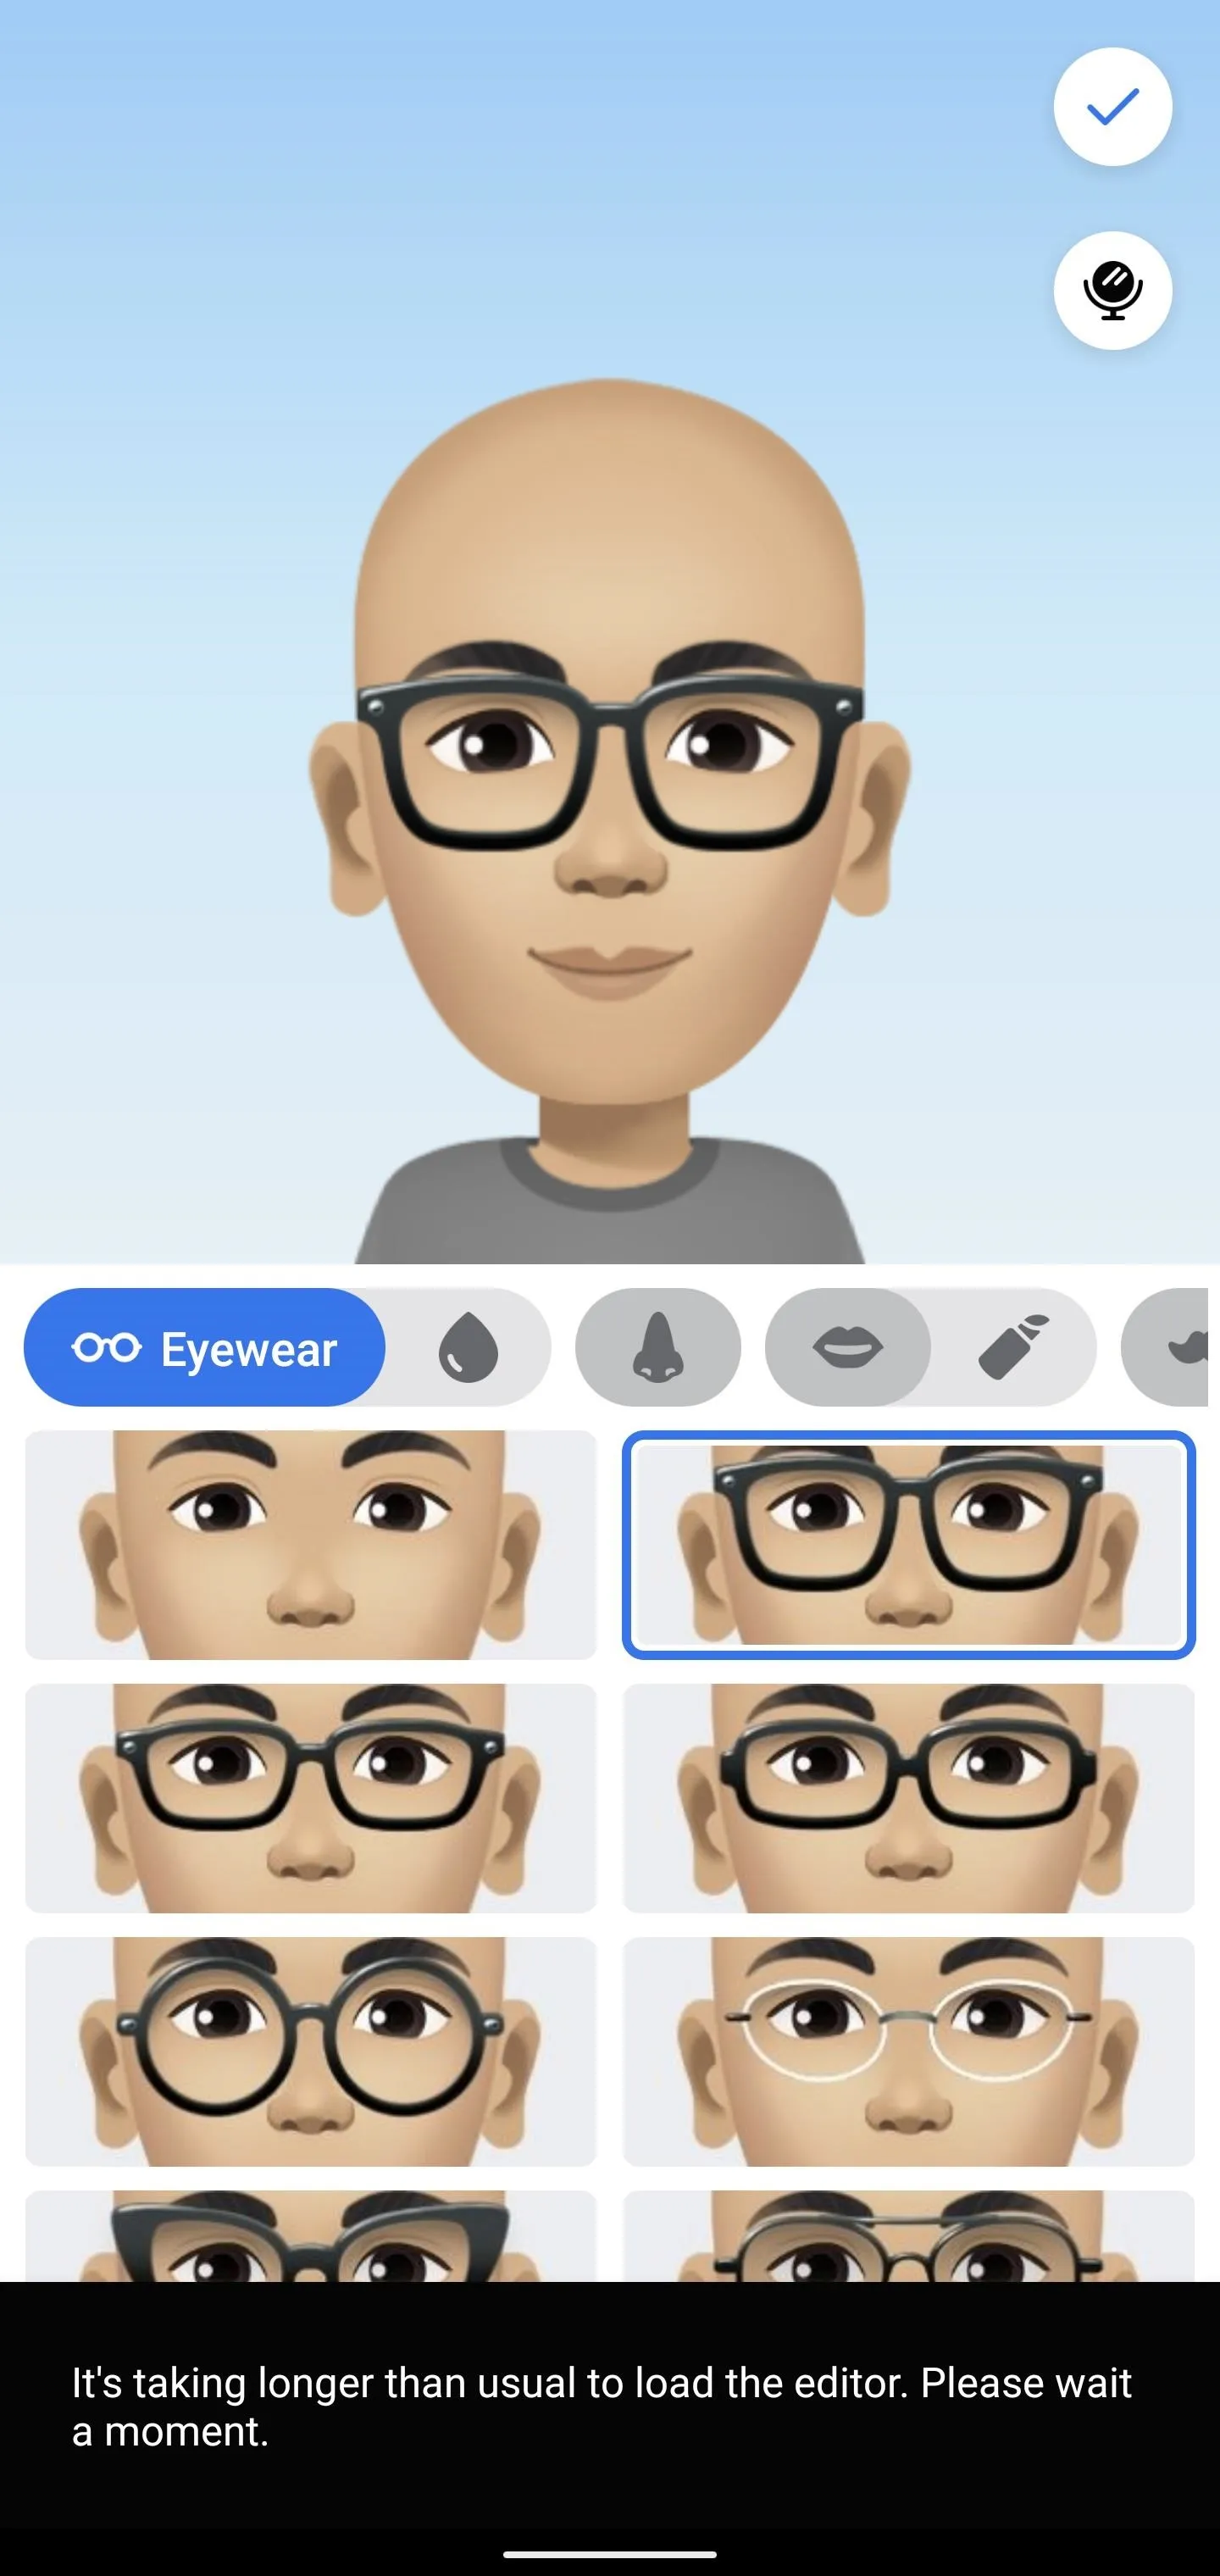
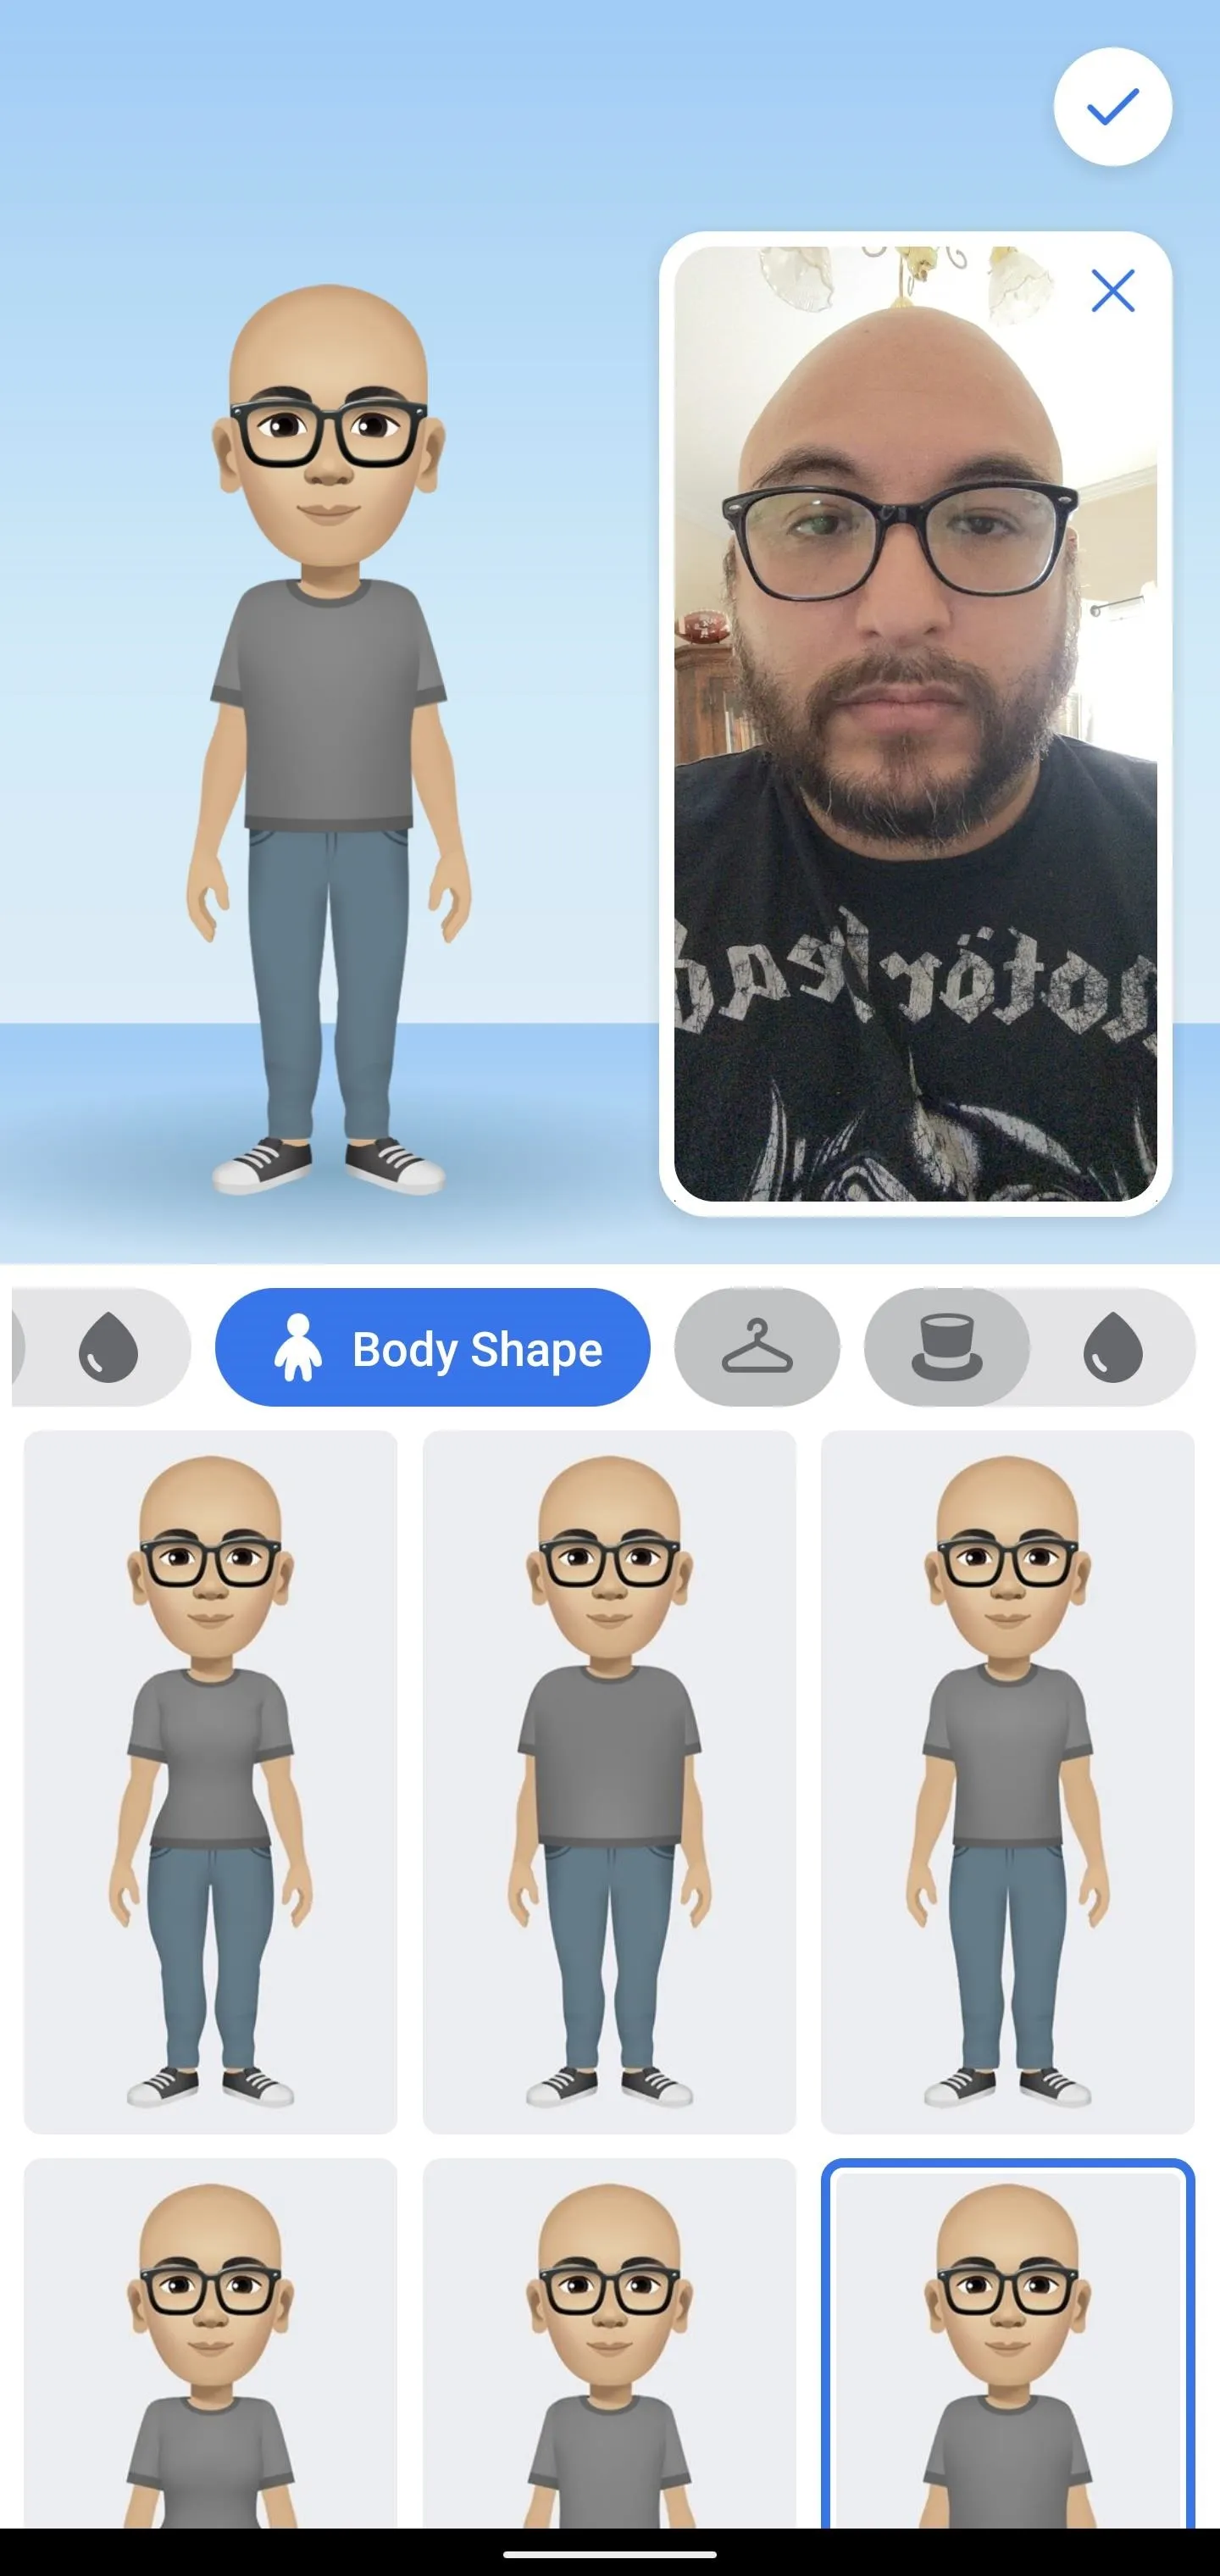
The process continues with eyewear, eye color, makeup, eyebrows, nose, facial hair, and body shape. Finally, you can choose your wardrobe, hat, and hat color, though these style options are very limited. My first time through, I encountered a message that the editor was taking longer than usual to load, but this cleared out within a few seconds.


Step 4: Open the Camera Mirror
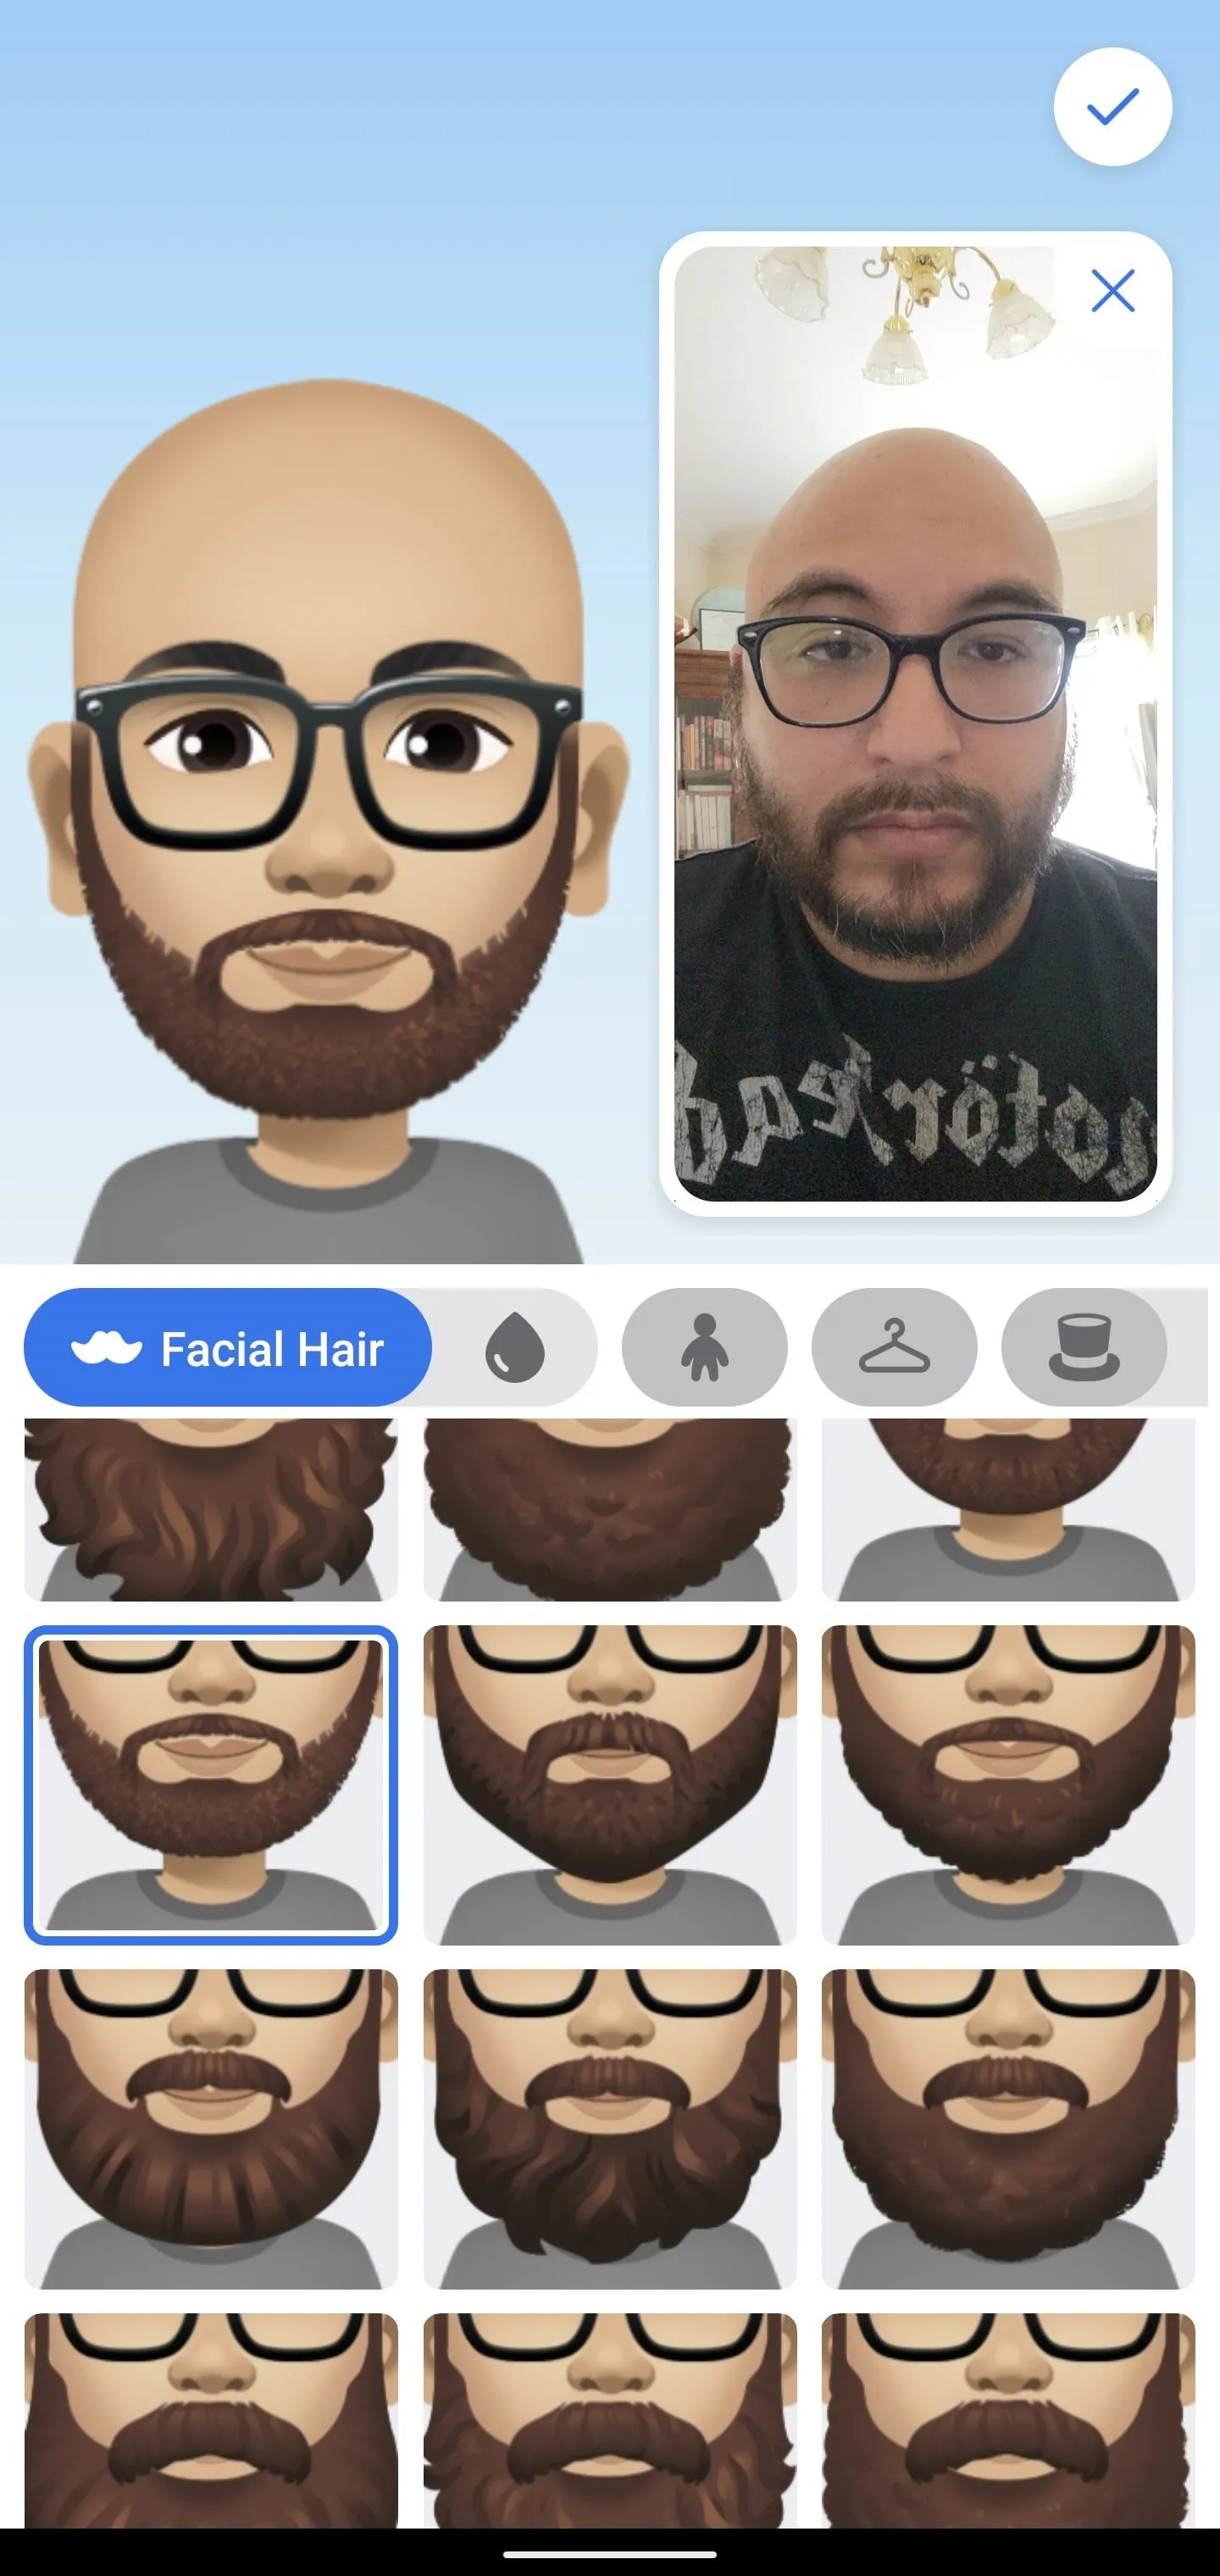
If you need a reference of your likeness to help build your Avatar, tap the mirror icon. This will open your front-facing camera view as a window within the Avatar generator.
It's not as smart as the process for Bitmoji, Memoji, AR Emoji, or Gboard Emoji, which use your photo to get your started, but it is very helpful in making adjustments.


Step 5: Generate Your Avatar
Once you're happy with your look, tap the checkmark at the top right corner to confirm. The app will take a few seconds to generate your Avatar. Once it's done, tap "Next."
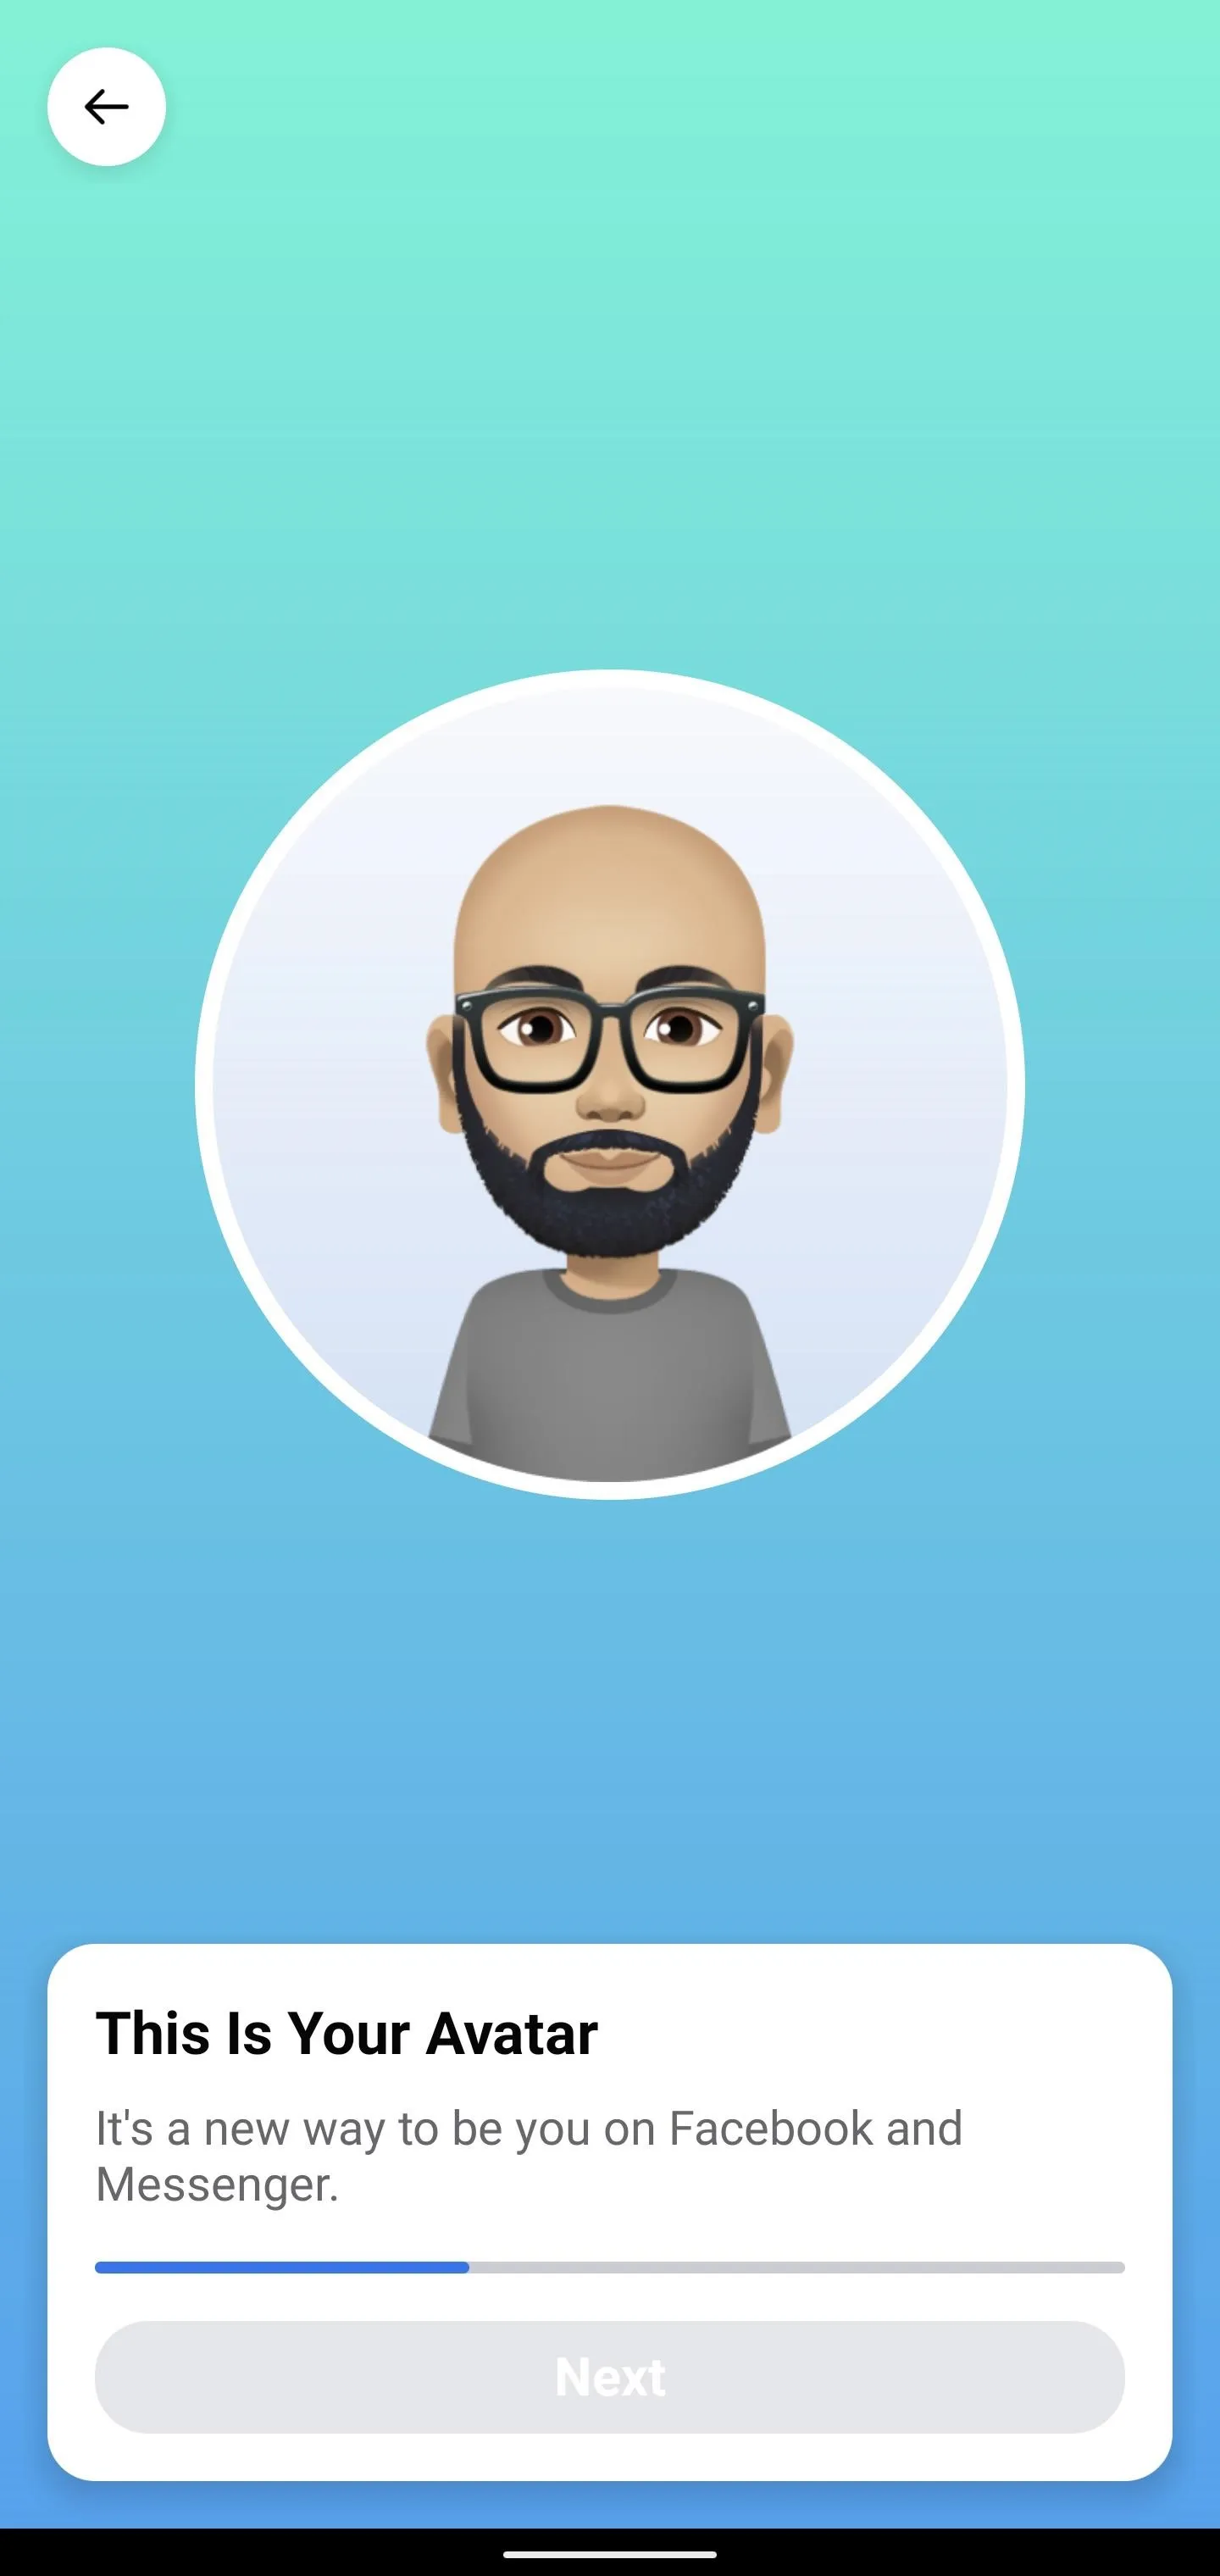
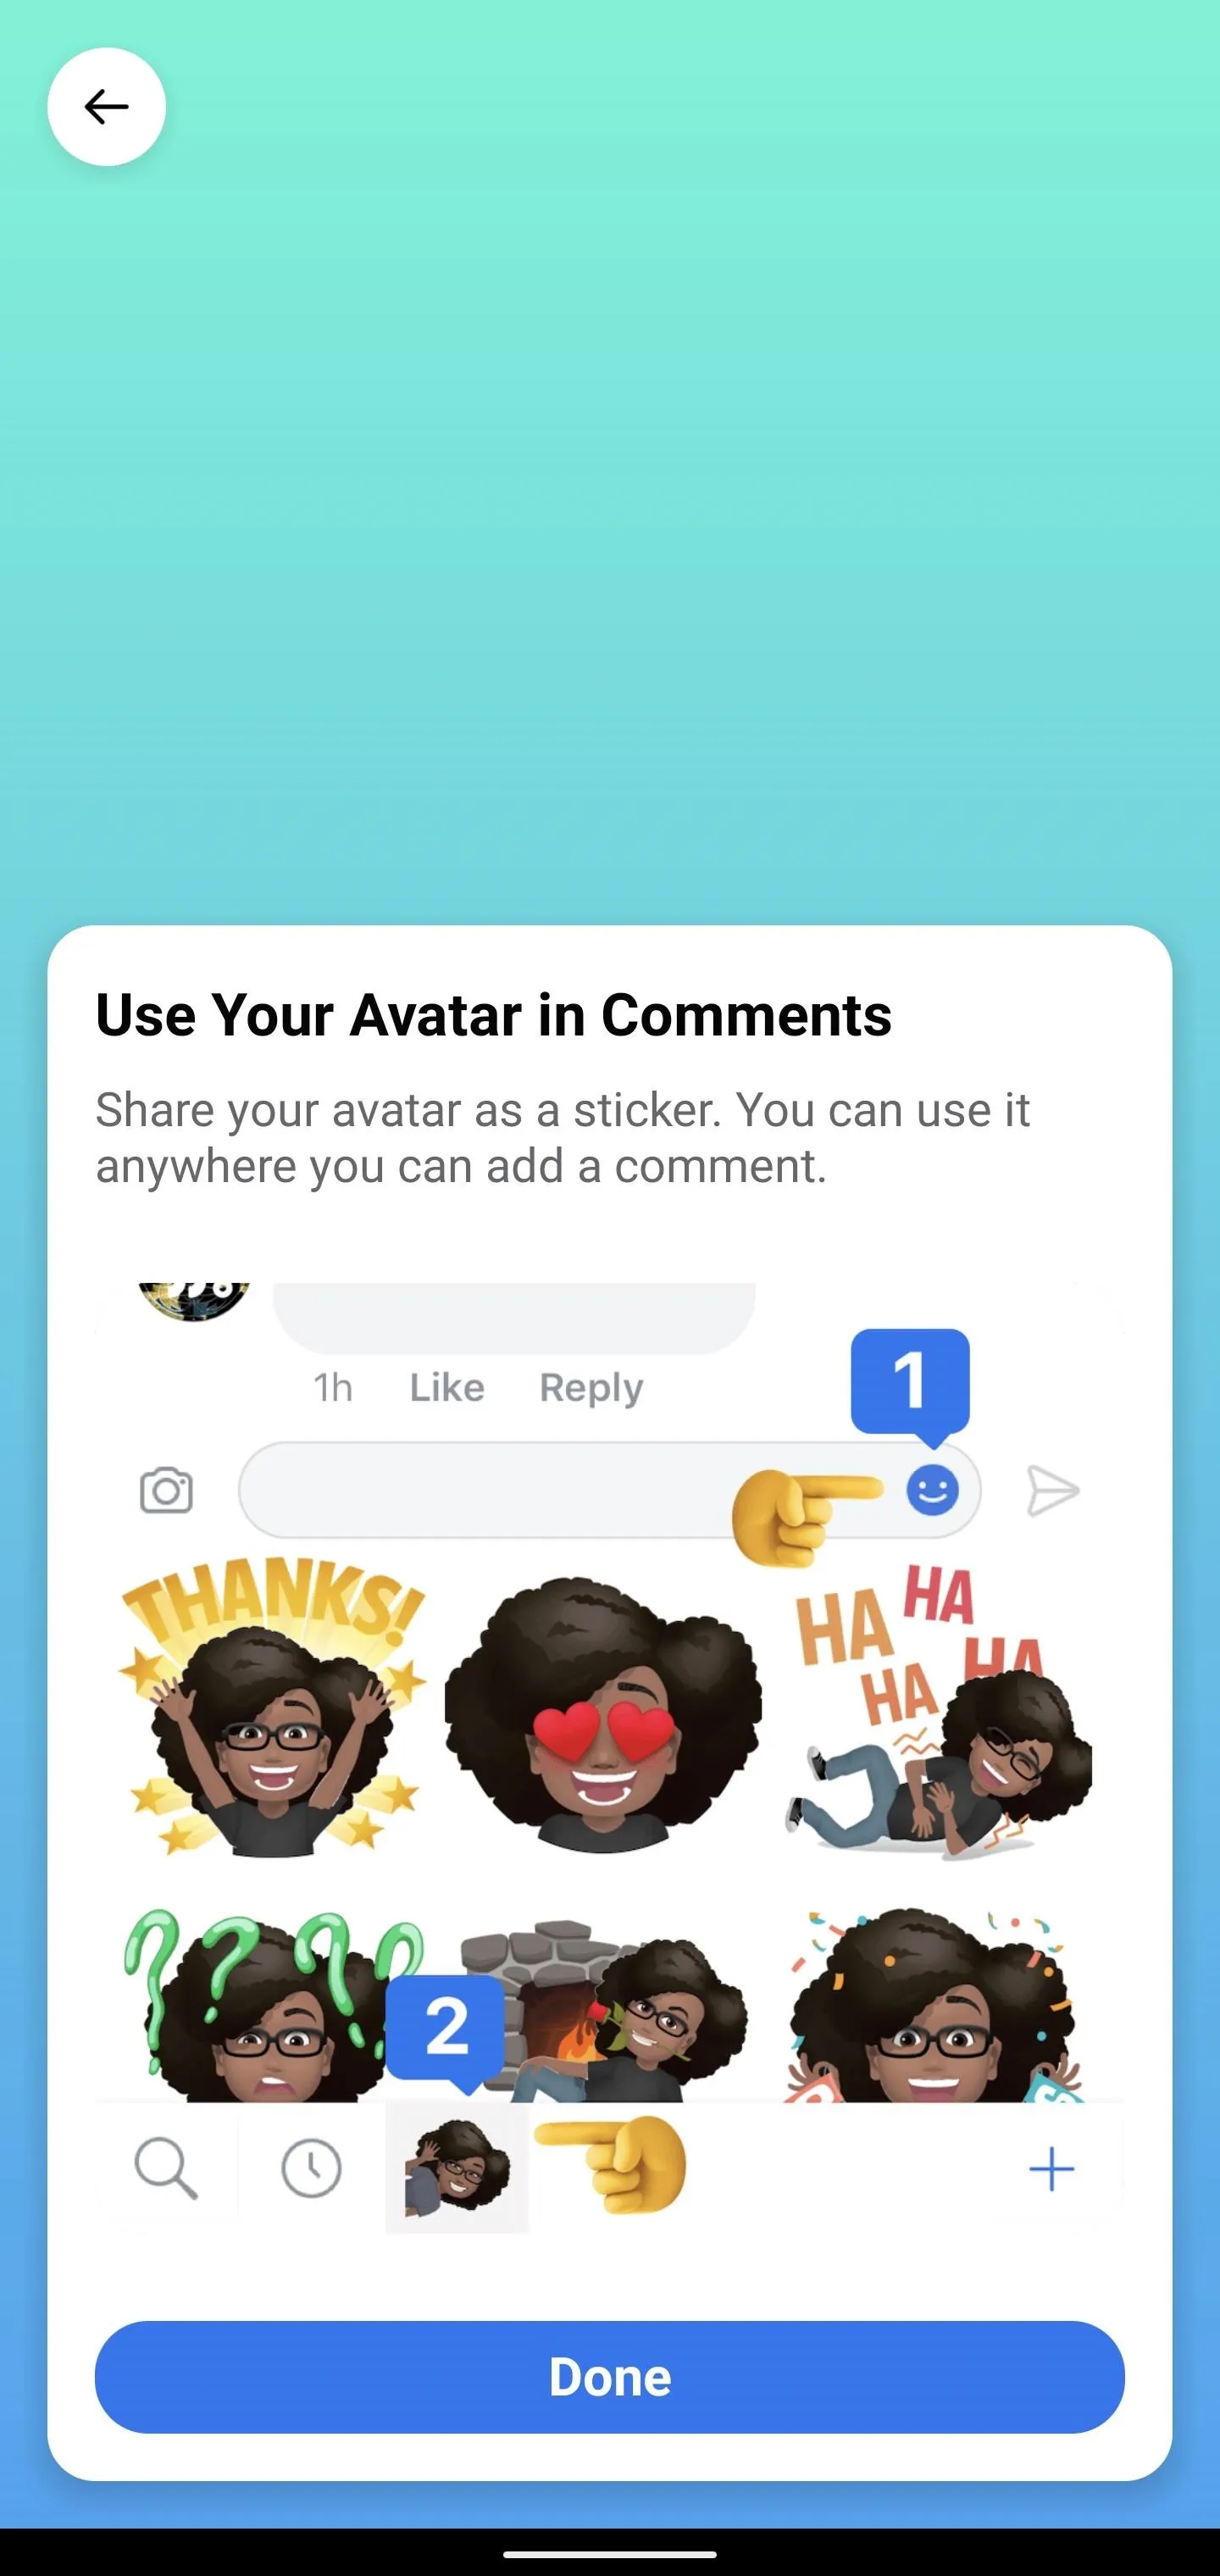


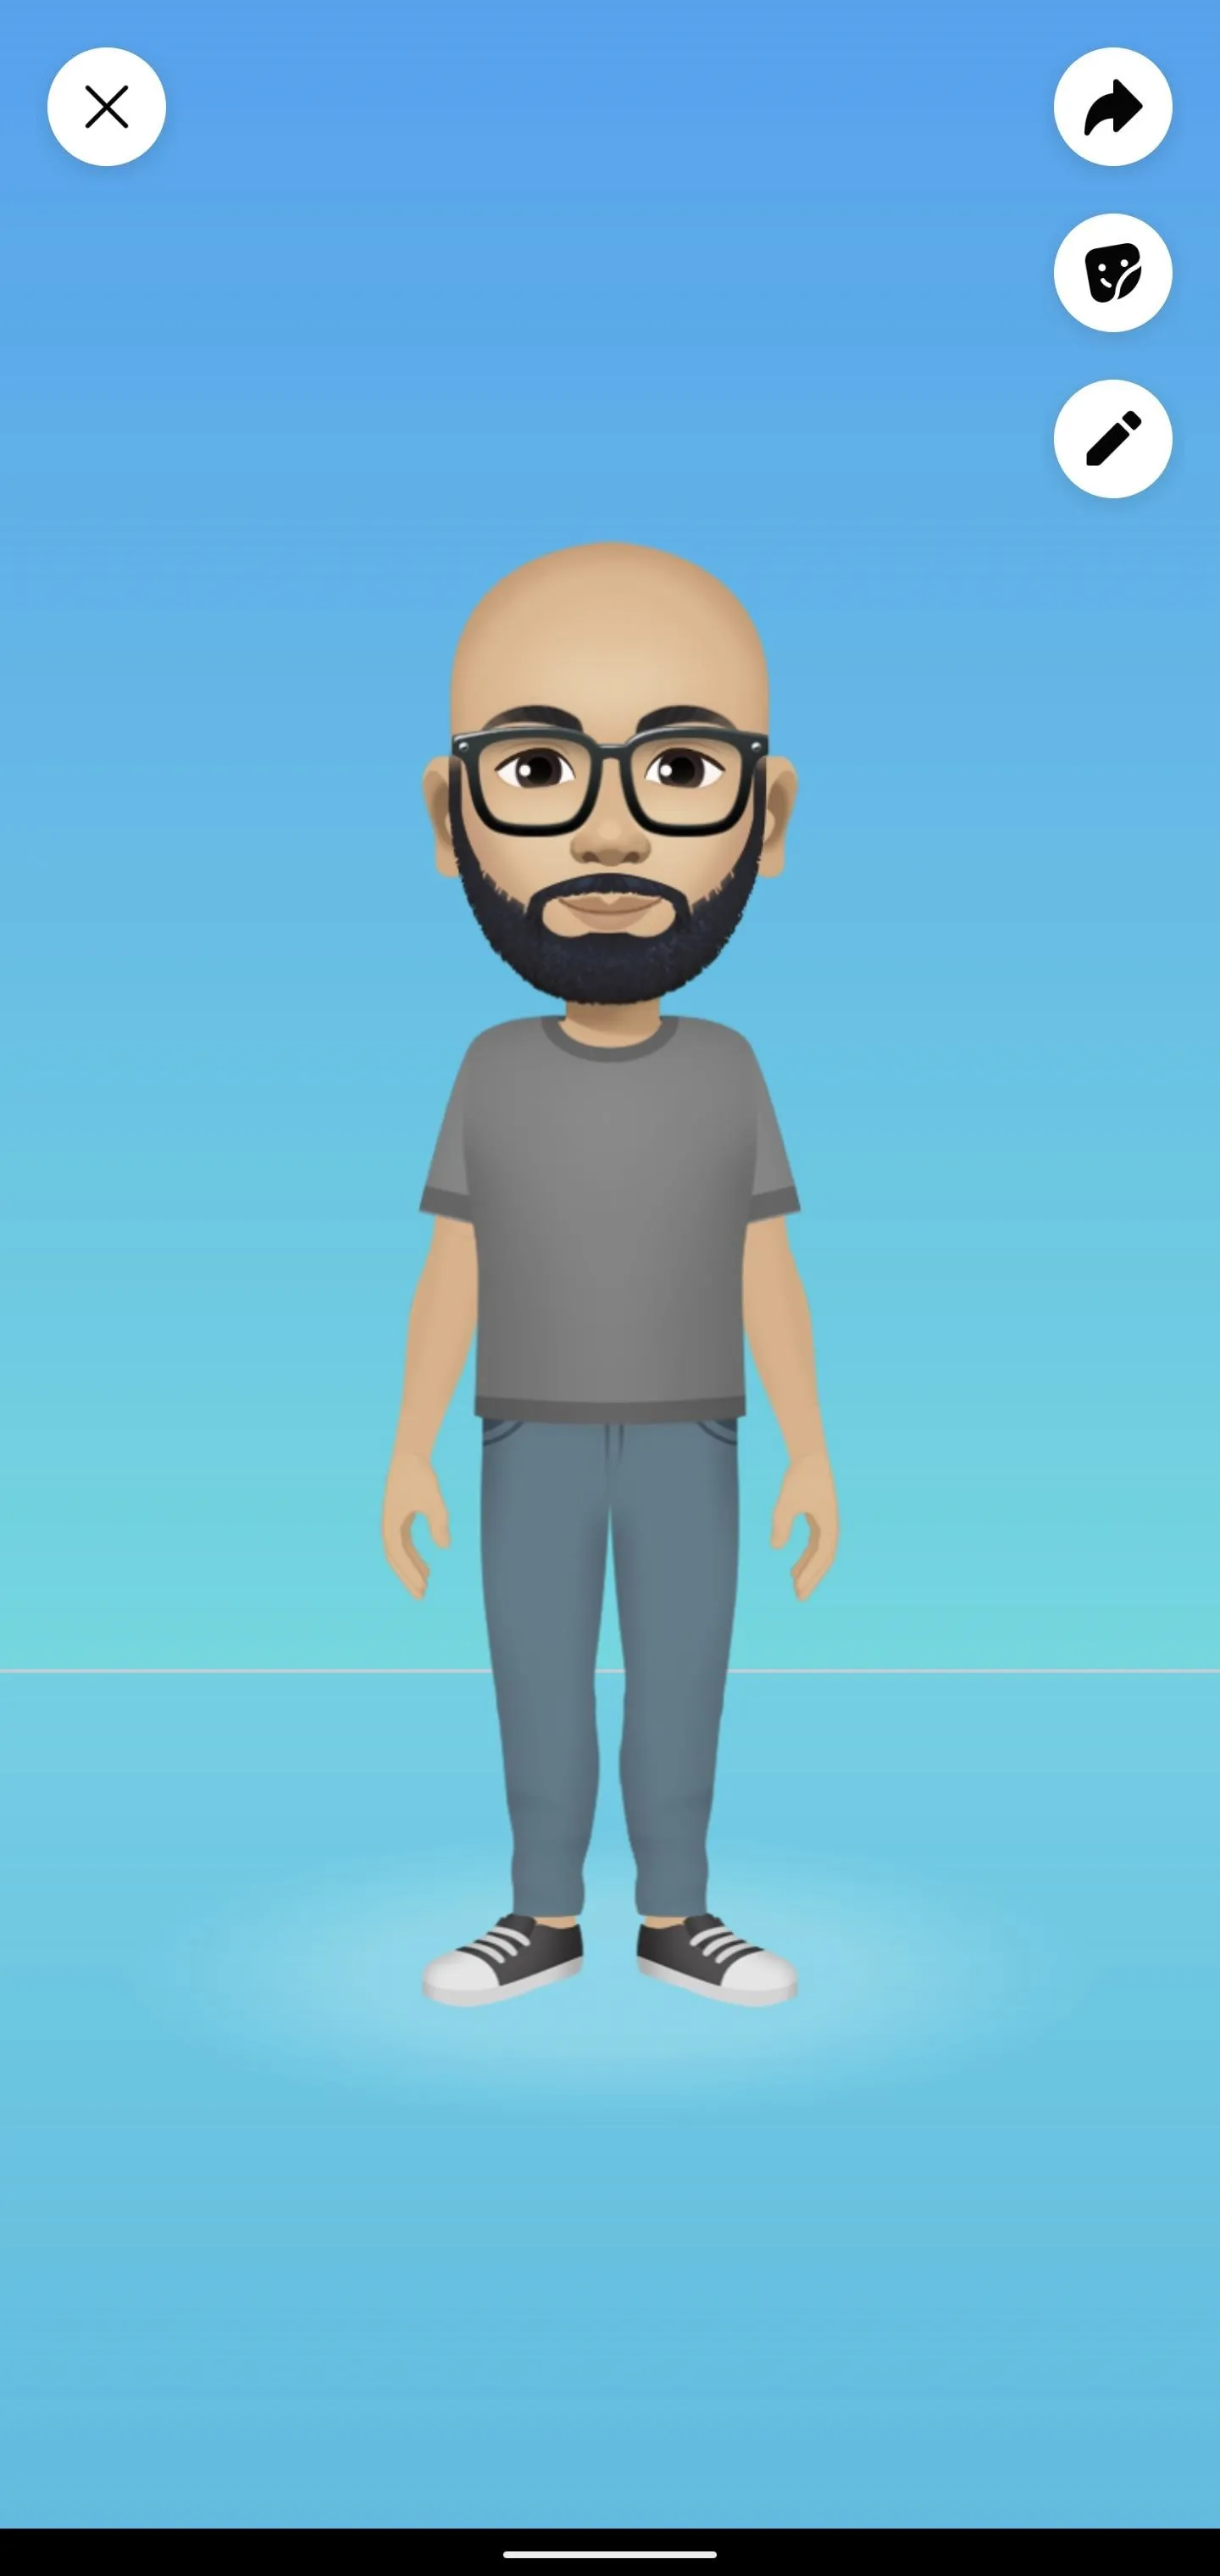
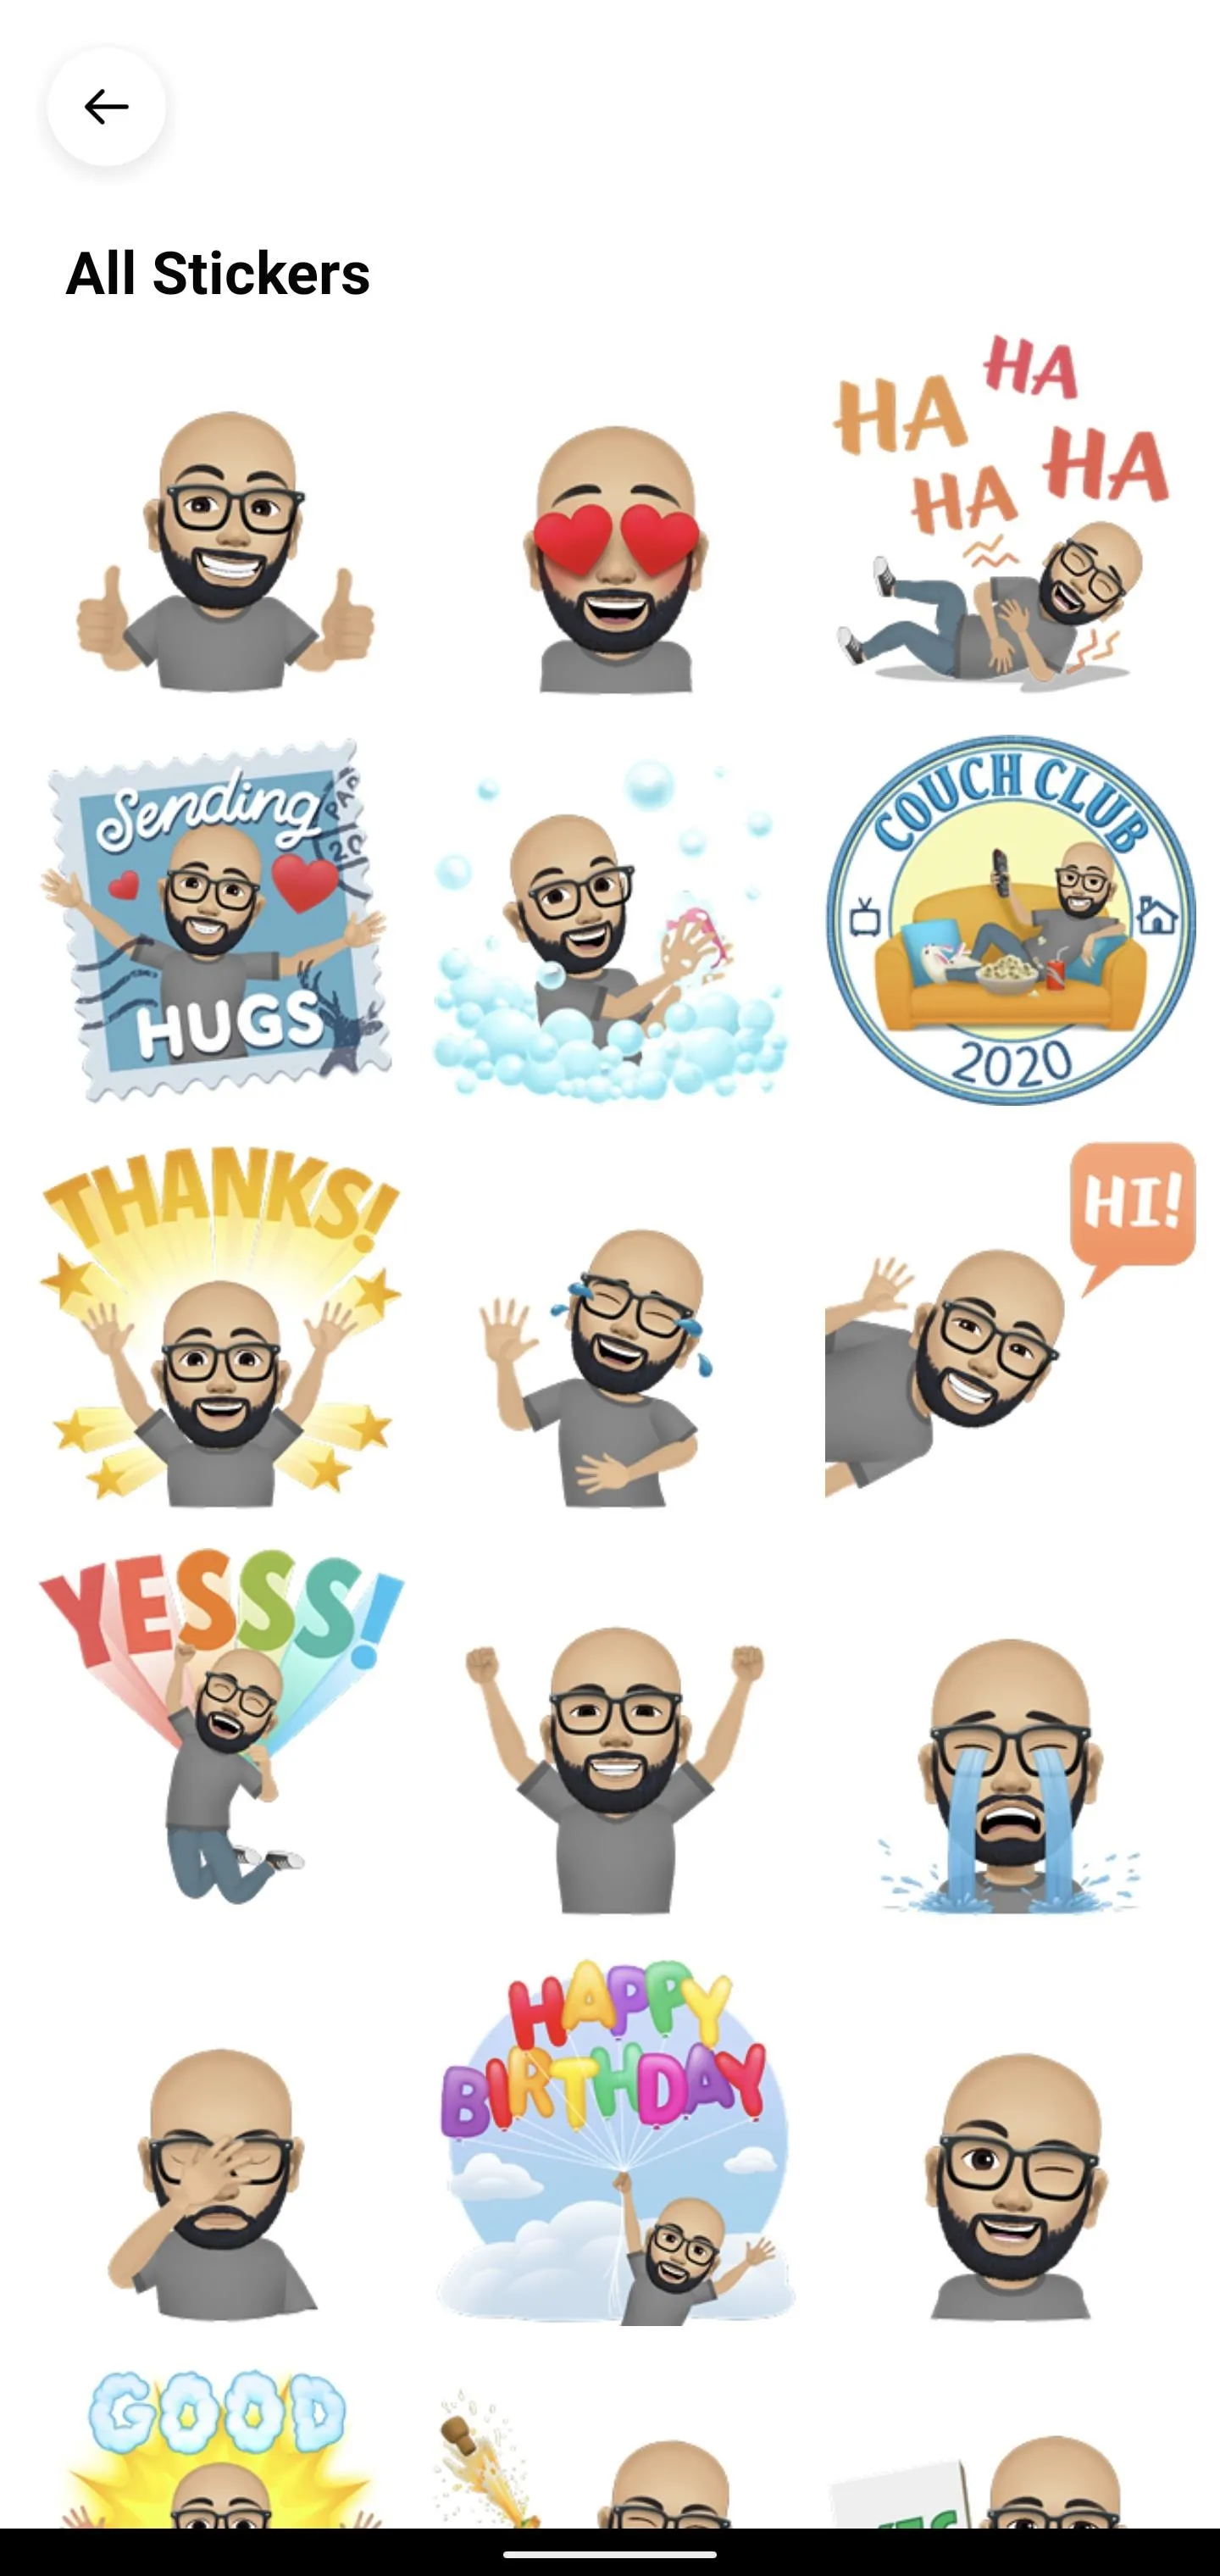
Now, your Avatar stickers will be available through Facebook and Messenger apps as well as on their web counterparts. Tap "Done" to exit the generator and see your full-body Avatar. From this screen, you can preview your stickers, re-enter editing mode, or delete your likeness and start over from the icons at the right.
With your Avatar complete, if you wish to remain free of the mobile apps, you can uninstall them, but you won't be able to edit your Avatar without at least one of them.


Cover image and screenshots by Tommy Palladino/Gadget Hacks



Comments
No Comments Exist
Be the first, drop a comment!