After a slow phase-out, Google Play Music was shut down in December 2020. The songs you uploaded or purchased are still on Google's servers, but even those will be deleted on Feb. 24, 2021.
If you plan to jump over to YouTube Music, the transfer process is straightforward and covered here.
However, if you're moving over to Spotify, Apple Music, Tidal, or another streaming service and want to save the music you've uploaded to Google Play Music's locker service, or if you've purchased music from Google Play and want to preserve it, it's time to act NOW.
Step 1: Navigate to Google Takeout
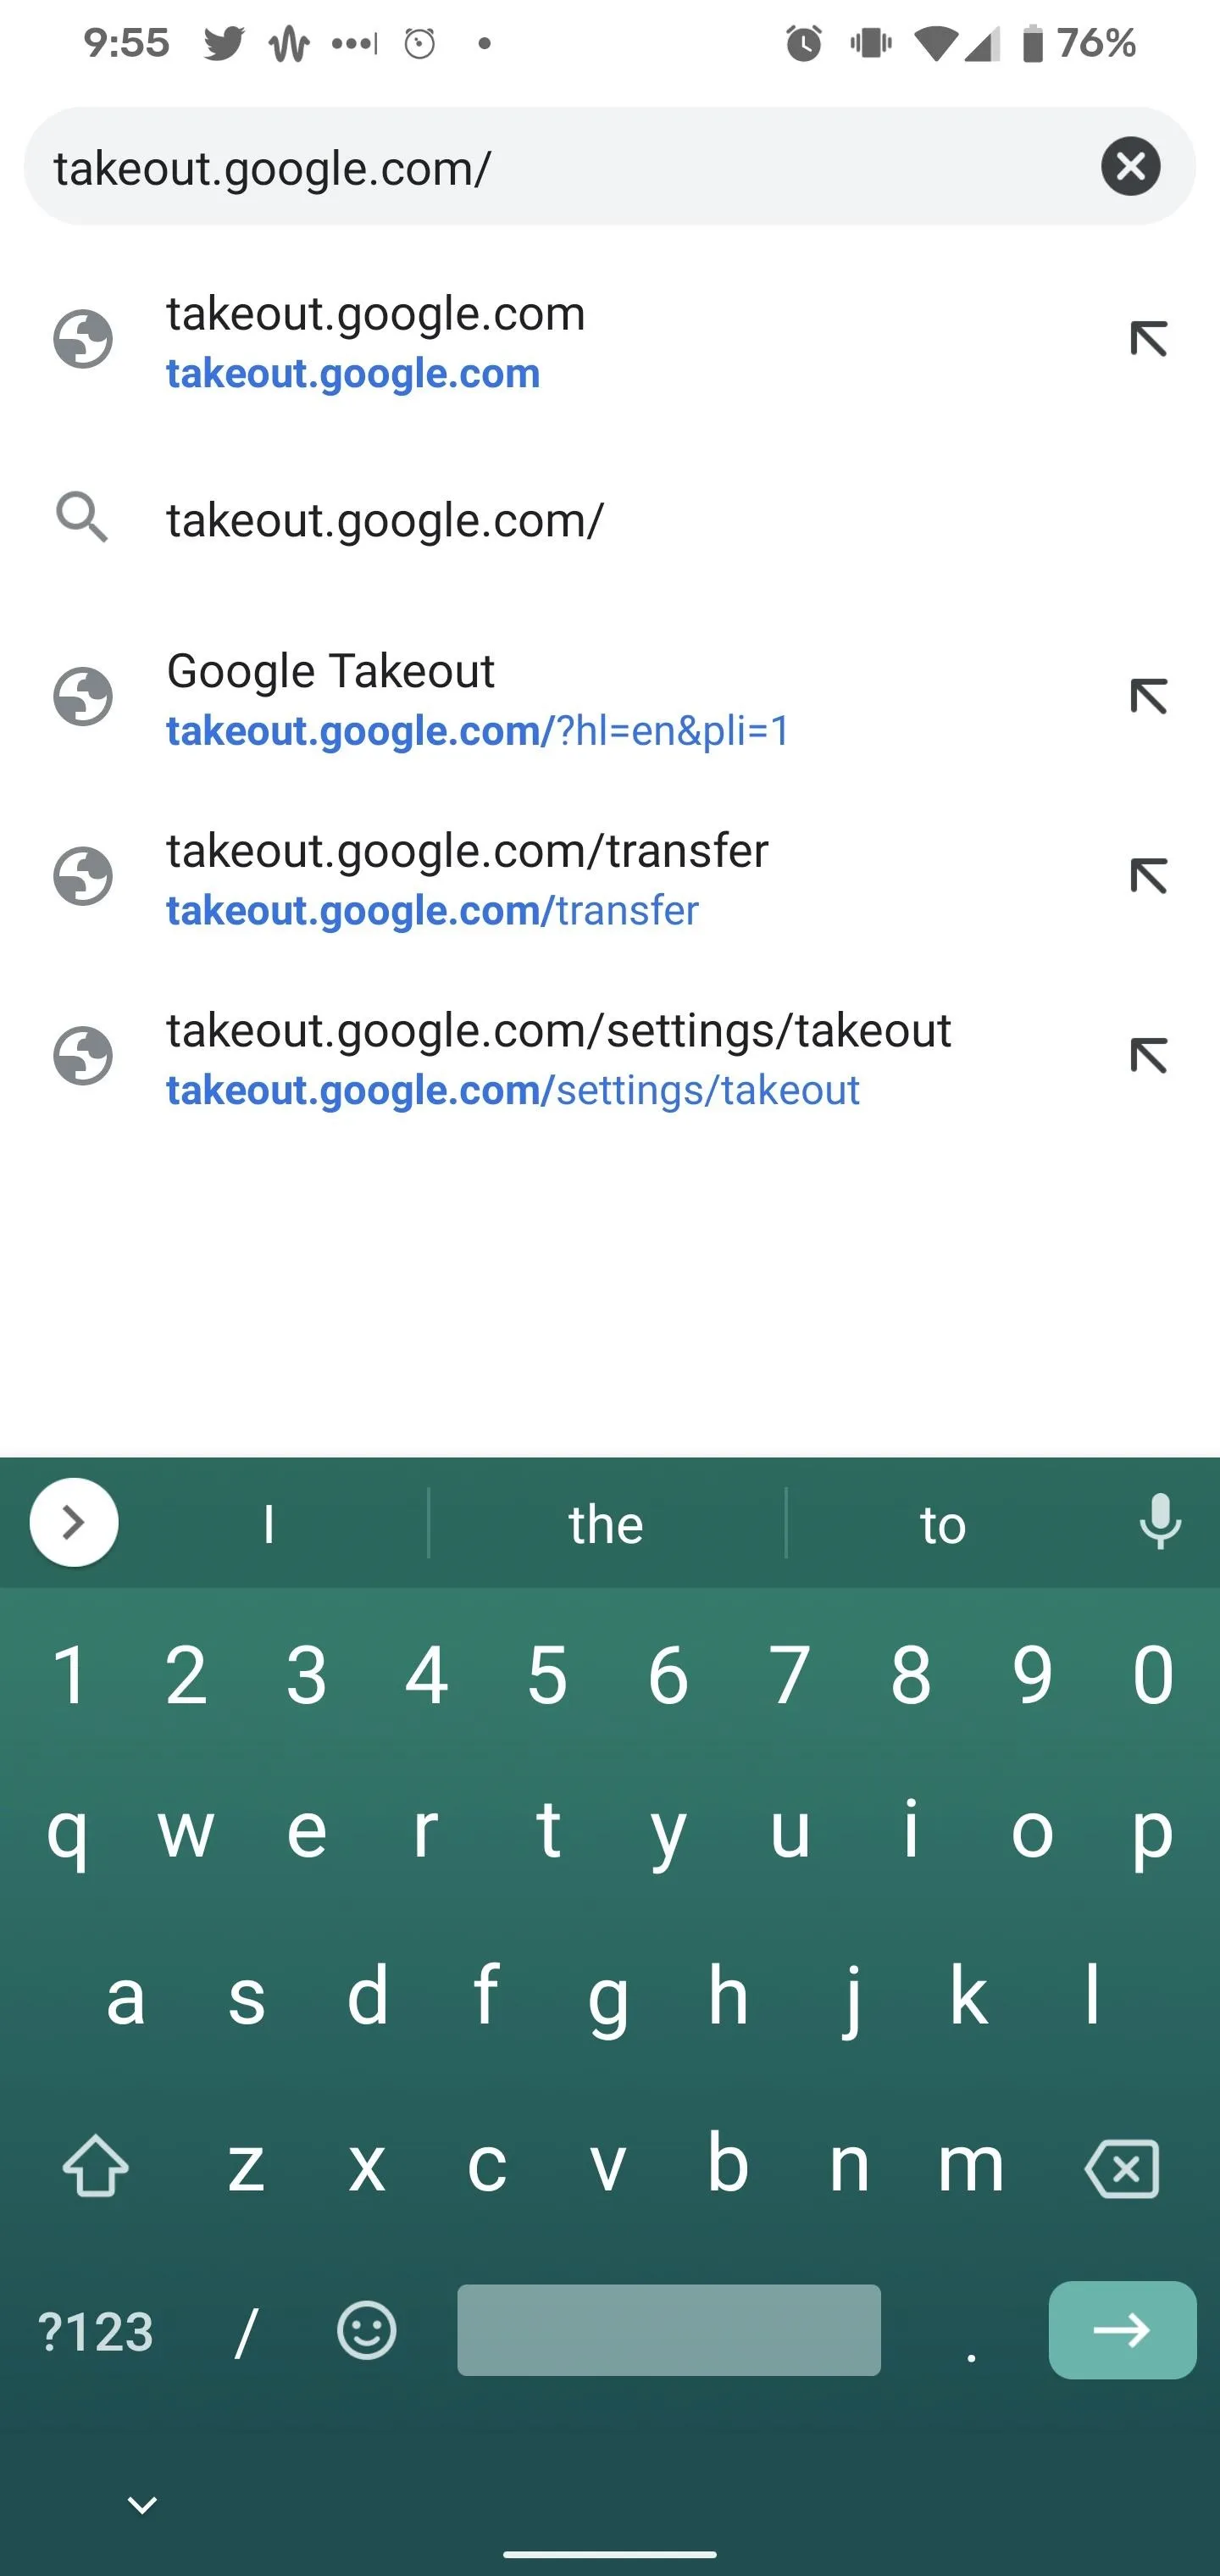
Google Takeout is the central hub for anyone who wants to download their data from any of Google's products. It's also the place to grab your uploaded or purchased music as MP3s, along with metadata for your playlists, radio stations, and tracks in comma-separated values (CSV) format.
You can find Google Takeout nestled alongside Google's account management tools, or you can jump straight to the site at the link below. You can do this from a desktop or mobile device, but this guide will focus on the mobile interface.


Step 2: Select Google Play Music
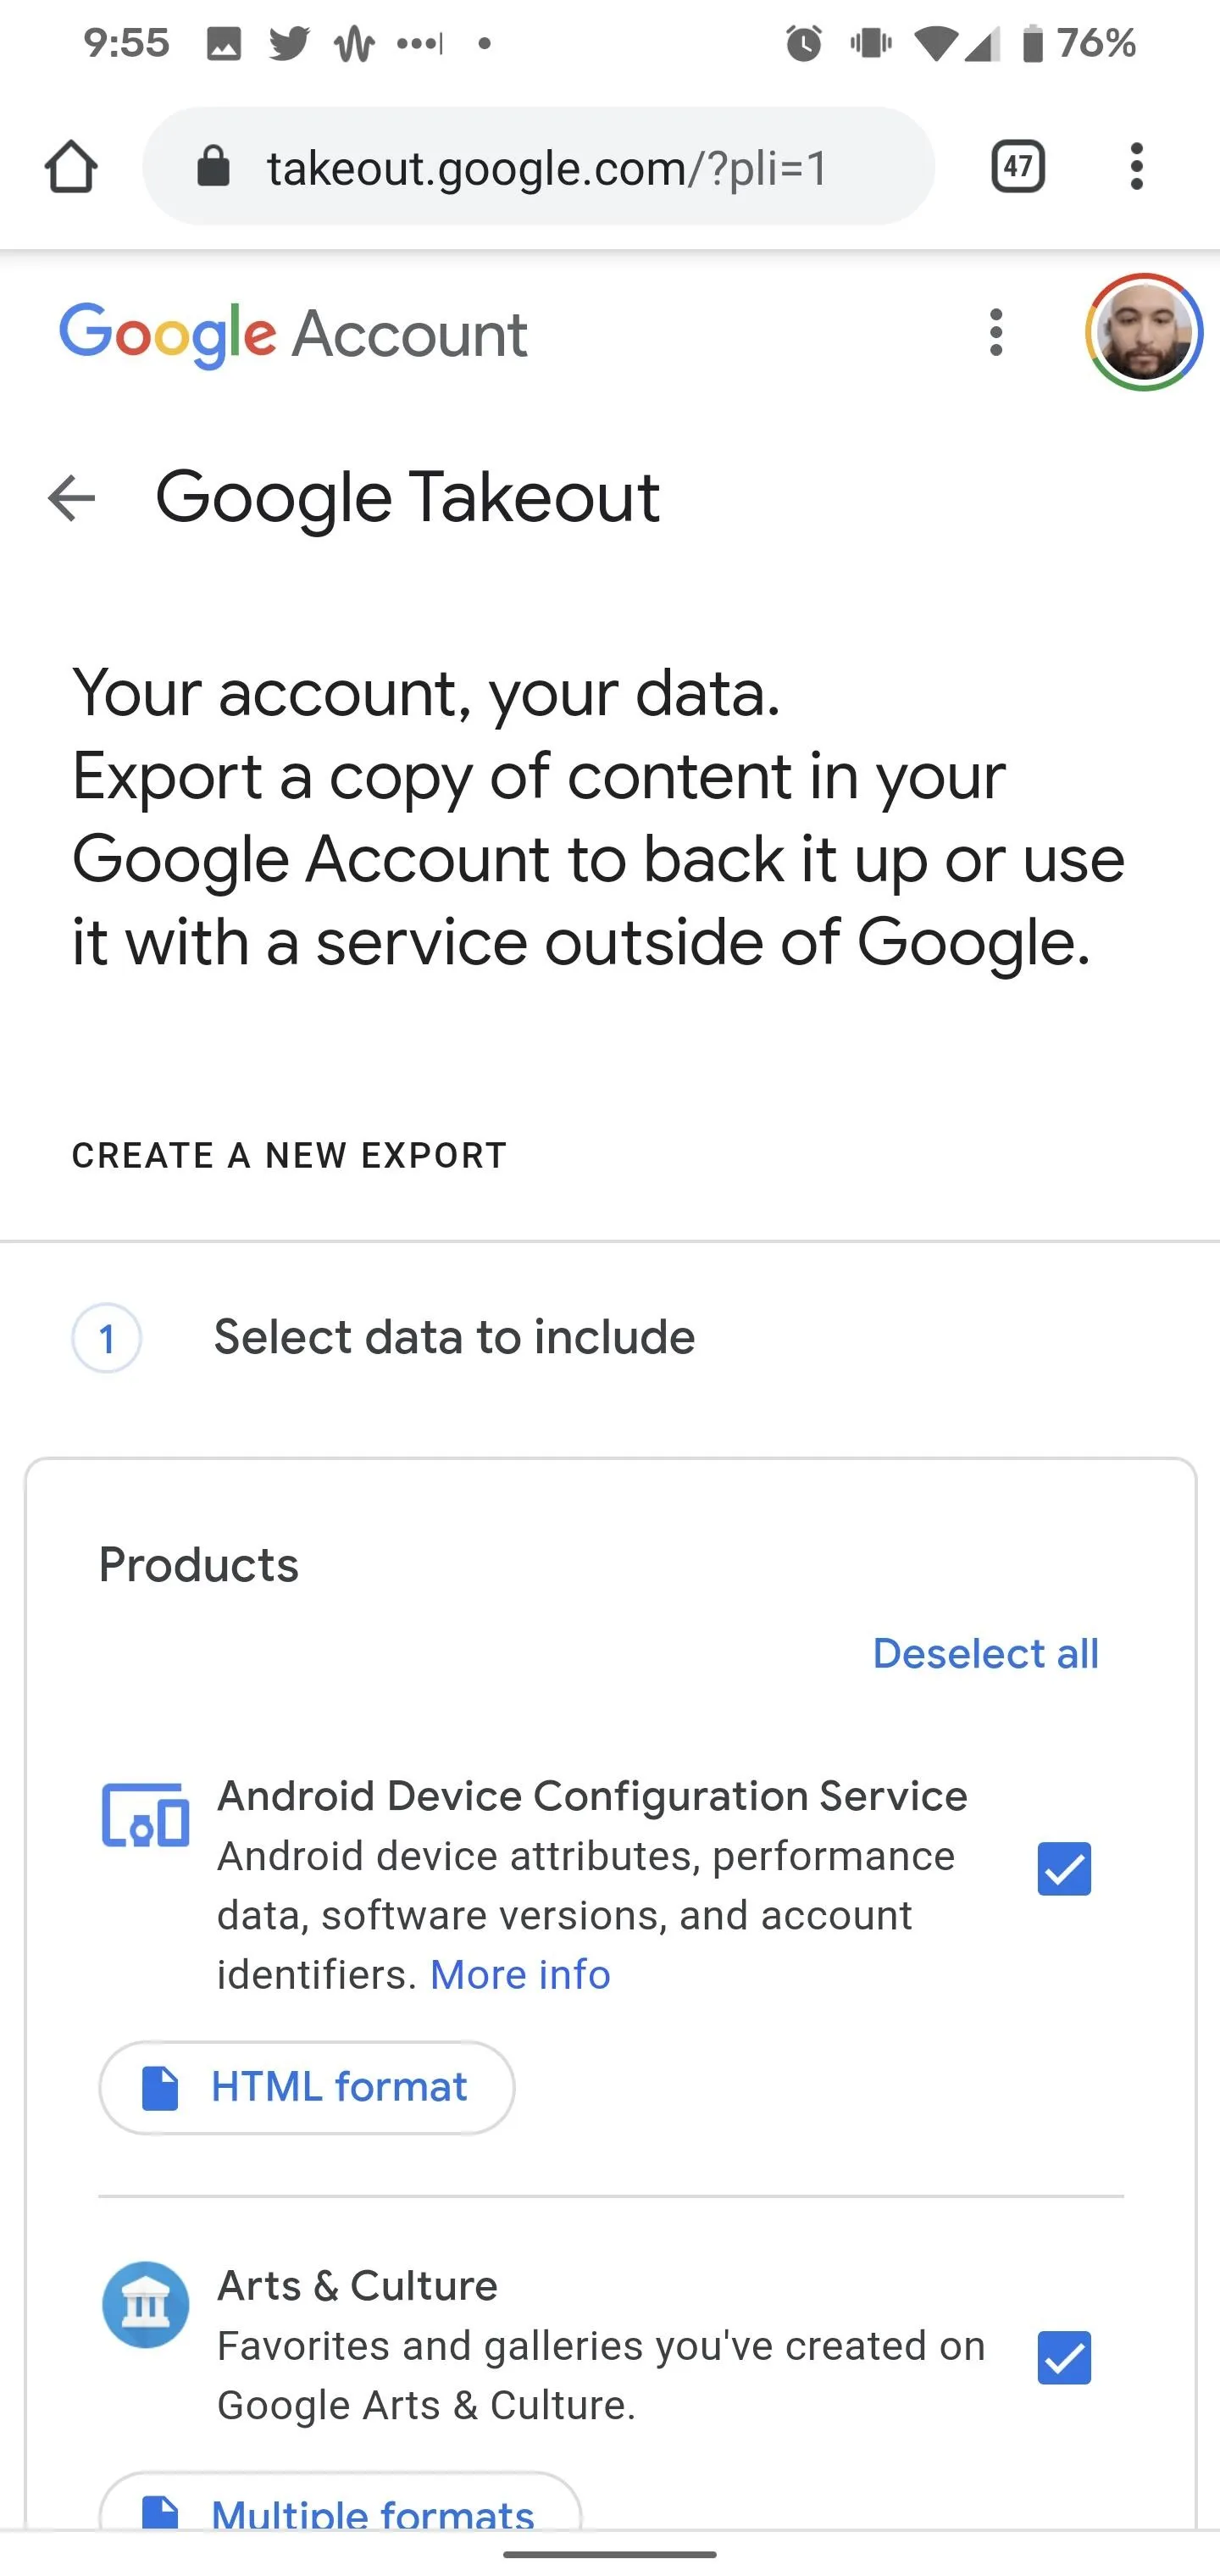
Upon logging in with the account you use with Google Play Music, you'll find a list of all of the Google products where your data is stored. And there's a lot.
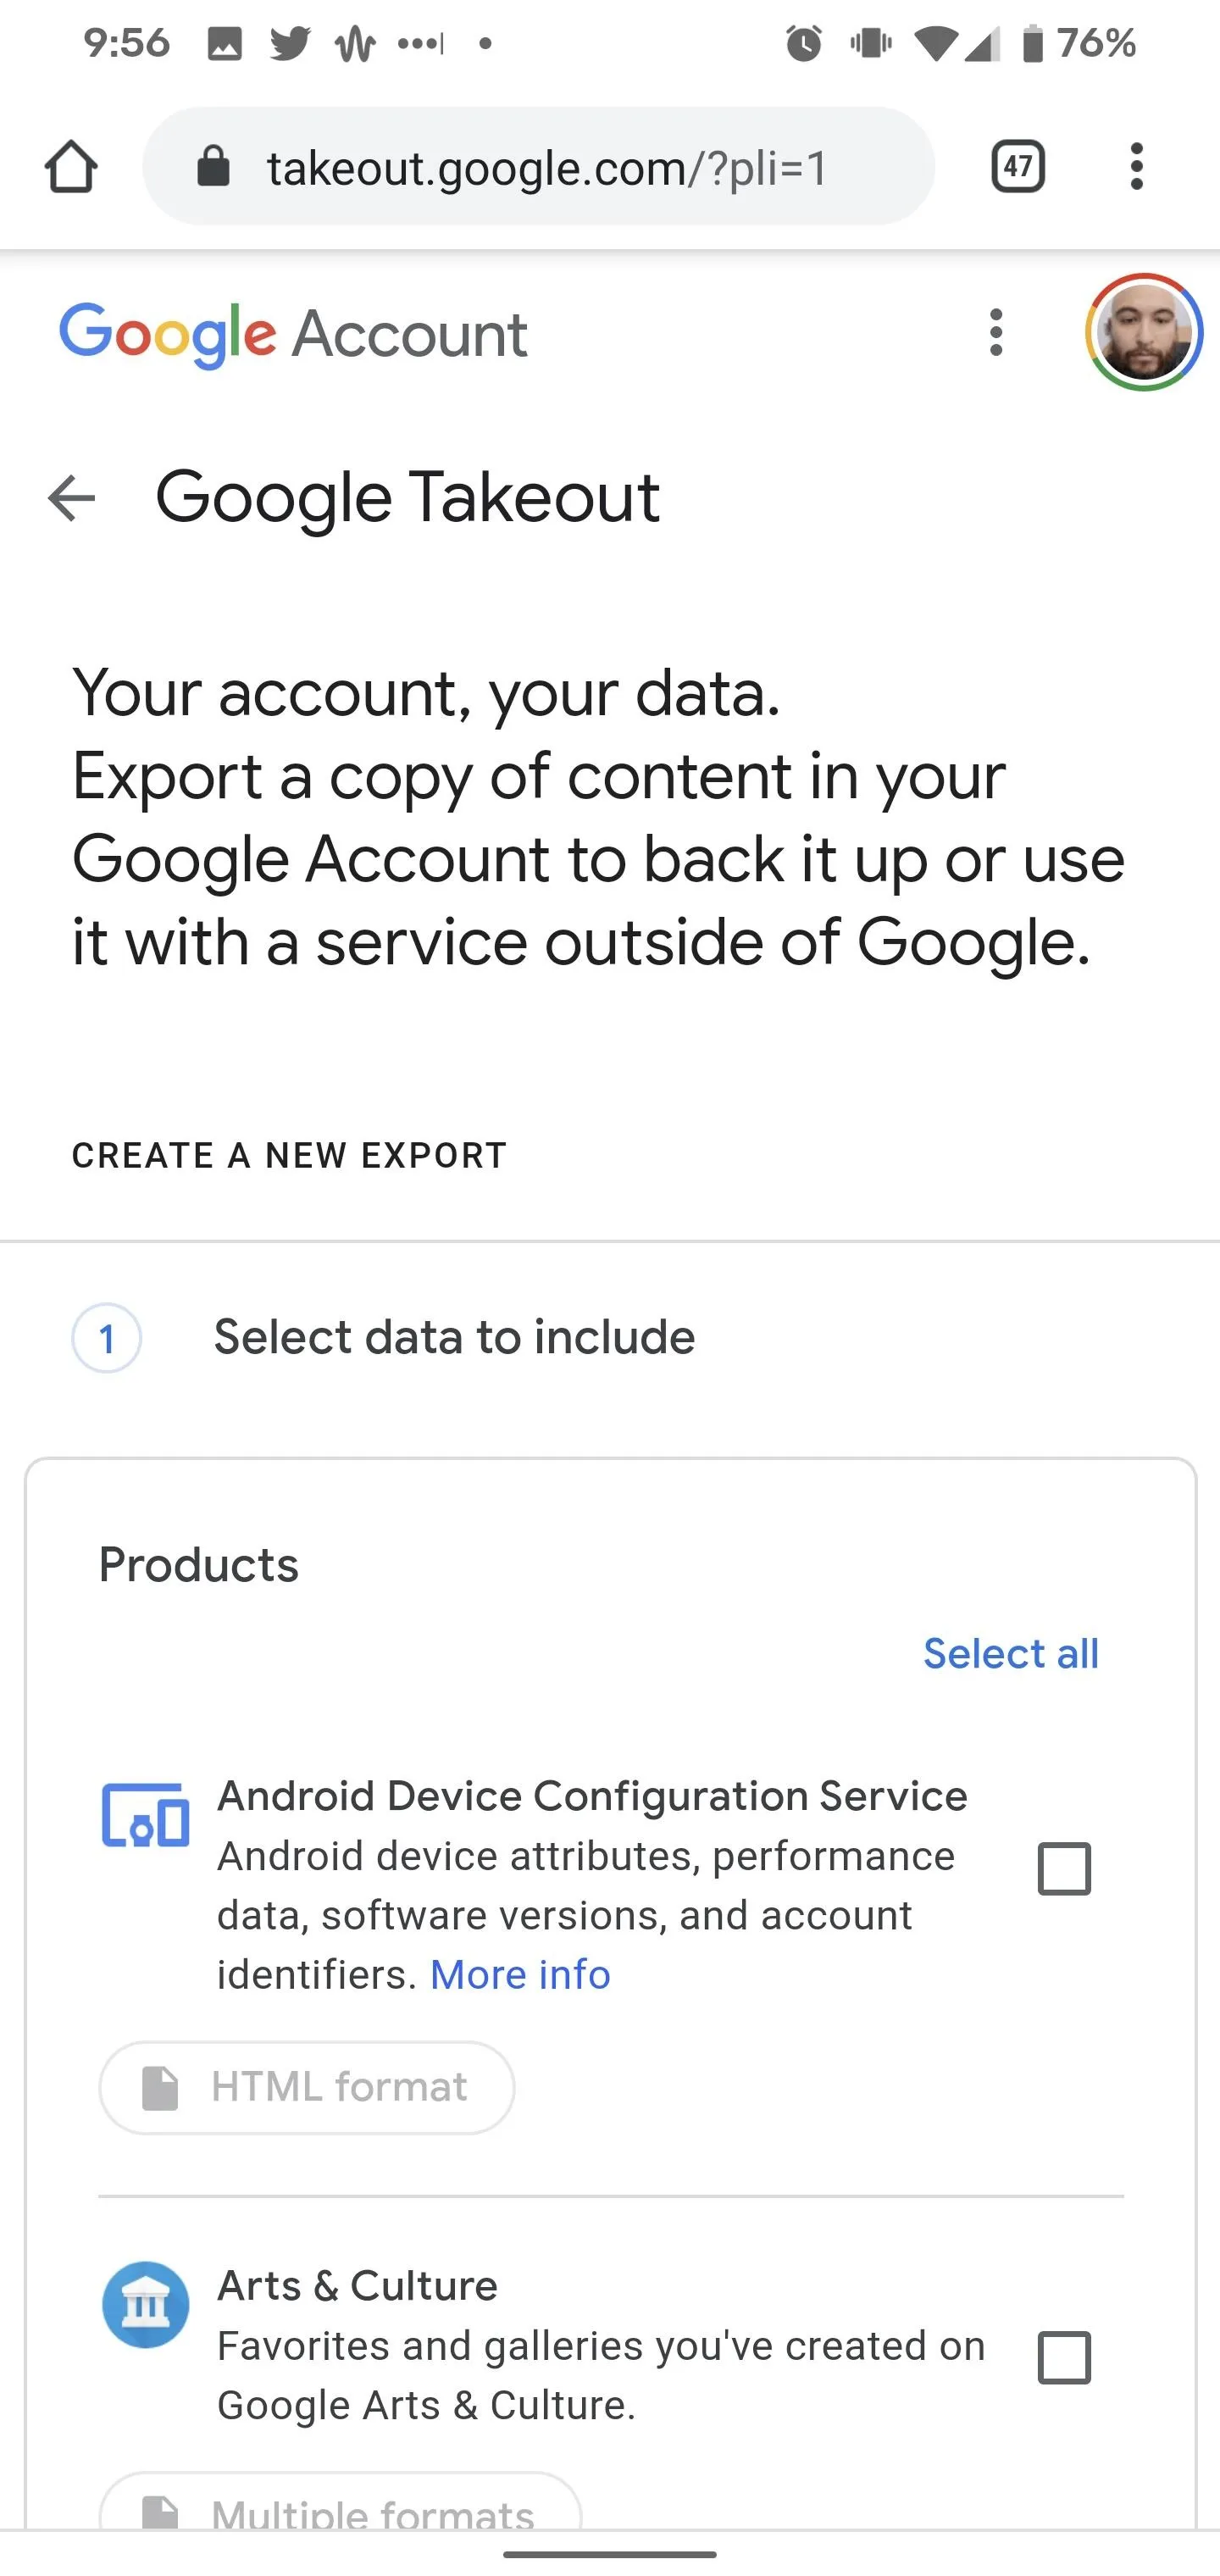
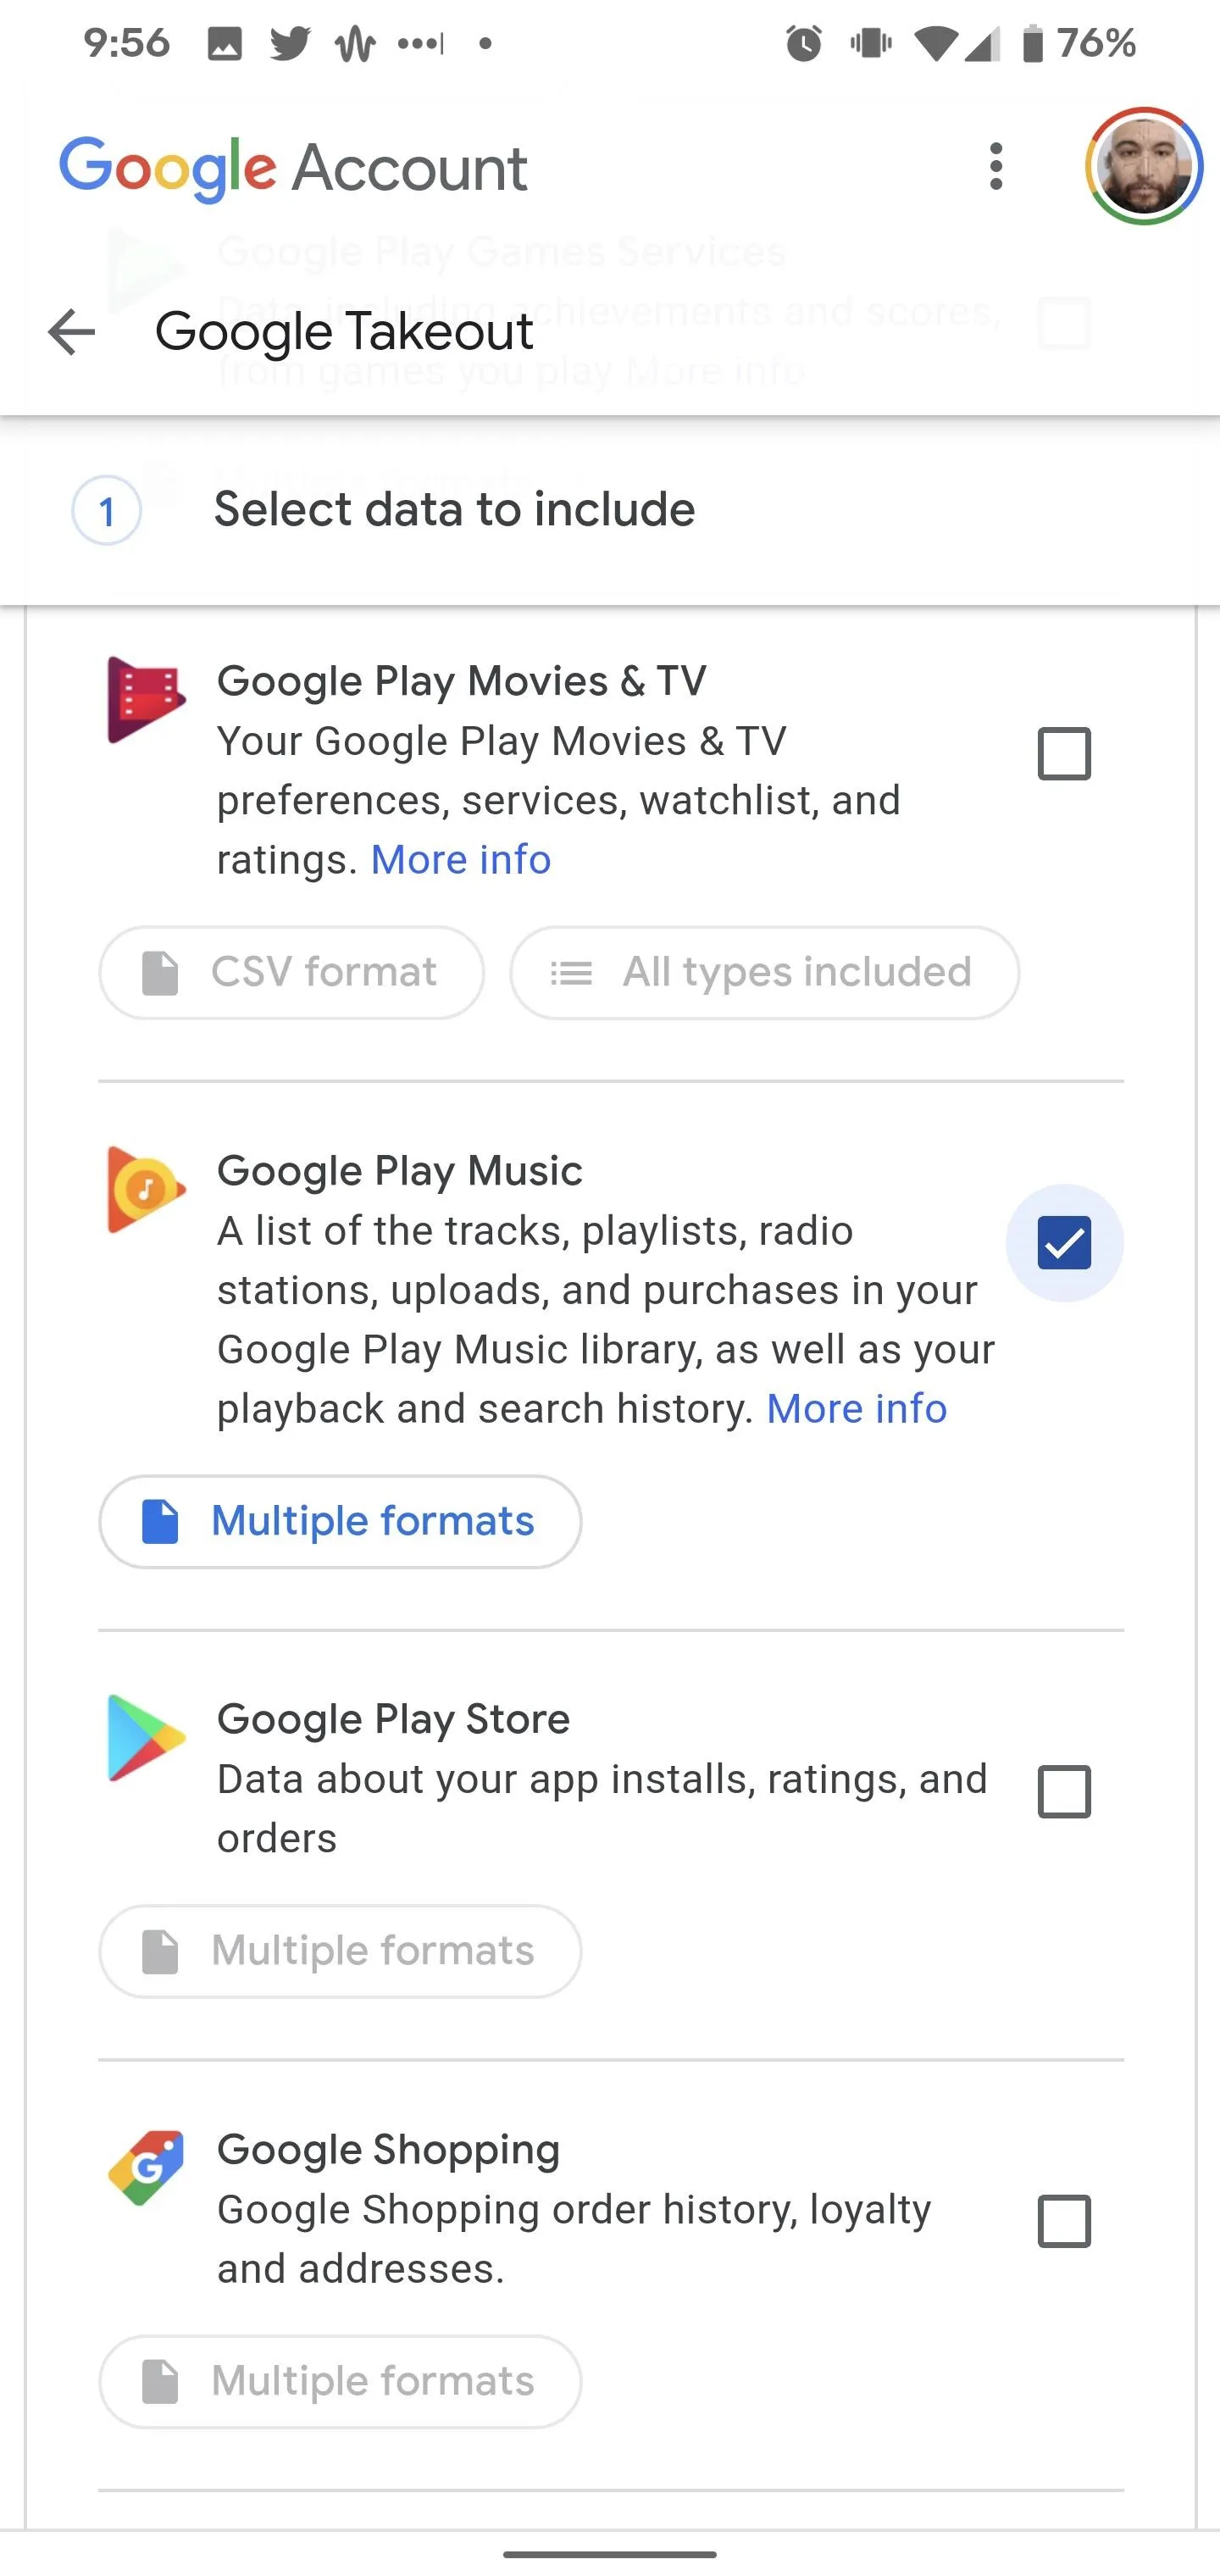
By default, all of the products are selected, so, to isolate Google Play Music, tap "Deselect all," scroll down to Google Play Music, and tap the checkbox next to it. Scroll all the way to the bottom and tap the "Next step" button to proceed.
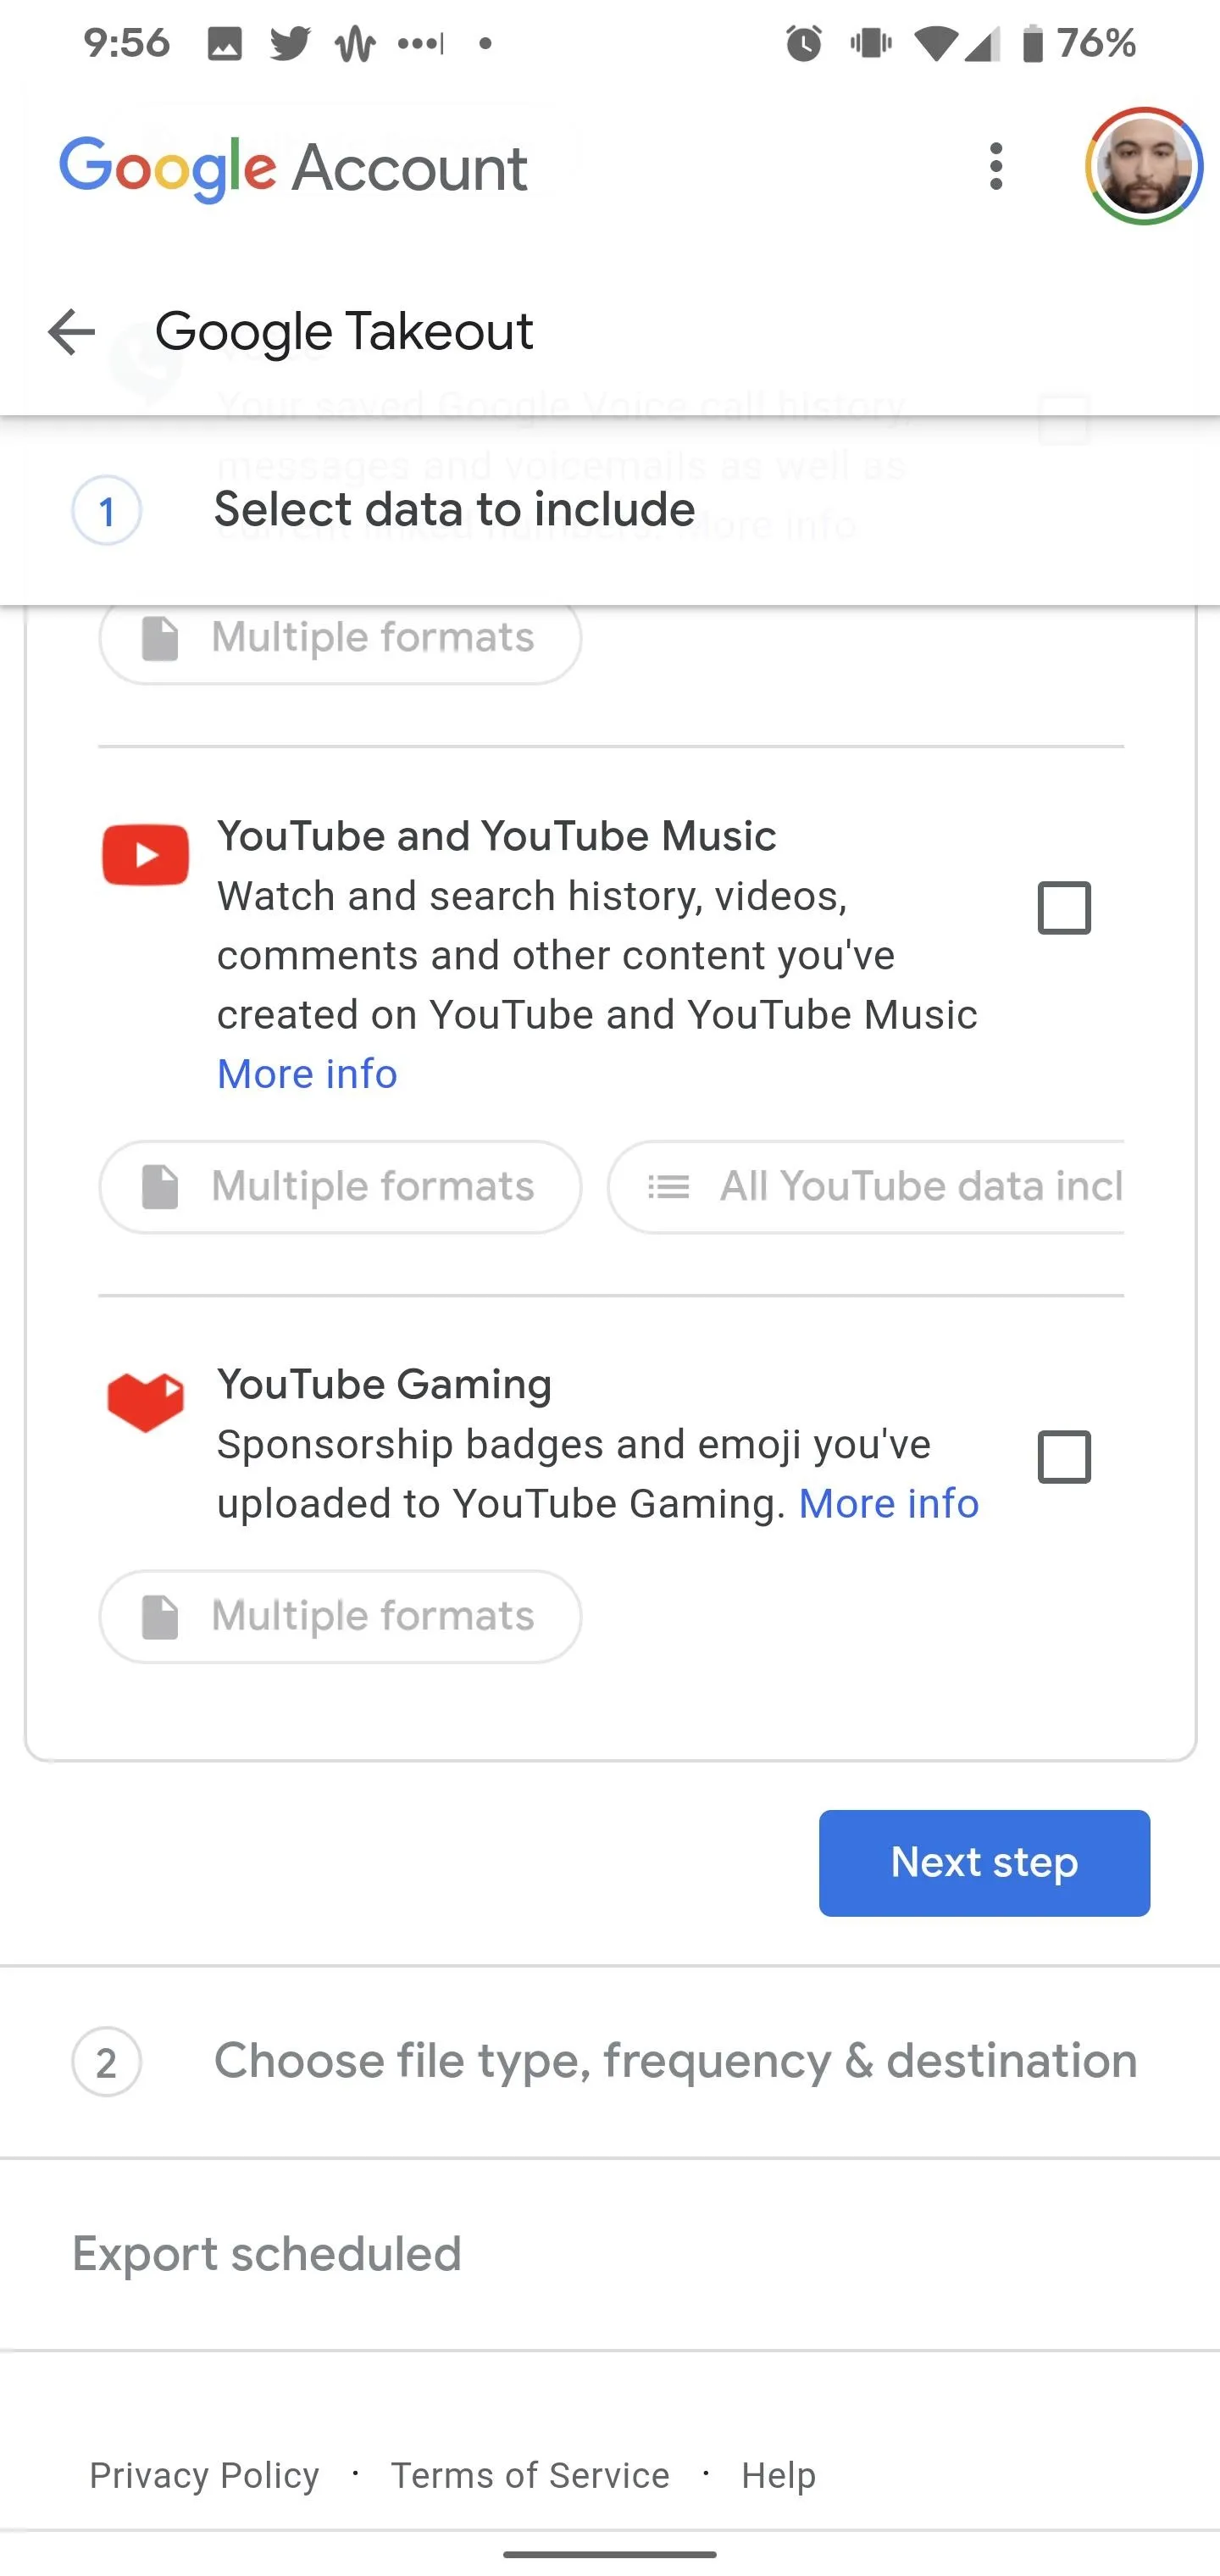


Step 3: Determine Your Download Destination
On the next screen, you'll be able to specify how you want to receive your library. From the dropdown menu, you can select email or a supported cloud service, namely Google Drive, Dropbox, OneDrive, or Box.
If you choose email, you'll receive a link to download your files, with a one-week time limit before the link expires. If you choose one of the non-Google cloud services, you'll need to authorize Google to access the account.
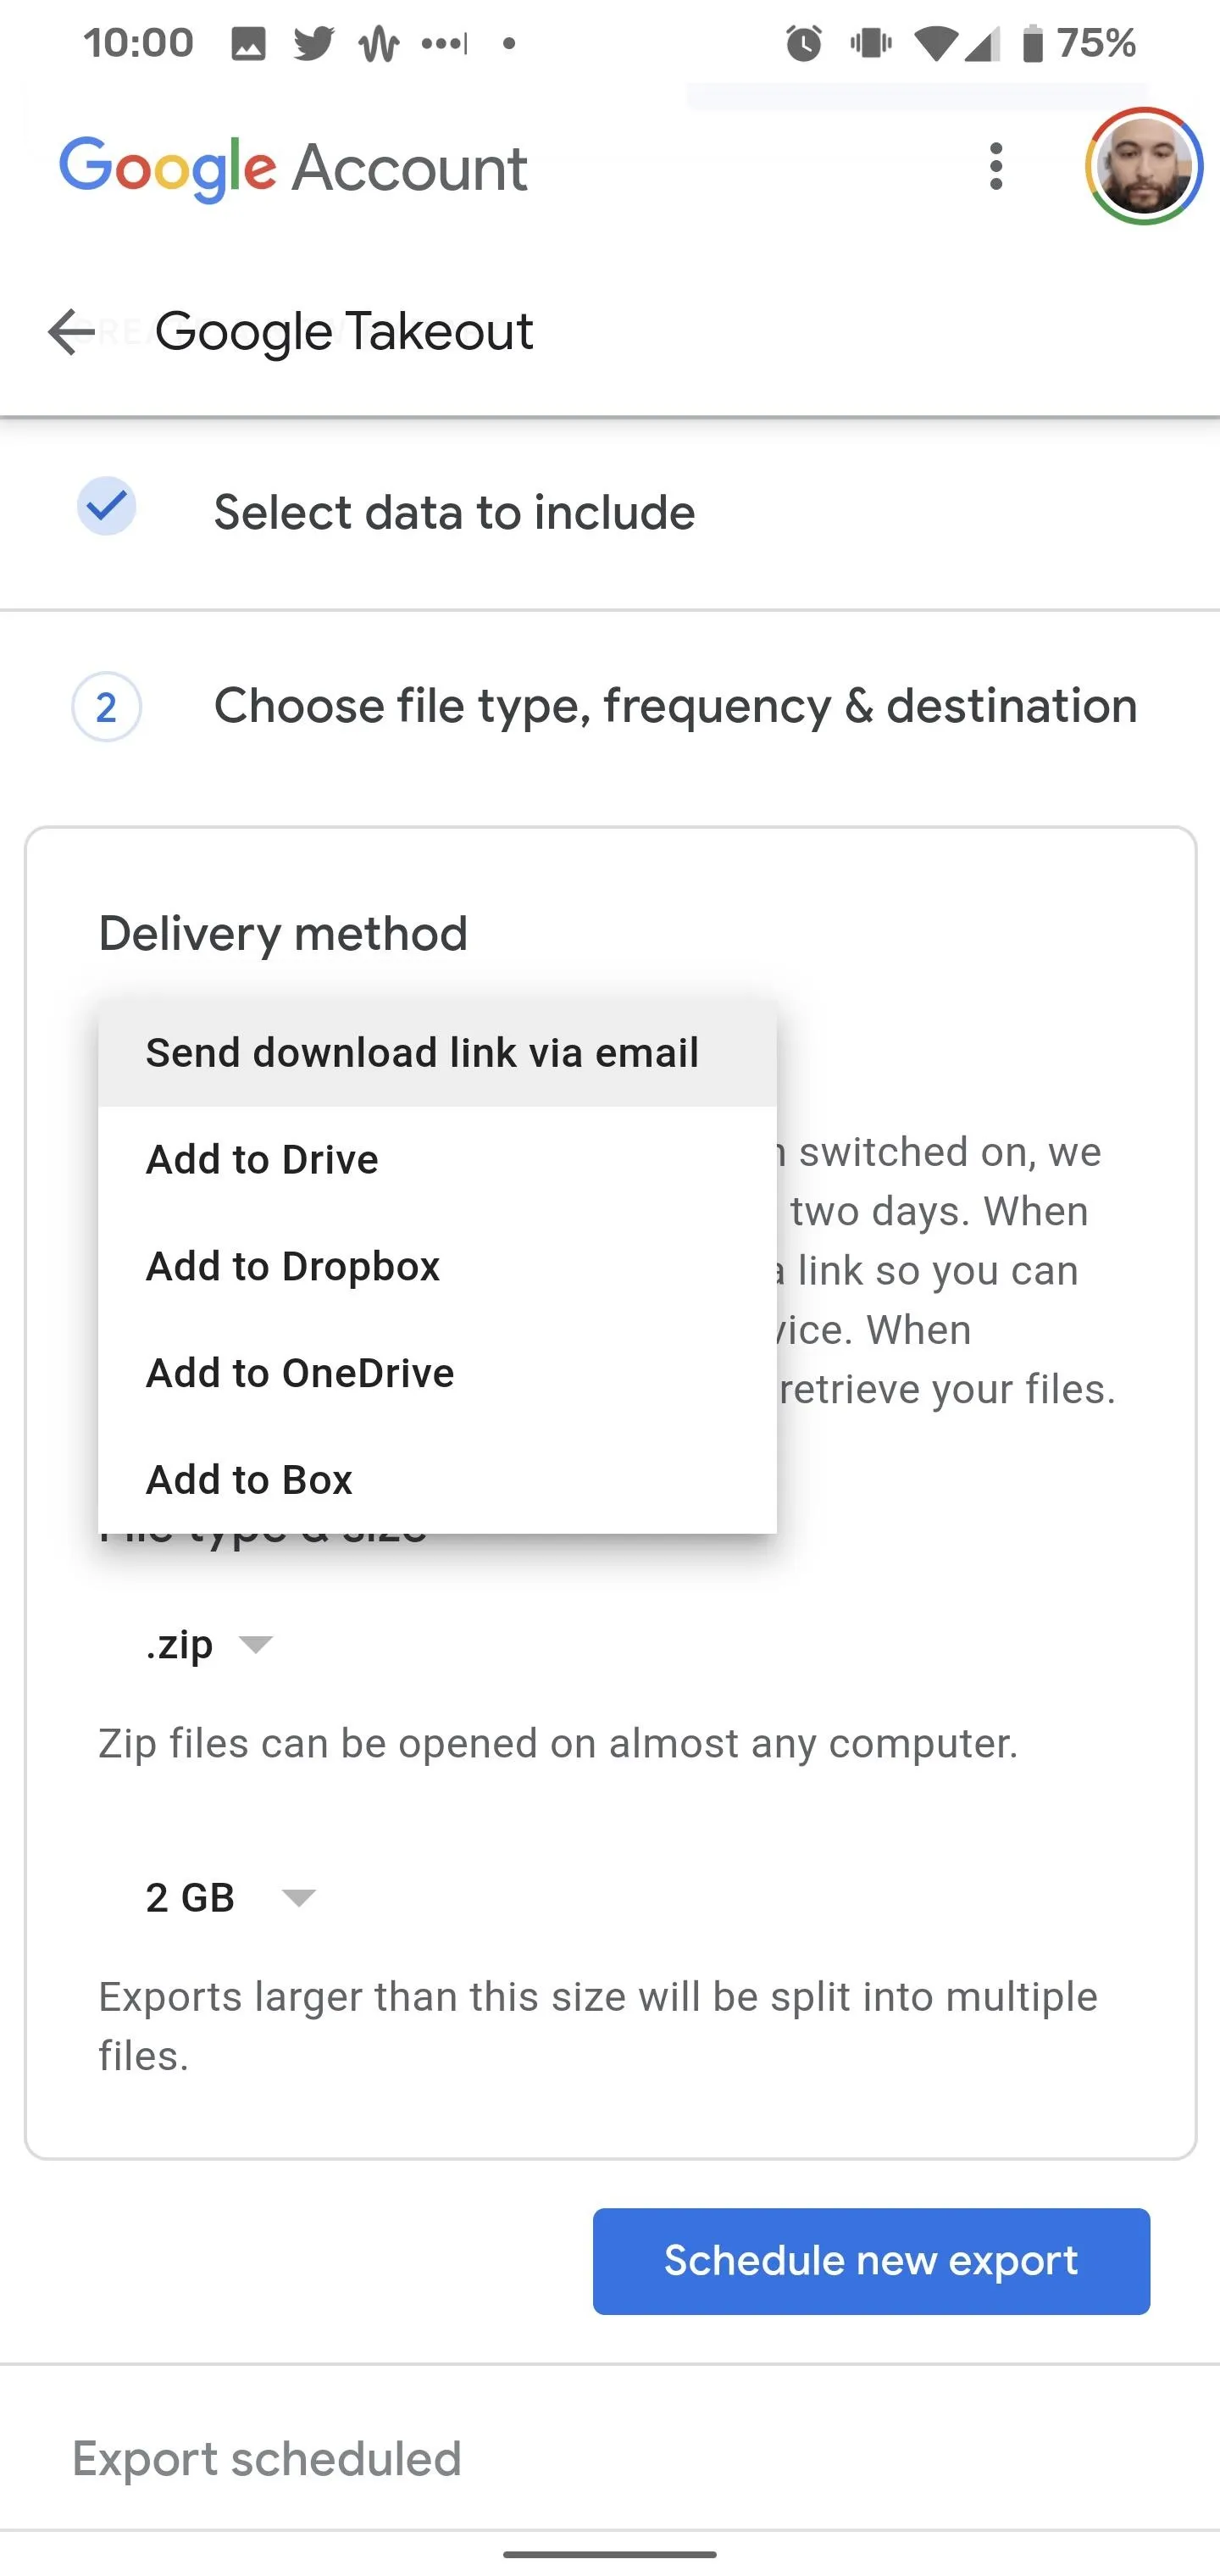
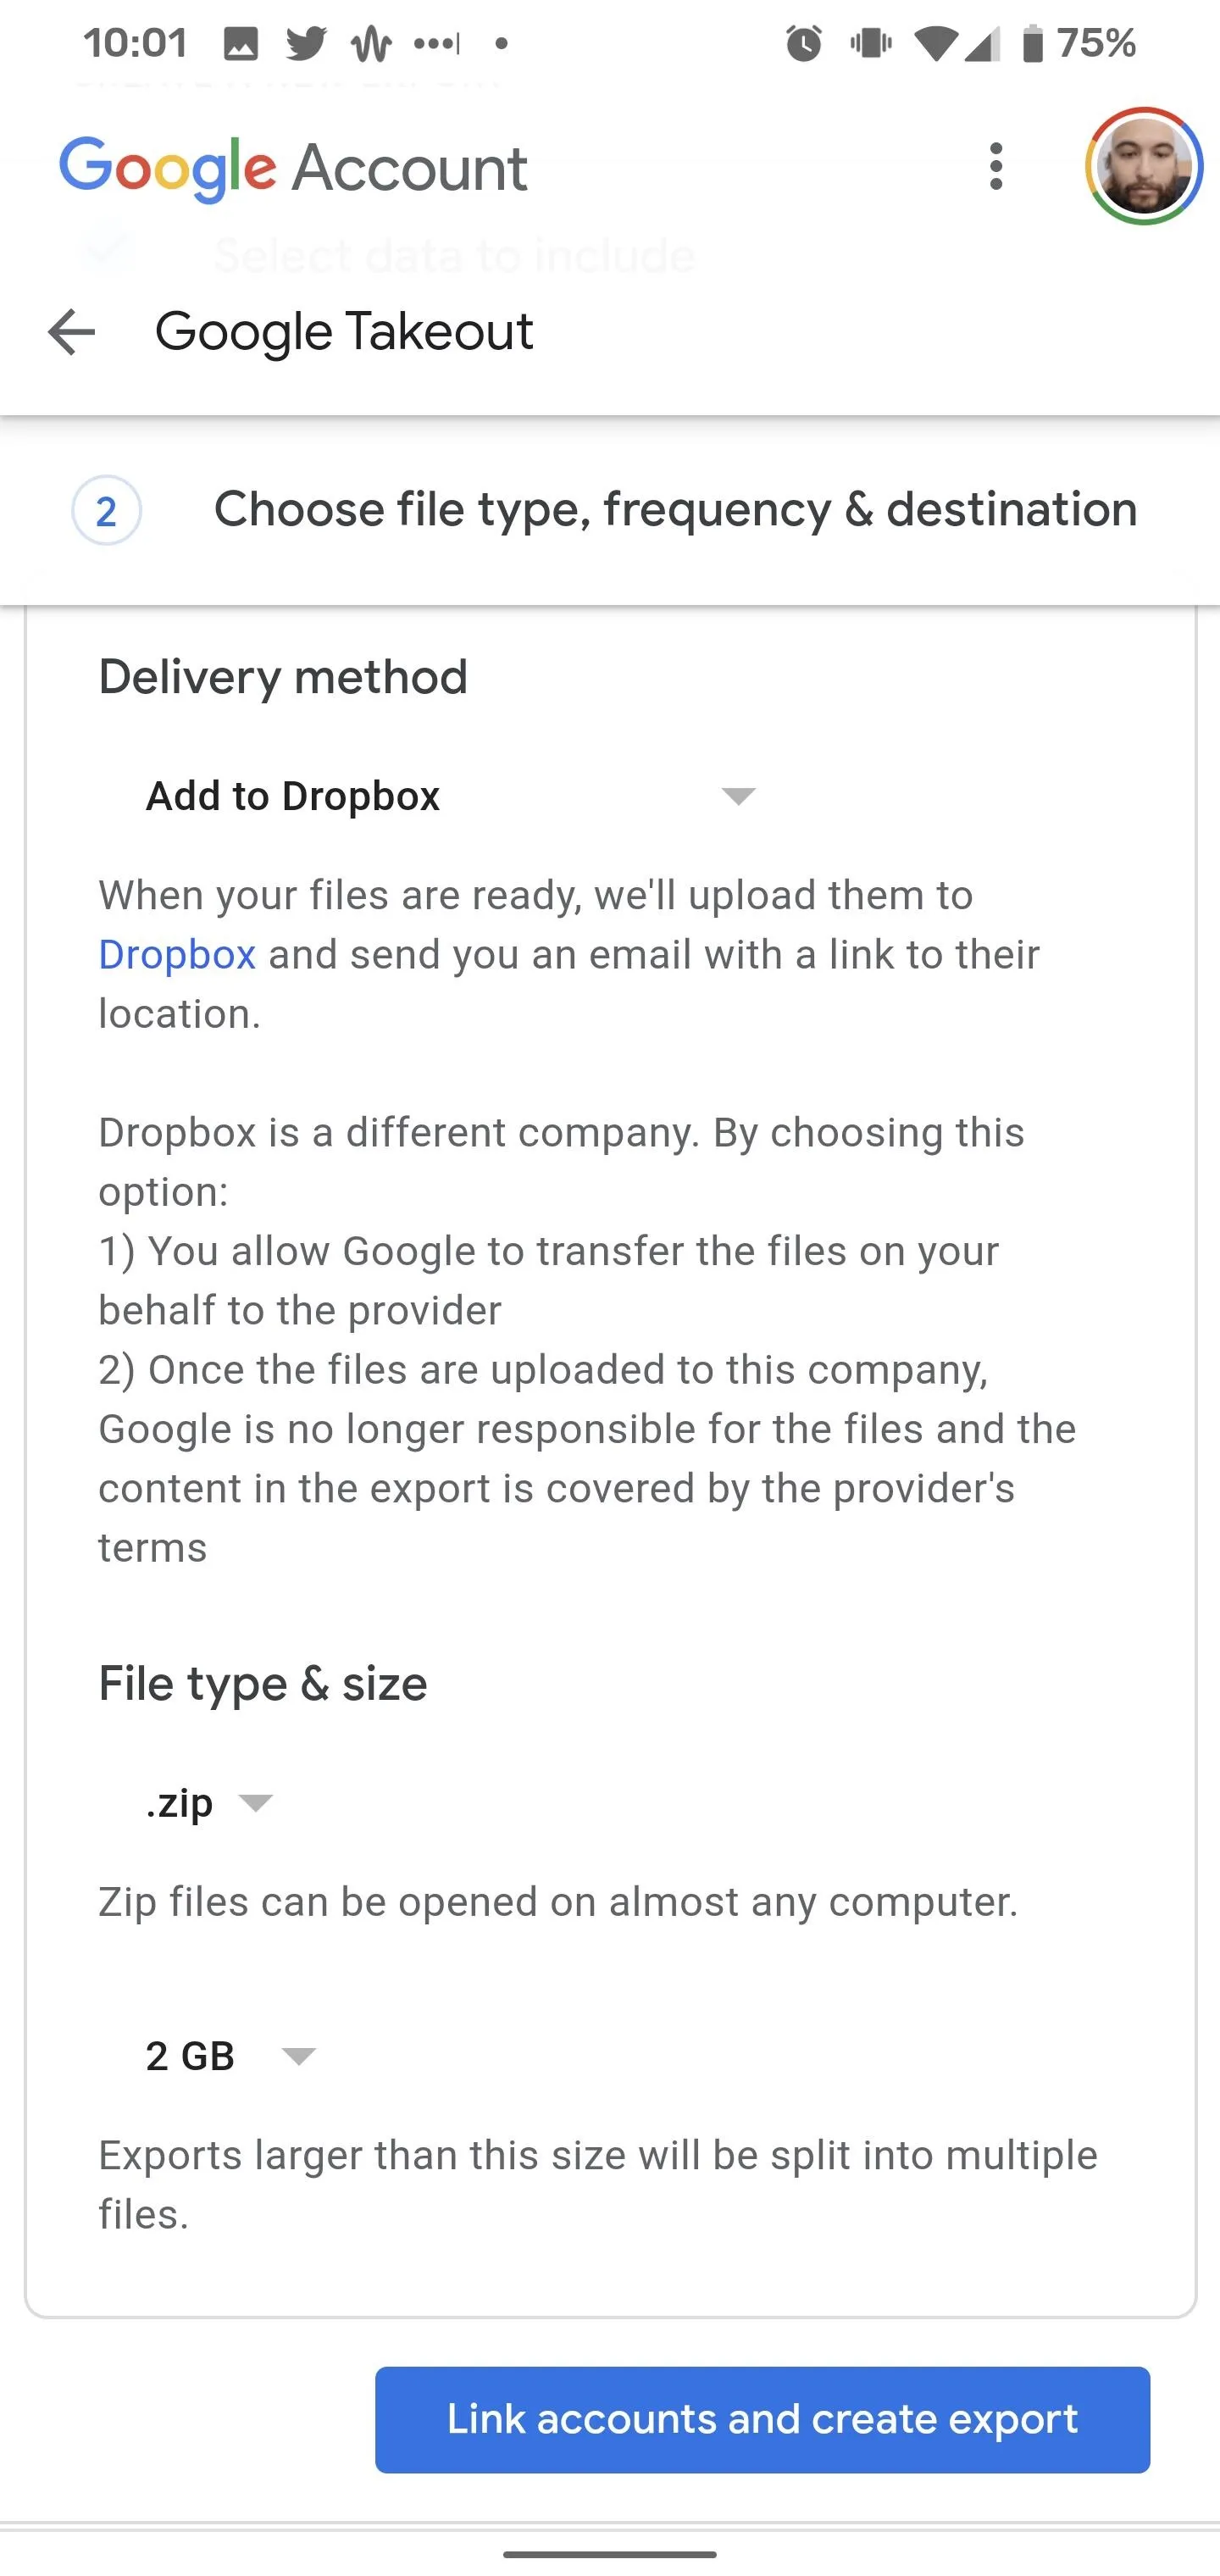


With the delivery method selected, you can then specify your file compression preferences. The familiar ZIP format is the default compression method, but you can opt for TGZ through the drop-down menu. You can also dial in the file size, as larger exports will be split across multiple files. The default option is 2 GB, but, if you decide to opt for a larger file size, your export will be compressed with ZIP64, which may require a separate app.
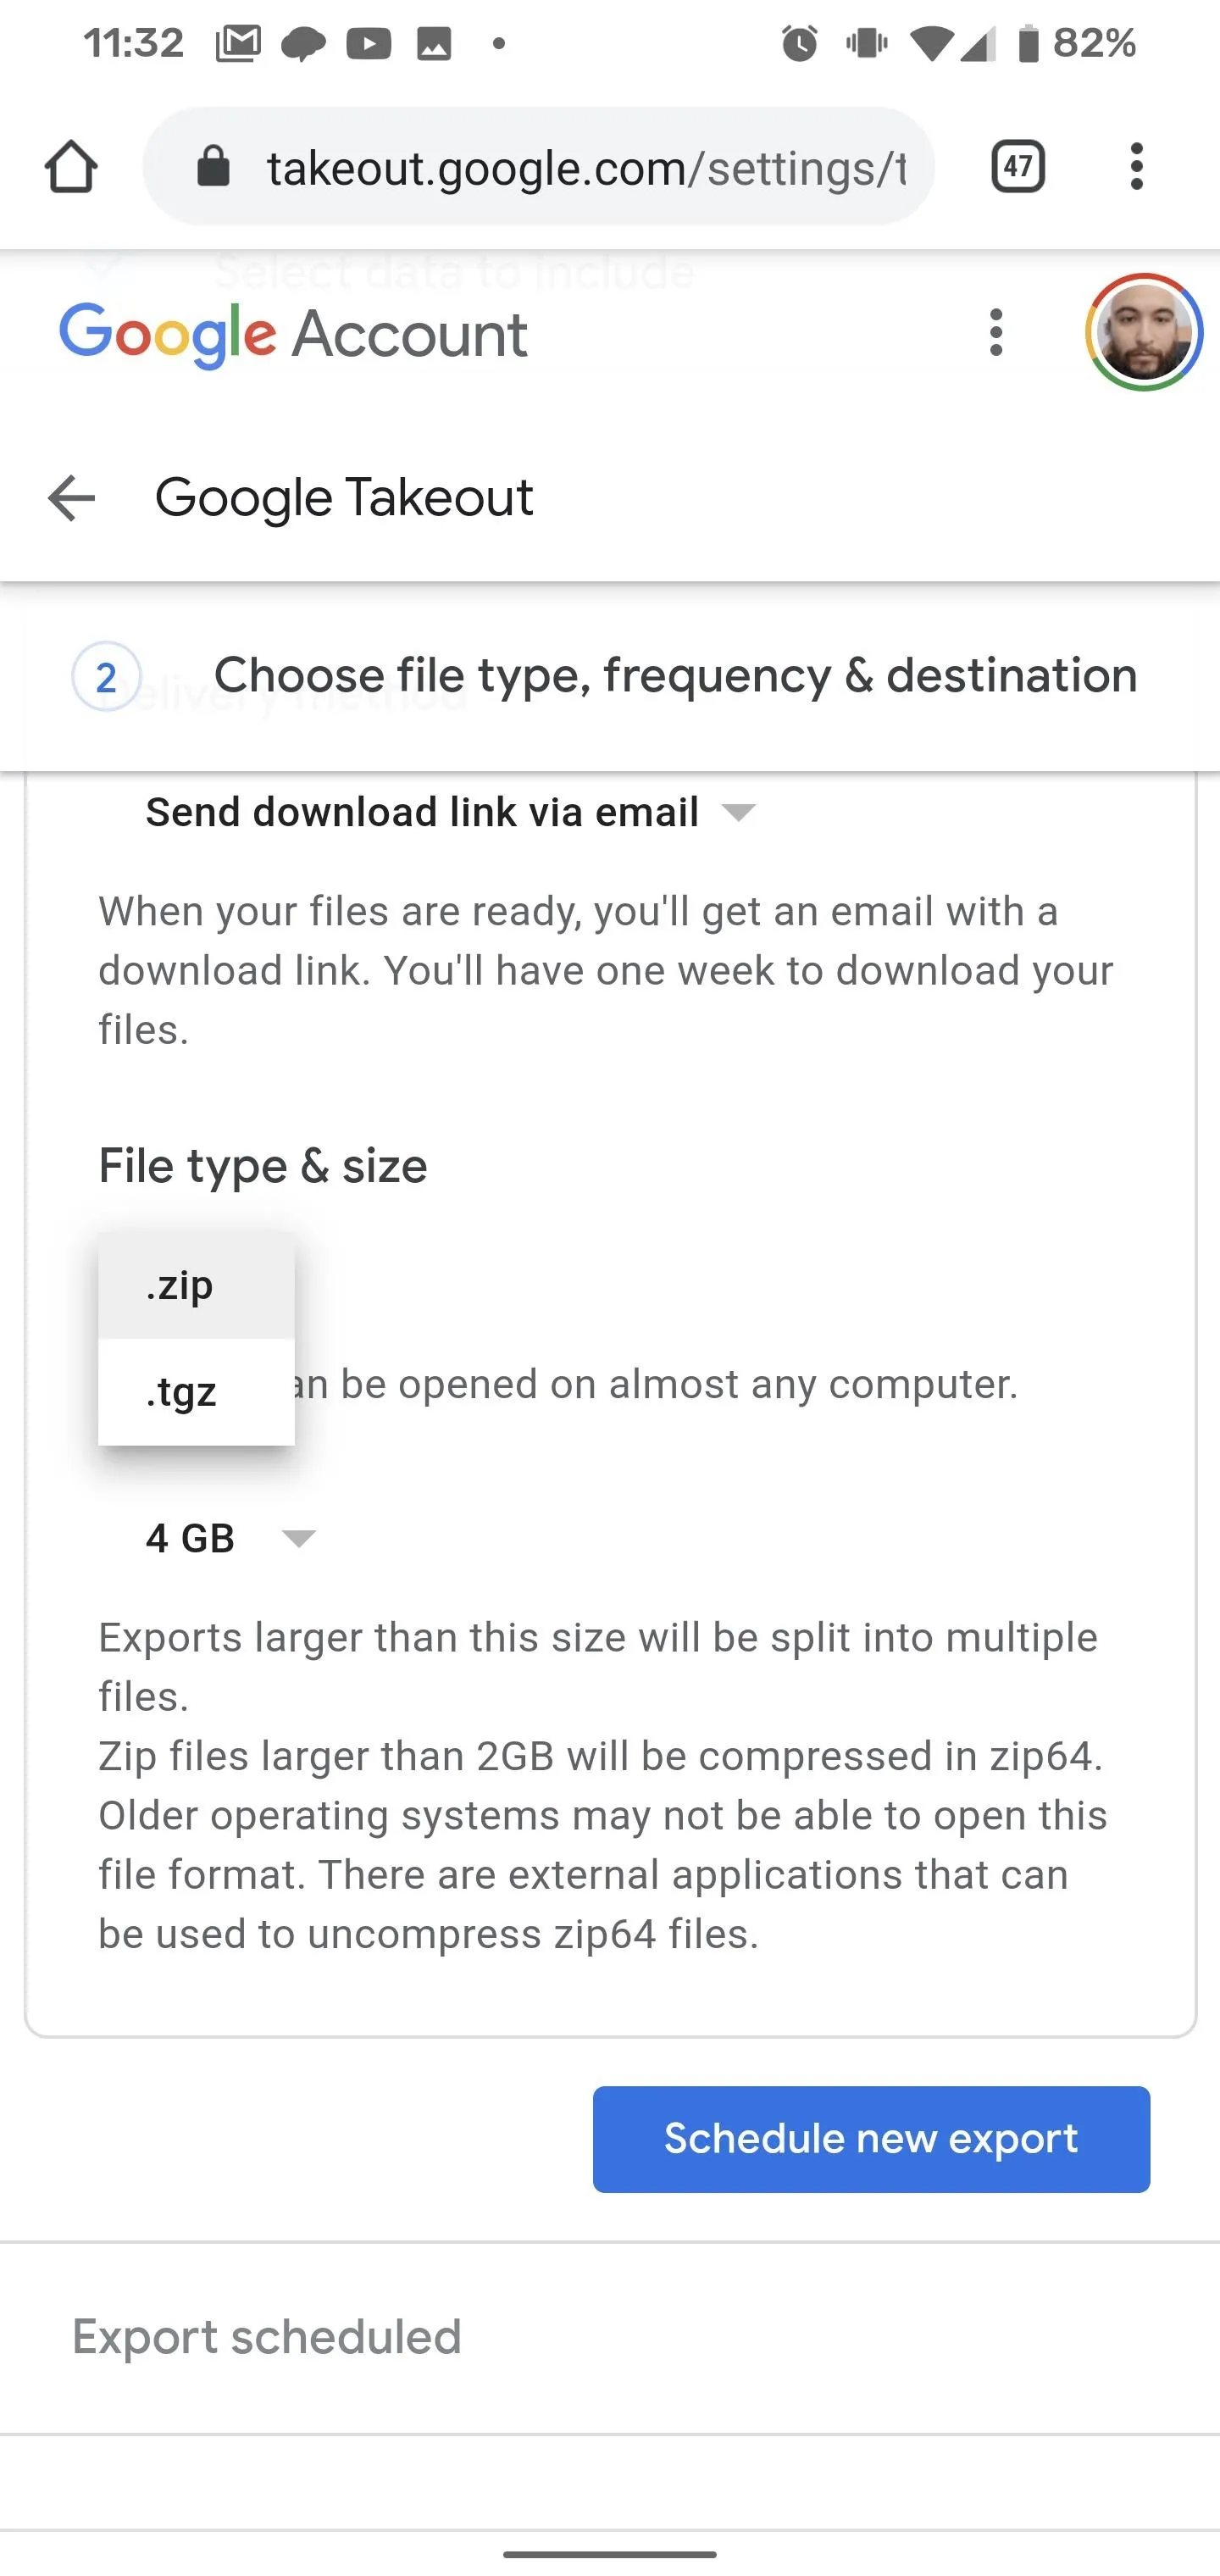
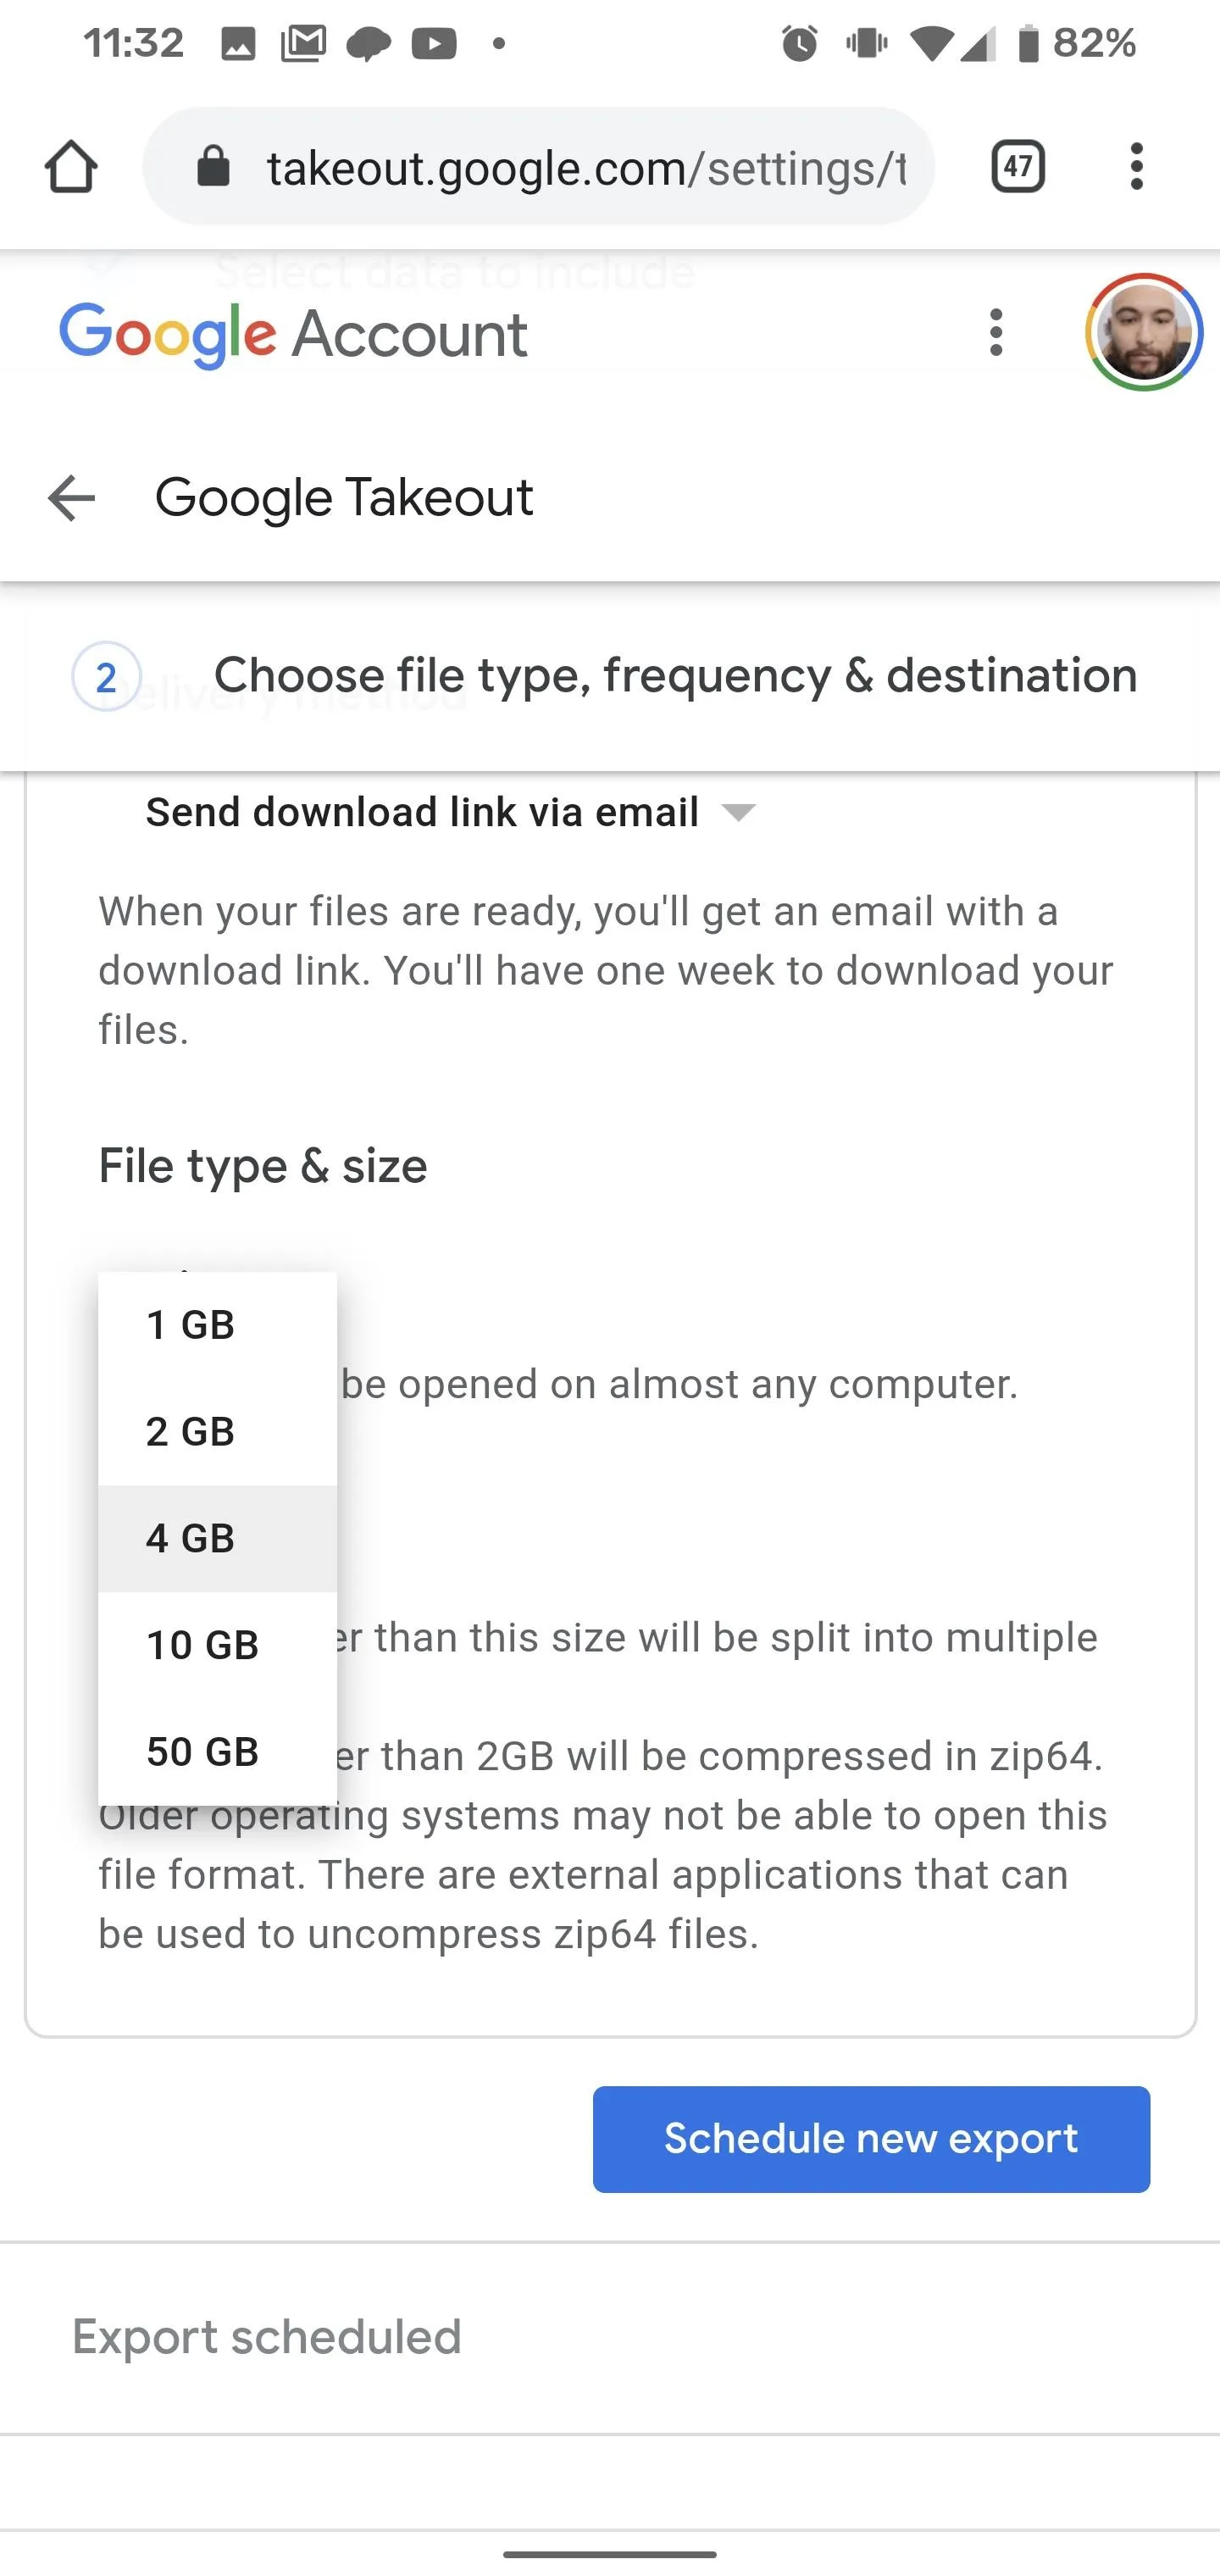


Once you've selected your preferred method for delivery, smash the "Schedule new export" button. You can then repeat the process if you'd like to export your files to multiple destinations.
Whatever you select, this will take a while. For instance, if your account has Advanced Protection, the email process could take several days or weeks. So, go do something else productive while your files are processed. And you can listen to this while you do it.
Cover image and screenshots by Tommy Palladino/Gadget Hacks


Comments
No Comments Exist
Be the first, drop a comment!